Contents
Bedroom Studio Setup: Build a Real Recording Space in Any Room
TL;DR: A functional bedroom studio setup needs four things: an audio interface, a condenser or dynamic microphone, studio monitors or headphones, and basic acoustic treatment. You can get professional-sounding results in a bedroom — the room itself matters as much as the gear.
What You Actually Need (And What You Don’t)
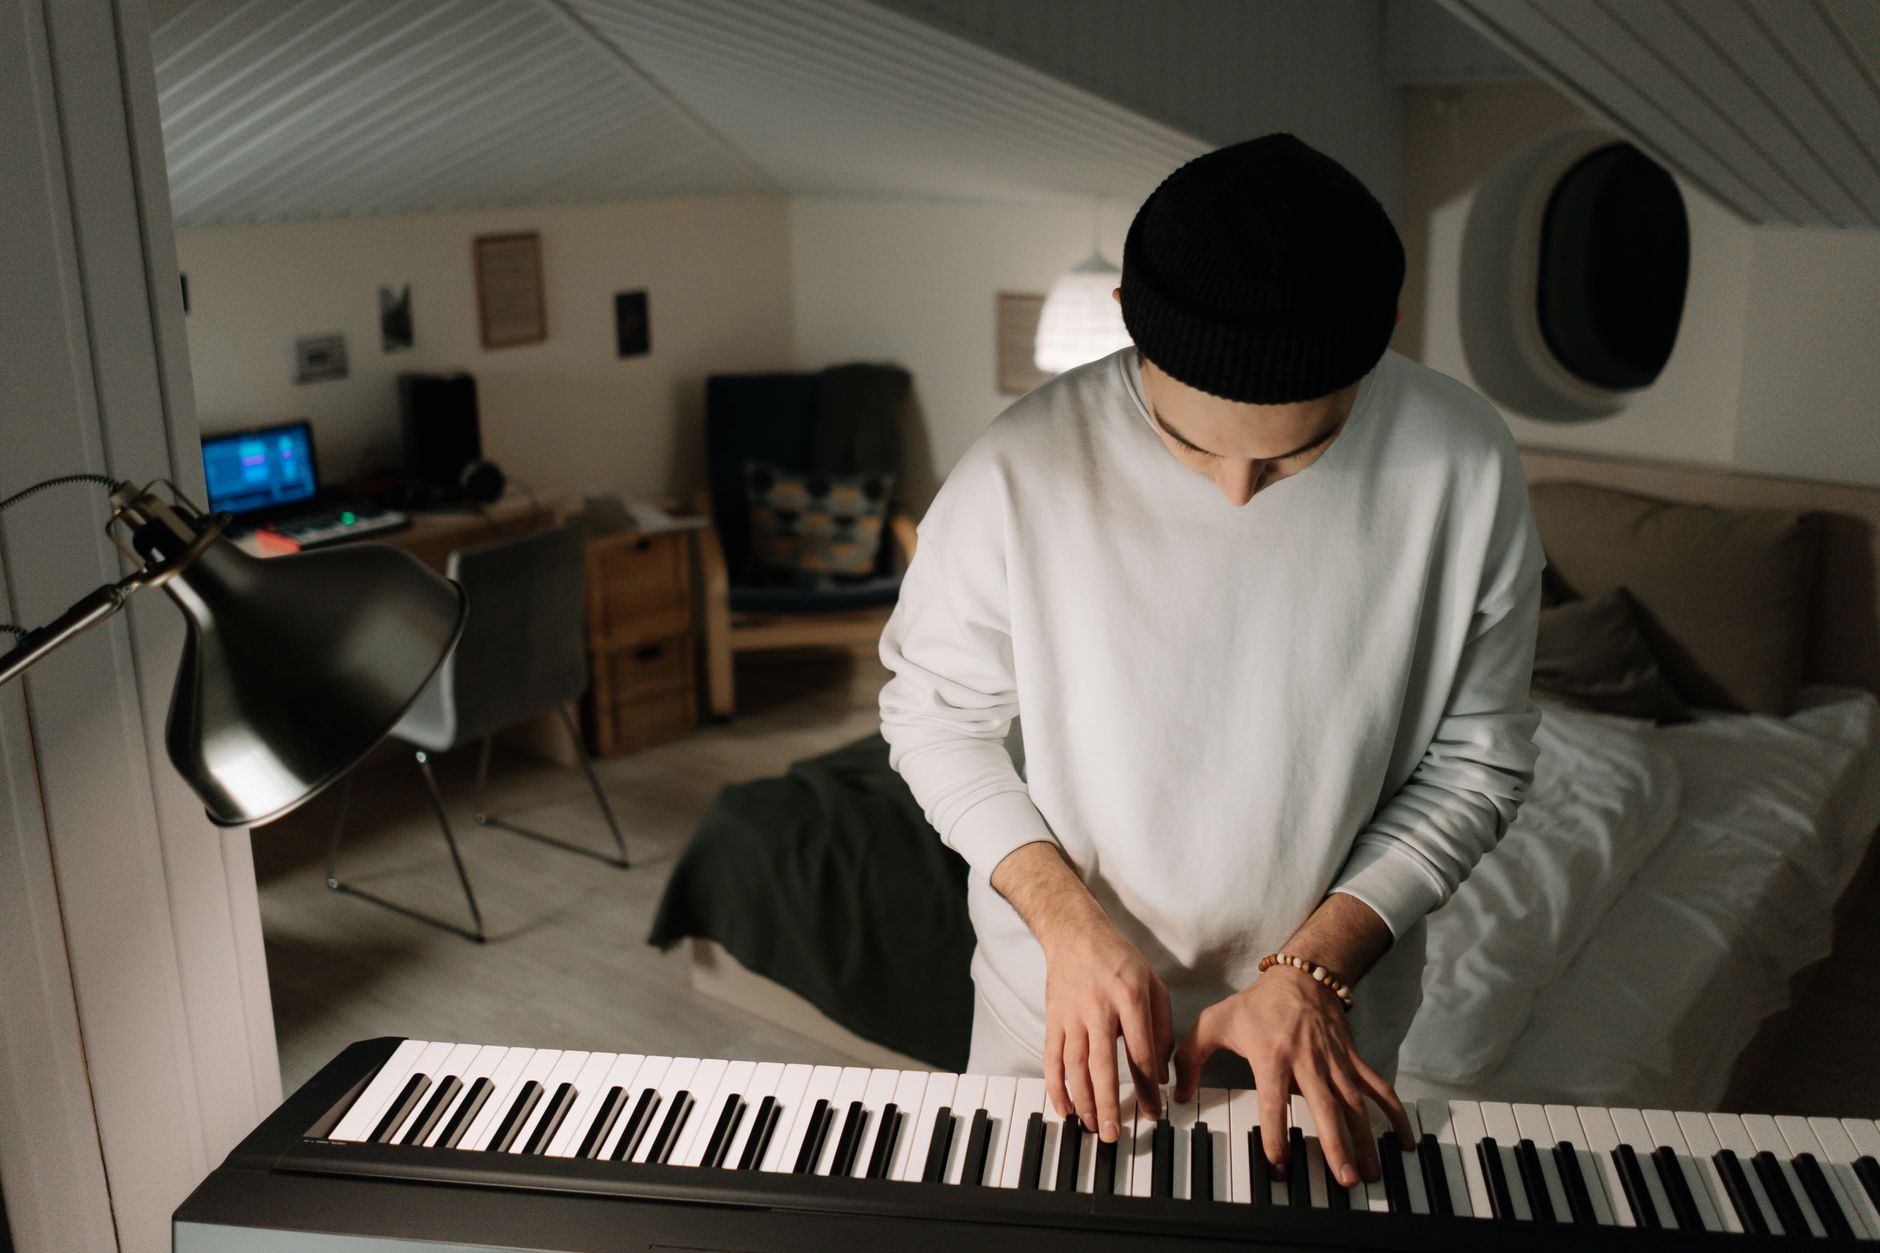
The minimum viable bedroom studio setup is an audio interface, a microphone, headphones or monitors, and a DAW. That’s it. Most bedrooms already have a desk and a computer — the gear list is shorter than most beginners expect, and the room treatment matters more than the equipment tier.
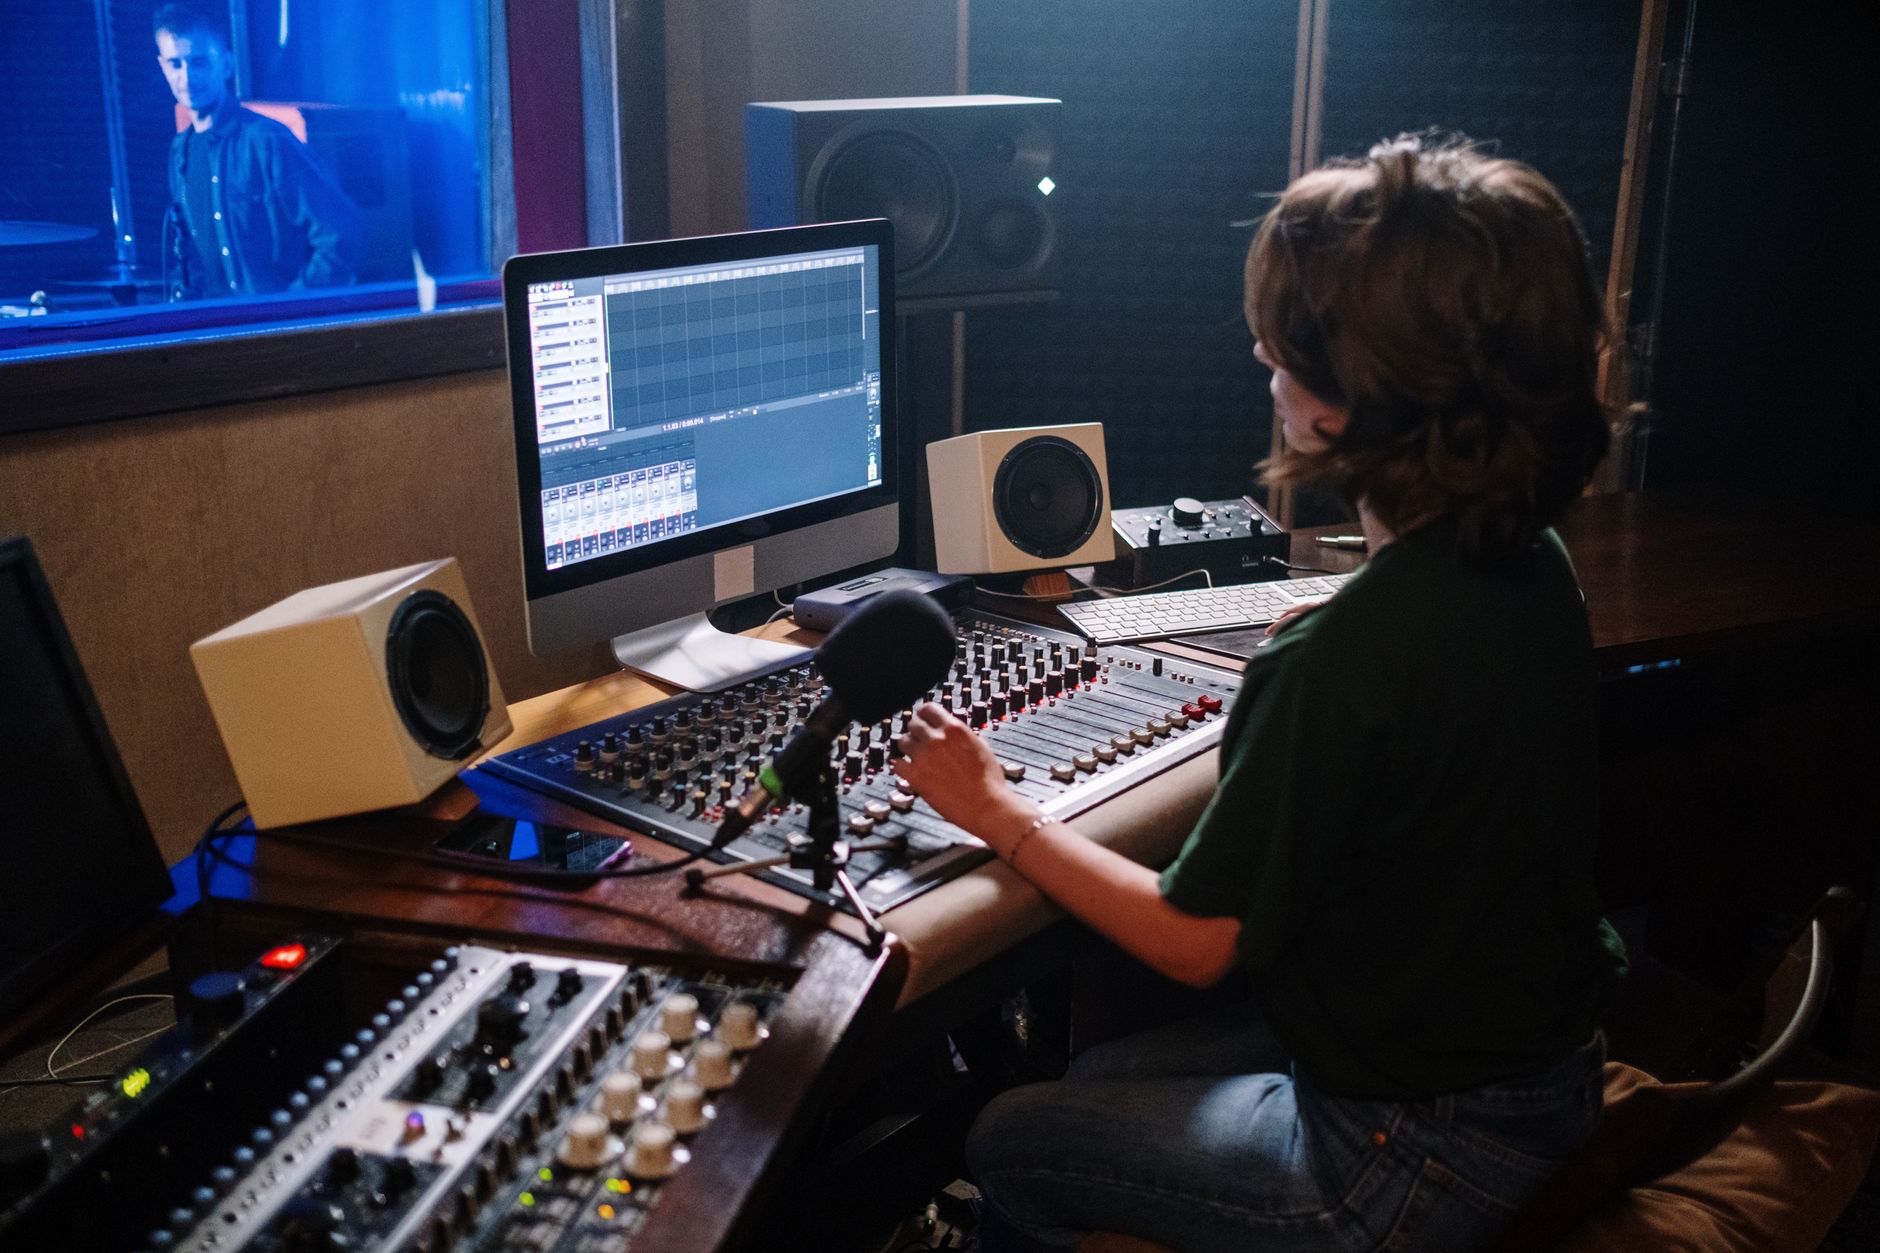 Photo: cottonbro studio via Pexels
Before buying anything, understand the signal chain: your voice or instrument → microphone or DI → audio interface → DAW → monitors or headphones. Every piece of gear maps to one link in that chain. If you already own a laptop and a decent pair of headphones, you’re halfway there.
What to skip on day one
- Acoustic foam panels on every wall (foam treats high frequencies, not the low-end buildup that actually kills bedroom recordings)
- A preamp (your audio interface has one built in)
- A hardware compressor (do it in the DAW)
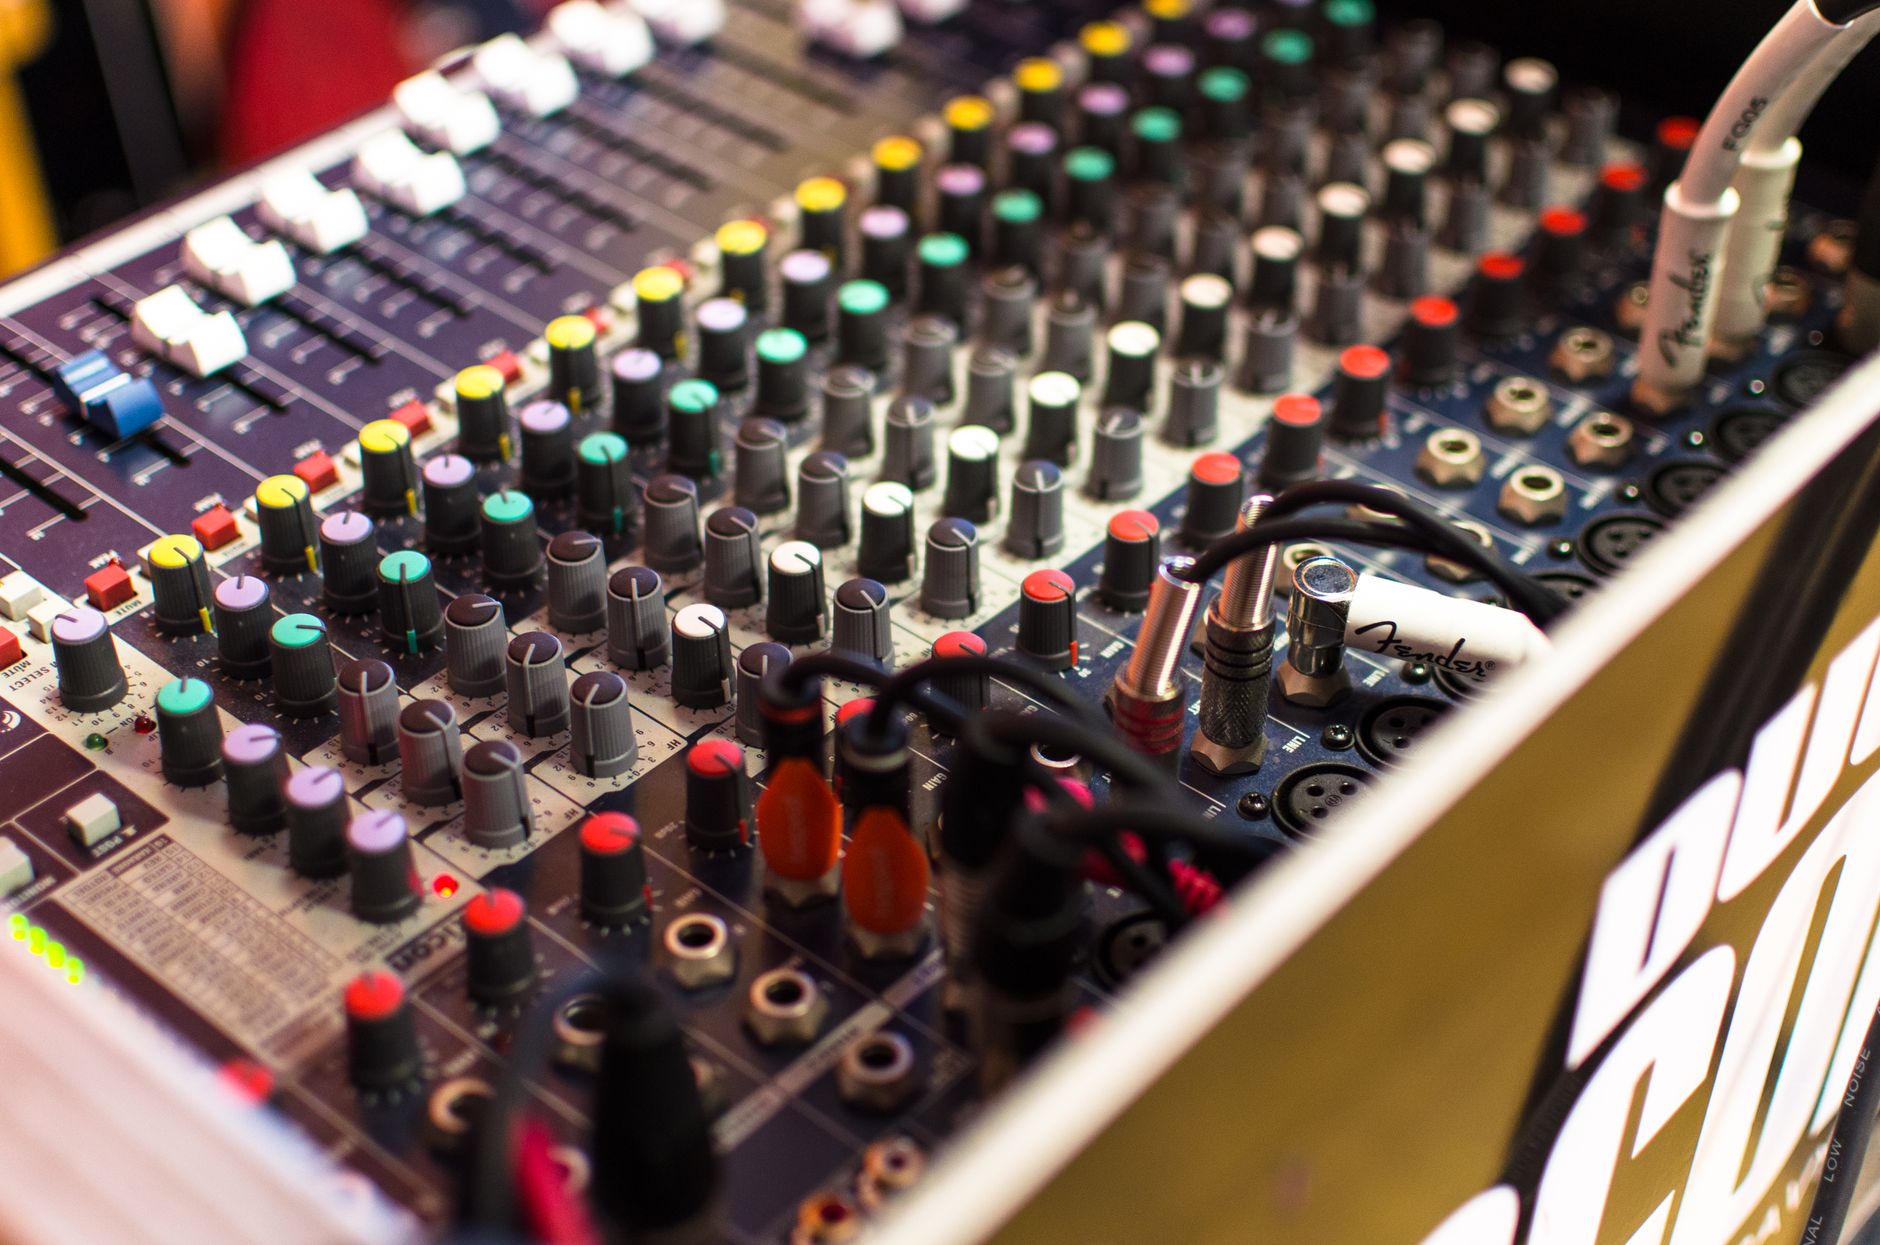
- A mixer (unless you’re recording a live band, which is not a bedroom activity)
Choosing an Audio Interface
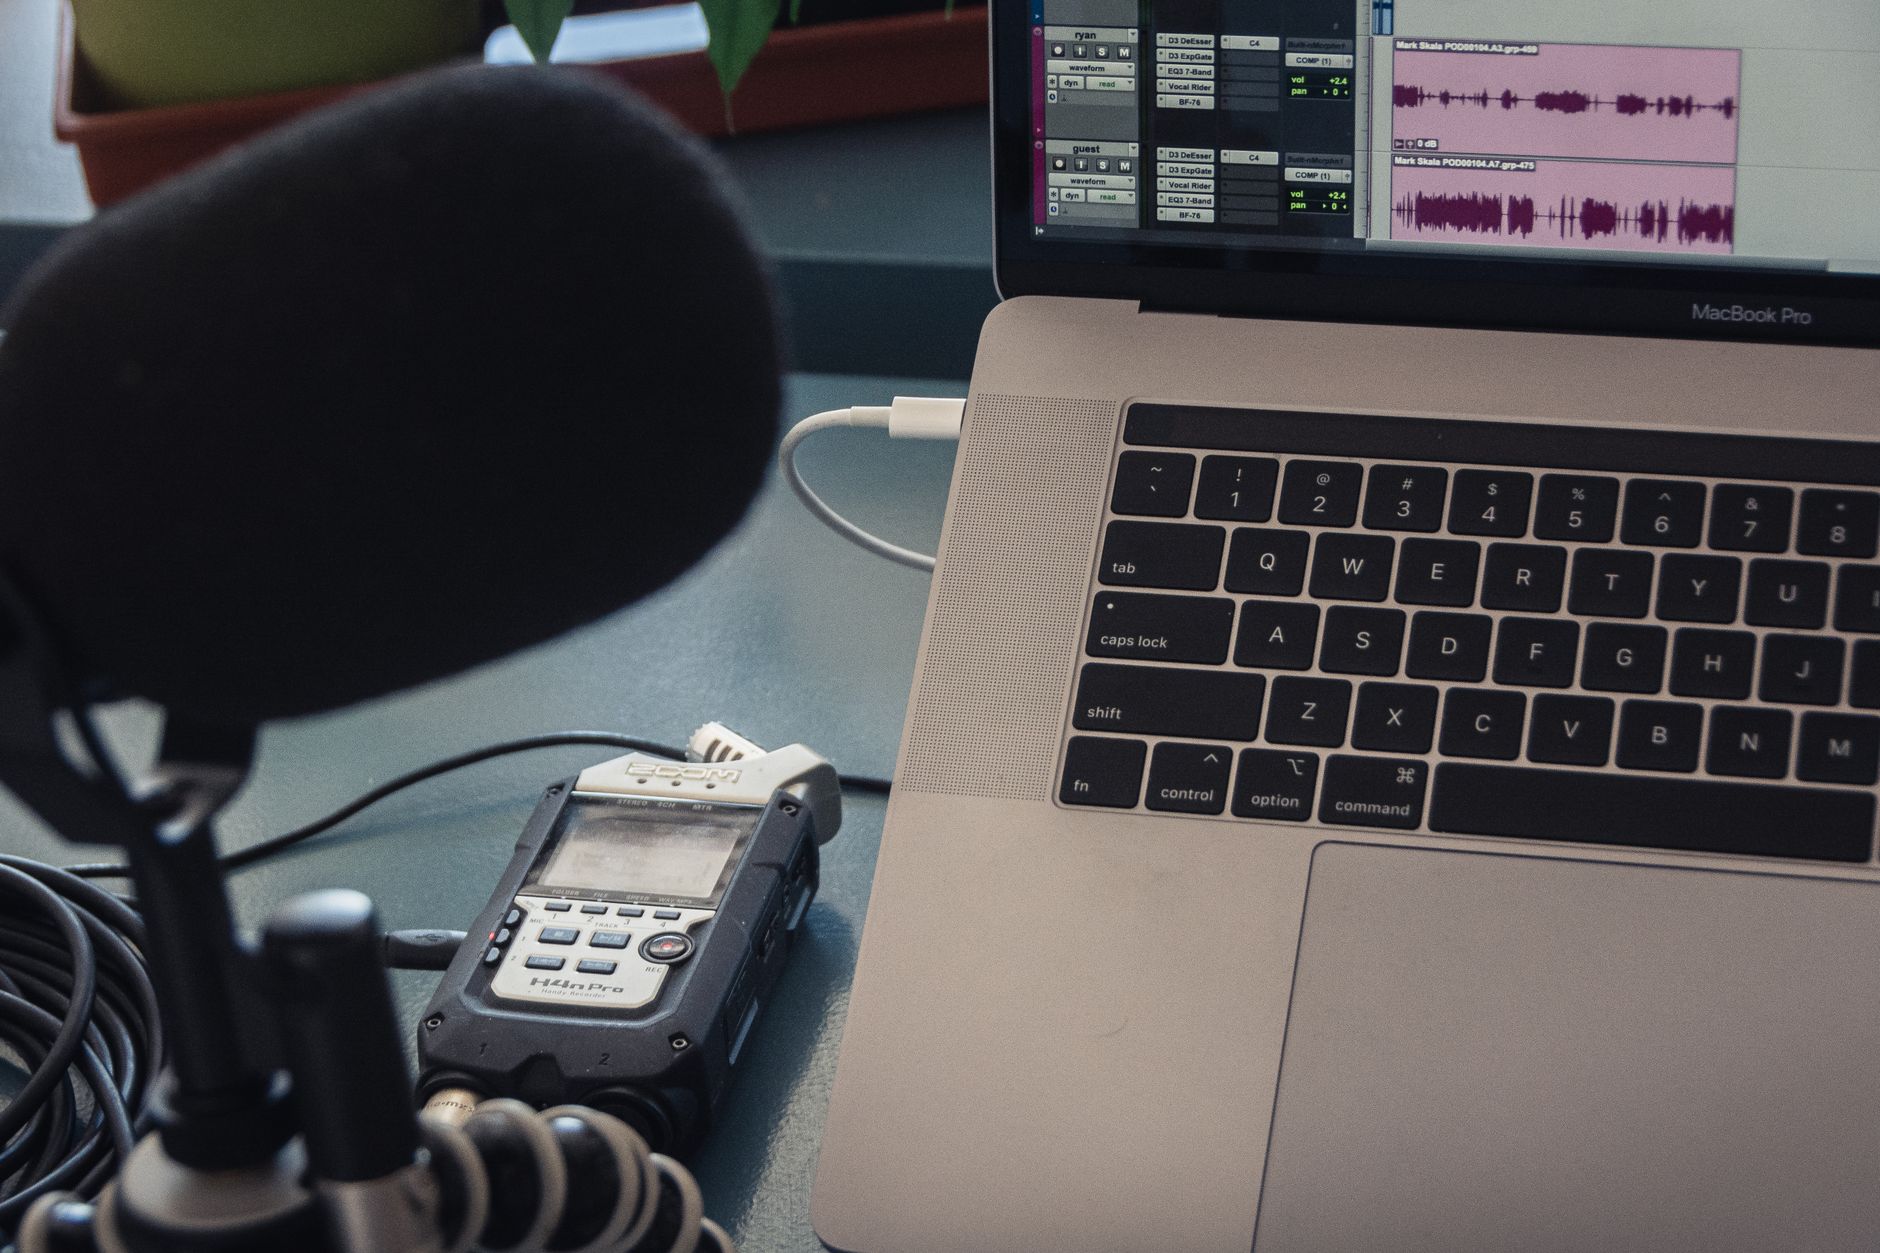
Any USB audio interface with at least one combo XLR/TRS input will work for a bedroom studio setup. For solo recording, one or two inputs is enough. Prioritize low-latency drivers, solid preamp quality, and a headphone output with enough gain to drive your cans.
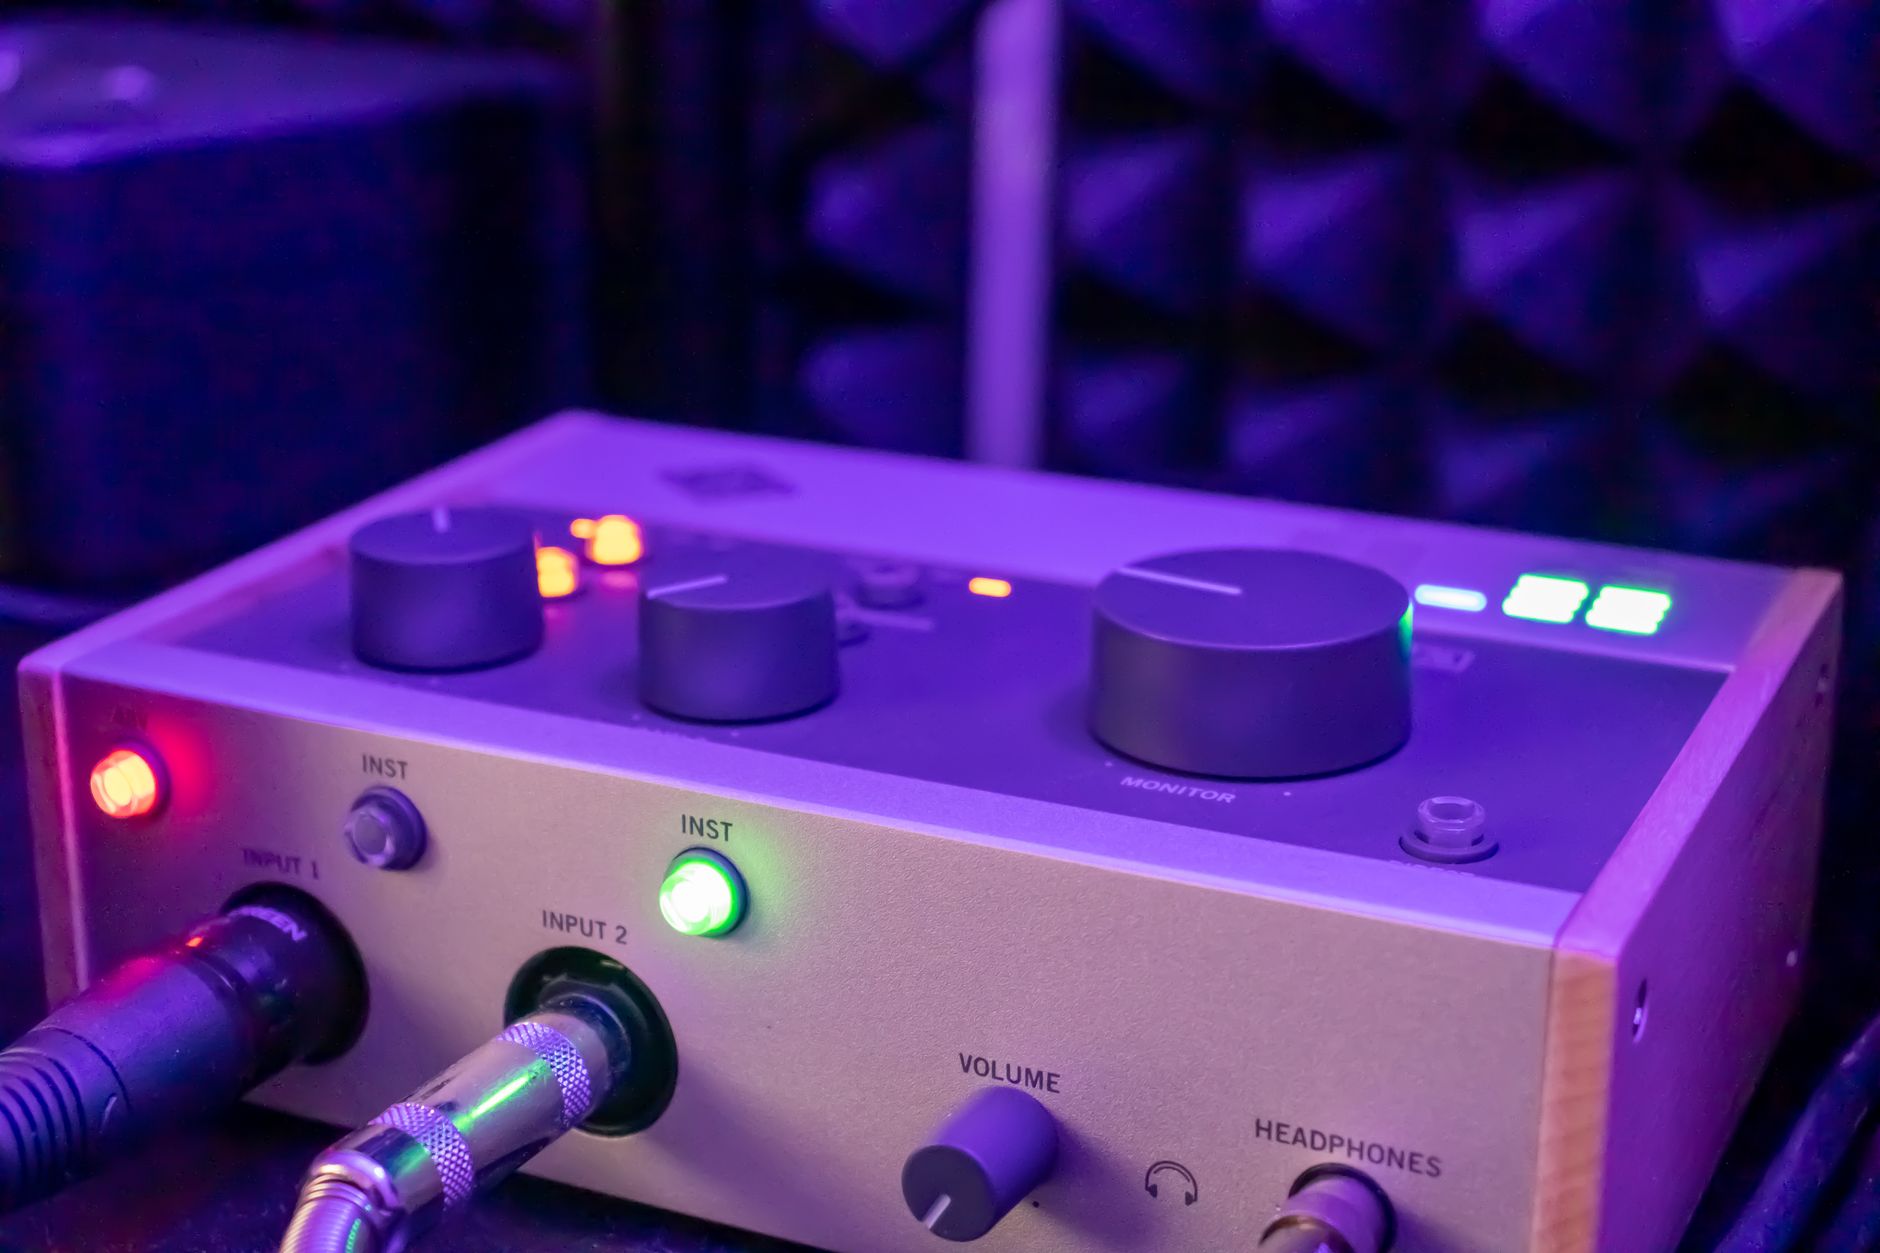 Photo: Nino Keller via Pexels
Entry-level options that hold up
| Interface | Inputs | Phantom Power | Approx. Price |
|---|---|---|---|
| Focusrite Scarlett Solo (4th Gen) | 1 XLR + 1 instrument | Yes | ~$120 |
| Focusrite Scarlett 2i2 (4th Gen) | 2 combo | Yes | ~$180 |
| PreSonus AudioBox USB 96 | 2 combo | Yes | ~$100 |
| MOTU M2 | 2 combo | Yes | ~$170 |
The Scarlett 2i2 dominates this category because of its driver reliability across macOS and Windows, according to consistent user reviews and published forum consensus. The MOTU M2 has a measurably better headphone amp if you’re mixing exclusively on headphones.
48V phantom power is required for condenser microphones. Every interface in the table above provides it. Dynamic microphones don’t need it.
Microphone: Condenser vs. Dynamic for Bedrooms
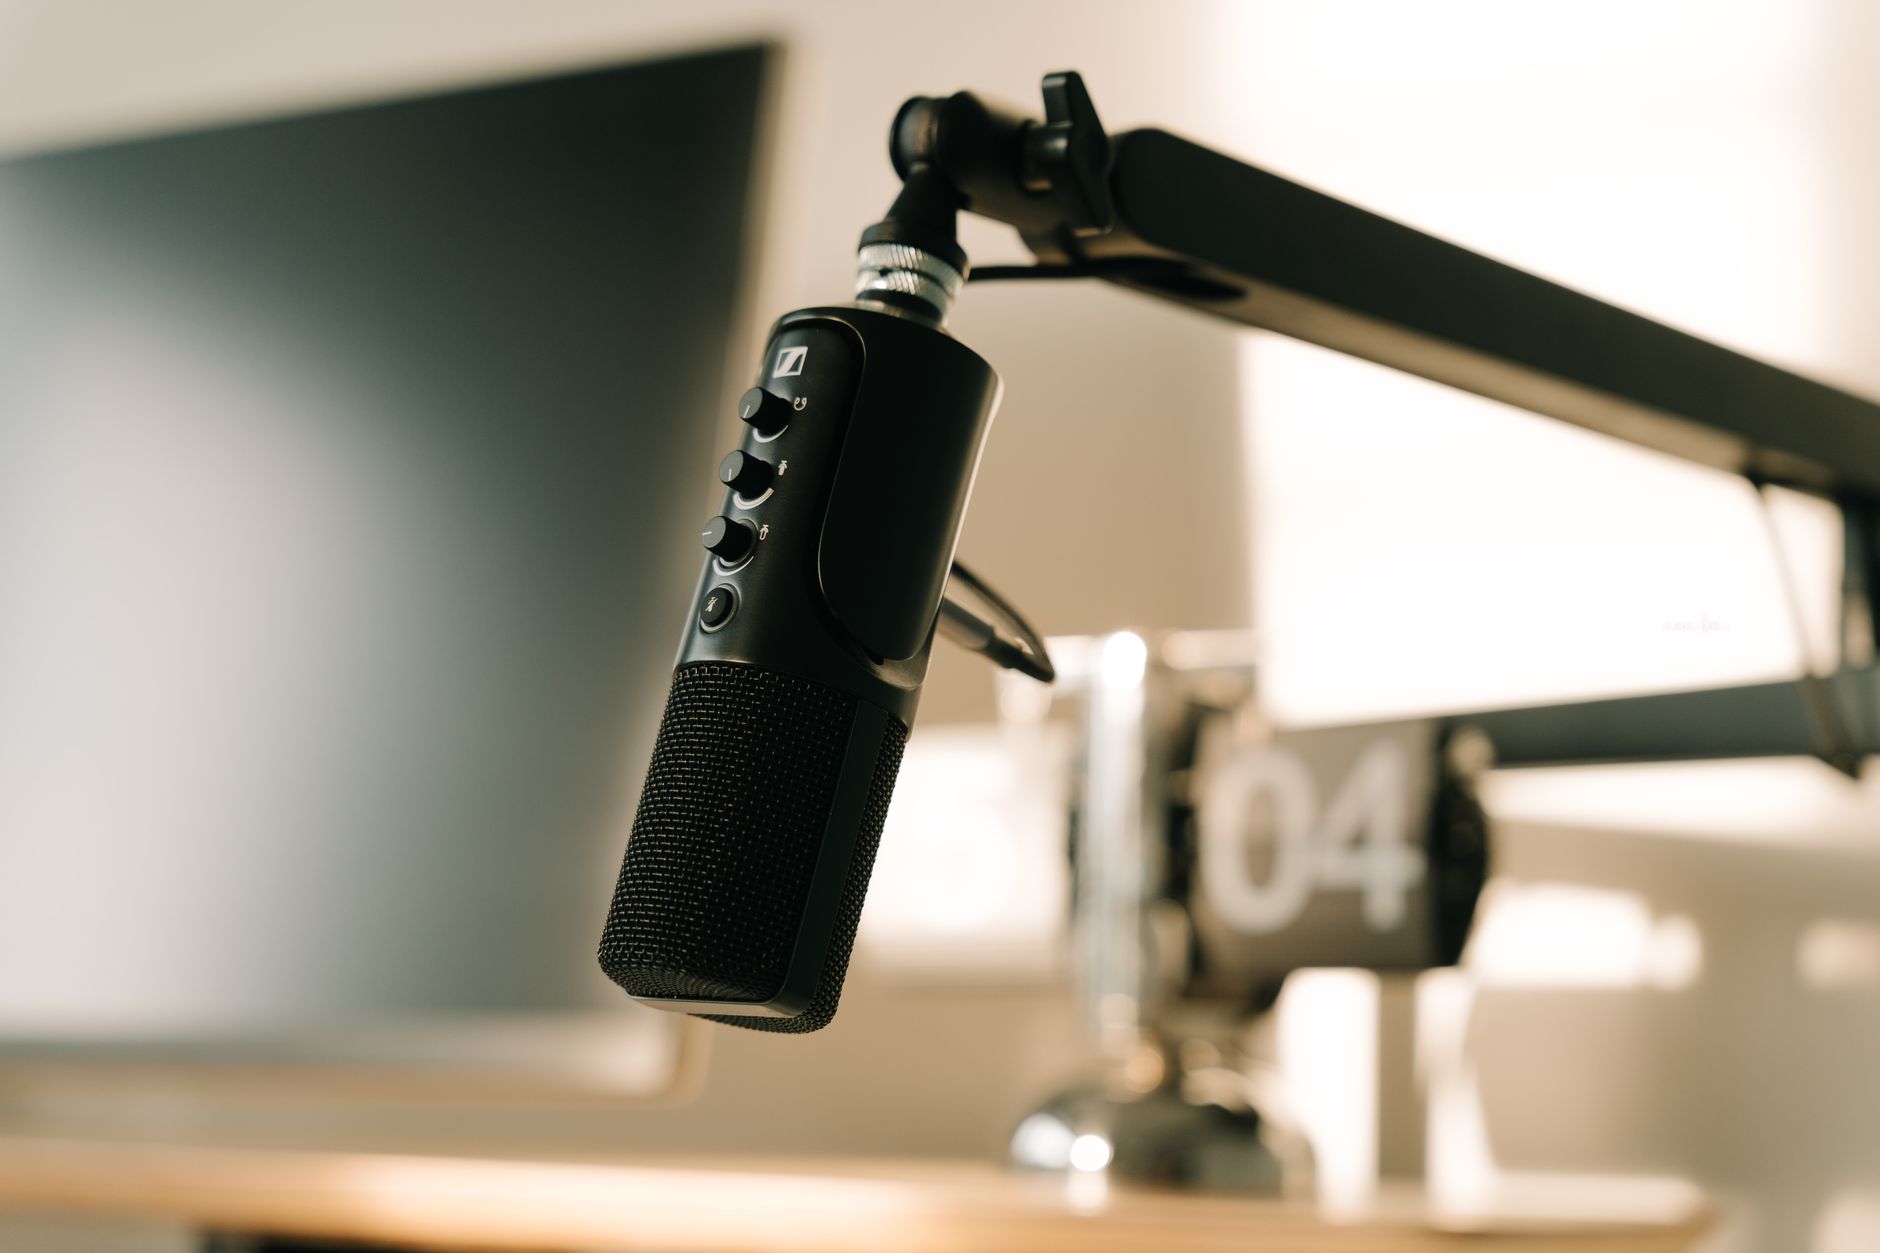
For bedrooms, a cardioid dynamic microphone is often the better starting point — it rejects more room noise than a condenser and doesn’t need acoustic treatment to sound controlled. If your room is reasonably quiet and you have some basic absorption, a large-diaphragm condenser will capture more detail.
| Scenario | Recommended Type | Why |
|---|---|---|
| Untreated bedroom, parallel walls | Dynamic | Rejects reflections and AC noise |
| Treated bedroom or closet vocal booth | Large-diaphragm condenser | Captures full frequency range and air |
| Instruments (acoustic guitar, room mics) | Condenser | Better transient response |
| Loud sources (guitar amp, drums) | Dynamic | Handles high SPL without distortion |
Reliable options at each price point
Under $100:
- Shure SM58 — live vocal standard, surprisingly good for bedroom recording
- Audio-Technica AT2020 — affordable large-diaphragm condenser, sensitive to room noise
$100–$300:
- Shure SM7B — broadcast dynamic, famously forgiving of untreated rooms; requires an interface with high-gain preamp
- Rode NT1 — low self-noise condenser, manufacturer-spec’d at 4.5dB(A), excellent for treated spaces
Monitoring: Headphones vs. Studio Monitors in a Bedroom
In a small, untreated bedroom, closed-back headphones produce more reliable mix decisions than studio monitors. Room modes — bass frequencies that pile up at specific points in the room — color your monitoring in ways that are hard to compensate for. Headphones eliminate the room from the equation entirely.
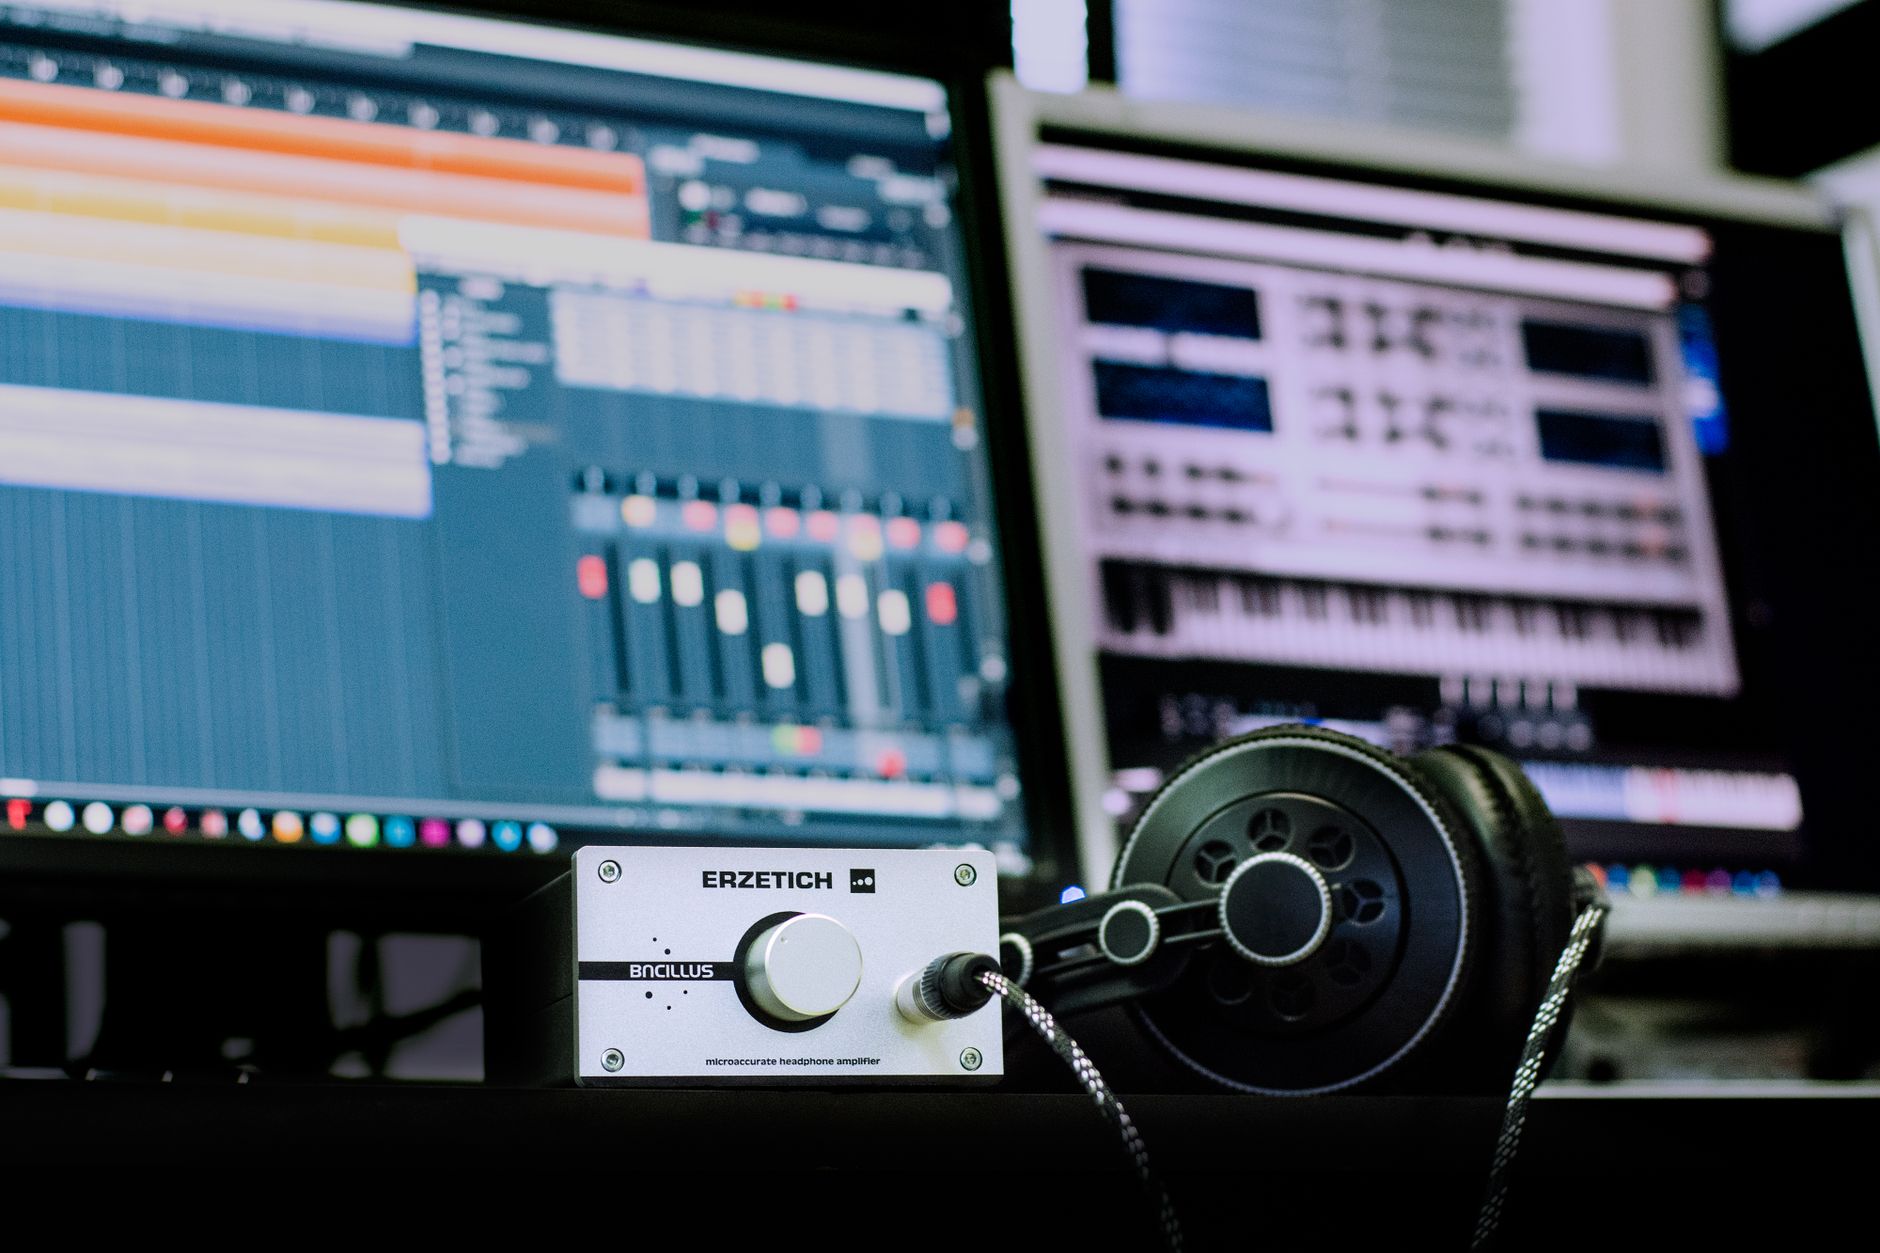 Photo: Blaz Erzetic via Pexels
That said, mixing exclusively on headphones has its own traps: stereo width is exaggerated, low-end perception differs from speakers, and ear fatigue sets in faster. The practical answer for most bedroom setups is both — a good pair of headphones for detailed work, and a pair of monitors cross-checked against them.
Headphones
| Model | Type | Use Case | Price |
|---|---|---|---|
| Sony MDR-7506 | Closed-back | Tracking, general monitoring | ~$100 |
| Audio-Technica ATH-M50x | Closed-back | Tracking, reference listening | ~$150 |
| Beyerdynamic DT 990 Pro | Open-back | Mixing only (leaks sound) | ~$180 |
| Sennheiser HD 600 | Open-back | Critical mixing | ~$330 |
Studio monitors for bedrooms
If you go with monitors, place them at ear height, forming an equilateral triangle with your listening position, and move them at least 8–12 inches from the wall behind them. Near-field monitors designed for small rooms reduce early reflection problems.
- Yamaha HS5 — flat response, trusted for translation across systems
- KRK Rokit 5 G4 — slightly hyped low-end, popular for hip-hop and EDM production
- Adam Audio T5V — ribbon tweeter, wider sweet spot than comparably-priced monitors
DAW: Pick One and Stay With It
Every major DAW produces professional results. The differences between them matter far less than your familiarity with whichever one you use. Choose based on workflow, not forum recommendations.
| DAW | Best For | Price |
|---|---|---|
| Reaper | General recording, low budget | $60 (discounted license) |
| GarageBand | Mac users, quick start | Free |
| Ableton Live Intro | Beat-making, loop-based production | ~$100 |
| Logic Pro | Mac users, full-featured production | $200 (one-time) |
| Pro Tools Artist | Industry-standard session work | Subscription |
GarageBand is a legitimate starting point — it runs on any Mac, the interface is intuitive, and projects are transferable to Logic Pro later. Reaper is the cost-efficient choice on Windows, with a trial period that doesn’t restrict features.
Acoustic Treatment: The Part Everyone Skips
Acoustic treatment in a bedroom doesn’t require covering every surface. Start with absorption in the first reflection points — the ceiling above your desk, the walls directly to your left and right — and a bass trap in at least one corner. This addresses the worst problems without turning your bedroom into a studio.
 Photo: Ron Lach via Pexels
Why your bedroom sounds bad
Parallel walls create standing waves. Bare surfaces reflect high frequencies. Low-end bass piles up in corners. The combination means recordings capture the room as much as the source — boxy, washy, often boomy around 100–200Hz.
Practical treatment that works
Reflection points: Hang 2-inch thick rigid fiberglass or rockwool panels (not egg-foam) at the first reflection points. First reflection points are where a mirror on the wall would show you your monitors — one on each side wall, one on the ceiling above the mix position.
Bass traps: Floor-to-ceiling 4-inch thick panels in corners handle low-frequency buildup. Published acoustic research consistently shows corner placement provides more broadband absorption than mid-wall placement for the same material quantity.
A closet vocal booth: Recording vocals inside a walk-in closet with clothes hanging is acoustically effective. The irregular surfaces and dense fabric break up reflections. It’s not glamorous — it works.
What not to buy: Thin foam tiles from Amazon. Published acoustic data shows 1-inch egg-foam begins absorbing meaningfully only above 2kHz. It treats high-end harshness while leaving the problematic low-mids completely untouched.
Step-by-Step: Getting Your First Recording
Signal chain
Microphone/Instrument
       ↓
Audio Interface (gain set so signal peaks around -12dBFS)
       ↓
DAW (record-enable track, monitoring via Direct/Hardware mix)
       ↓
Headphones or Monitors (interface output volume controlled separately)
Gain staging note: Set interface preamp gain so the loudest peaks hit around -12dBFS on the DAW meter — not 0, not clipped. This leaves headroom for processing and prevents digital distortion.
Recording workflow
- Set sample rate to 44.1kHz or 48kHz in both the interface control panel and DAW project settings — they must match or you’ll get pitch-shifted playback.
- Set buffer size to 256 samples for recording (lower latency), 512–1024 for mixing (lower CPU load).
- Open a new session, create an audio track, and assign the input to your interface channel.
- Enable direct monitoring on your interface — this routes input directly to your headphones without DAW latency.
- Set gain: speak or play at performance volume, adjust until the meter peaks around -12dBFS.
- Arm the track and record a test take. Listen back through headphones before committing to a full session.
- Save the session with a clear naming convention:
ProjectName_TrackName_Date_Take##.
Troubleshooting matrix
| Symptom | Likely Cause | Fix |
|---|---|---|
| High-pitched digital buzz | Sample rate mismatch (interface vs. DAW) | Match both to 44.1kHz or 48kHz |
| Latency/echo on monitored signal | DAW software monitoring enabled | Use interface direct monitoring instead |
| No signal to DAW | Wrong input selected in DAW | Set track input to match interface channel |
| Loud hum (50/60Hz) | Ground loop | Use balanced cables; try different wall outlet |
| Condenser picks up everything | Room untreated + wrong polar pattern | Switch to cardioid; add absorption behind mic |
| Preamp clipping before signal sounds loud | Gain too high | Reduce interface gain; check mic placement |
→ See also:
- The Complete Home Recording Studio Setup Guide (2026)
- How to Build a Home Studio for $500 (2026)
- How to Build a Home Studio for $300 (2026)
FAQ
Do I need acoustic treatment before I start recording? No — you can record usable audio in an untreated bedroom from day one. Treatment improves the quality of what the microphone captures, but a dynamic microphone with cardioid pattern in a reasonably quiet room will produce workable results. Start recording; add treatment as you identify specific problems.
Can I use regular consumer headphones instead of studio headphones? Consumer headphones with boosted bass and treble will mislead your mix decisions — what sounds balanced on them will often sound thin and bright on other playback systems. Studio headphones are designed for flat frequency response so what you hear reflects what’s actually in the recording. The Sony MDR-7506 at ~$100 is a reliable starting point with a decades-long track record in professional settings.
How loud is too loud for a bedroom studio setup? For recording: you want to avoid disturbing others and prevent bleed into the microphone from outside noise. For monitoring: extended listening above 85dB SPL causes hearing fatigue and long-term damage. Most bedroom studio work happens at conversational volume levels — loud enough to hear detail, quiet enough to work for hours. Dynamic microphones help because they require the source to be close and don’t pick up distant room noise as aggressively.
What’s the minimum computer spec for a home recording DAW? Any computer made in the last five years handles basic home recording without issues. For larger sessions (many plugins, virtual instruments), 16GB RAM and an SSD for your project drive make a meaningful difference. The bottleneck in most bedroom setups is audio interface driver quality and buffer size configuration, not CPU performance.
Is the Shure SM7B worth it for a bedroom setup? It depends on your interface. The SM7B has a low output level by design — it requires a preamp with at least 60dB of clean gain. The Focusrite Scarlett Solo and 2i2 technically provide enough gain but operate at the edge of their range. A Cloudlifter in-line preamp adds 25dB and solves the problem cleanly. With sufficient gain, expert consensus and widespread user documentation confirm the SM7B is genuinely forgiving of untreated rooms compared to condensers at similar price points.
Should I soundproof my bedroom or treat it acoustically? These are different things. Acoustic treatment controls sound within the room — reflections, reverb, and frequency buildup. Soundproofing prevents sound from leaving or entering the room, which requires mass (drywall, mass-loaded vinyl) and decoupled construction. For most bedroom studios, acoustic treatment is the priority. True soundproofing in a rented bedroom is expensive and often impractical; instead, record at appropriate times and use microphone technique (directional polar patterns, close mic placement) to minimize bleed.
Editorial methodology: Assessments are based on manufacturer specifications, published user reviews, and editorial research. Physical hands-on testing is noted explicitly where it occurred. Rankings reflect our editorial judgment and are not influenced by affiliate commission rates. Full editorial policy · Affiliate disclosure