Contents
The Complete Budget Home Studio Guide (2026)
TL;DR: A functional budget home studio costs $200–$500 to build from scratch. You need four things: an audio interface, a condenser microphone, studio monitors or headphones, and a DAW. Skip everything else until you’ve recorded 10 songs — most “essential” gear isn’t.
| Gear | Best Pick | Price |
|---|---|---|
| Audio Interface | Focusrite Scarlett Solo | ~$100 |
| Condenser Mic | Audio-Technica AT2020 | ~$100 |
| Headphones | Sony MDR-7506 | ~$80 |
| DAW | GarageBand (Mac) / Reaper (Win) | Free / $60 |
| Minimum viable total | ~$280–$340 |
What Do You Actually Need to Start Recording?
You need an audio interface, a microphone, something to monitor with, and a DAW. That’s it. The minimum viable budget home studio runs around $200 if you’re careful, $350 if you want a little headroom. Everything beyond that is an upgrade, not a requirement.
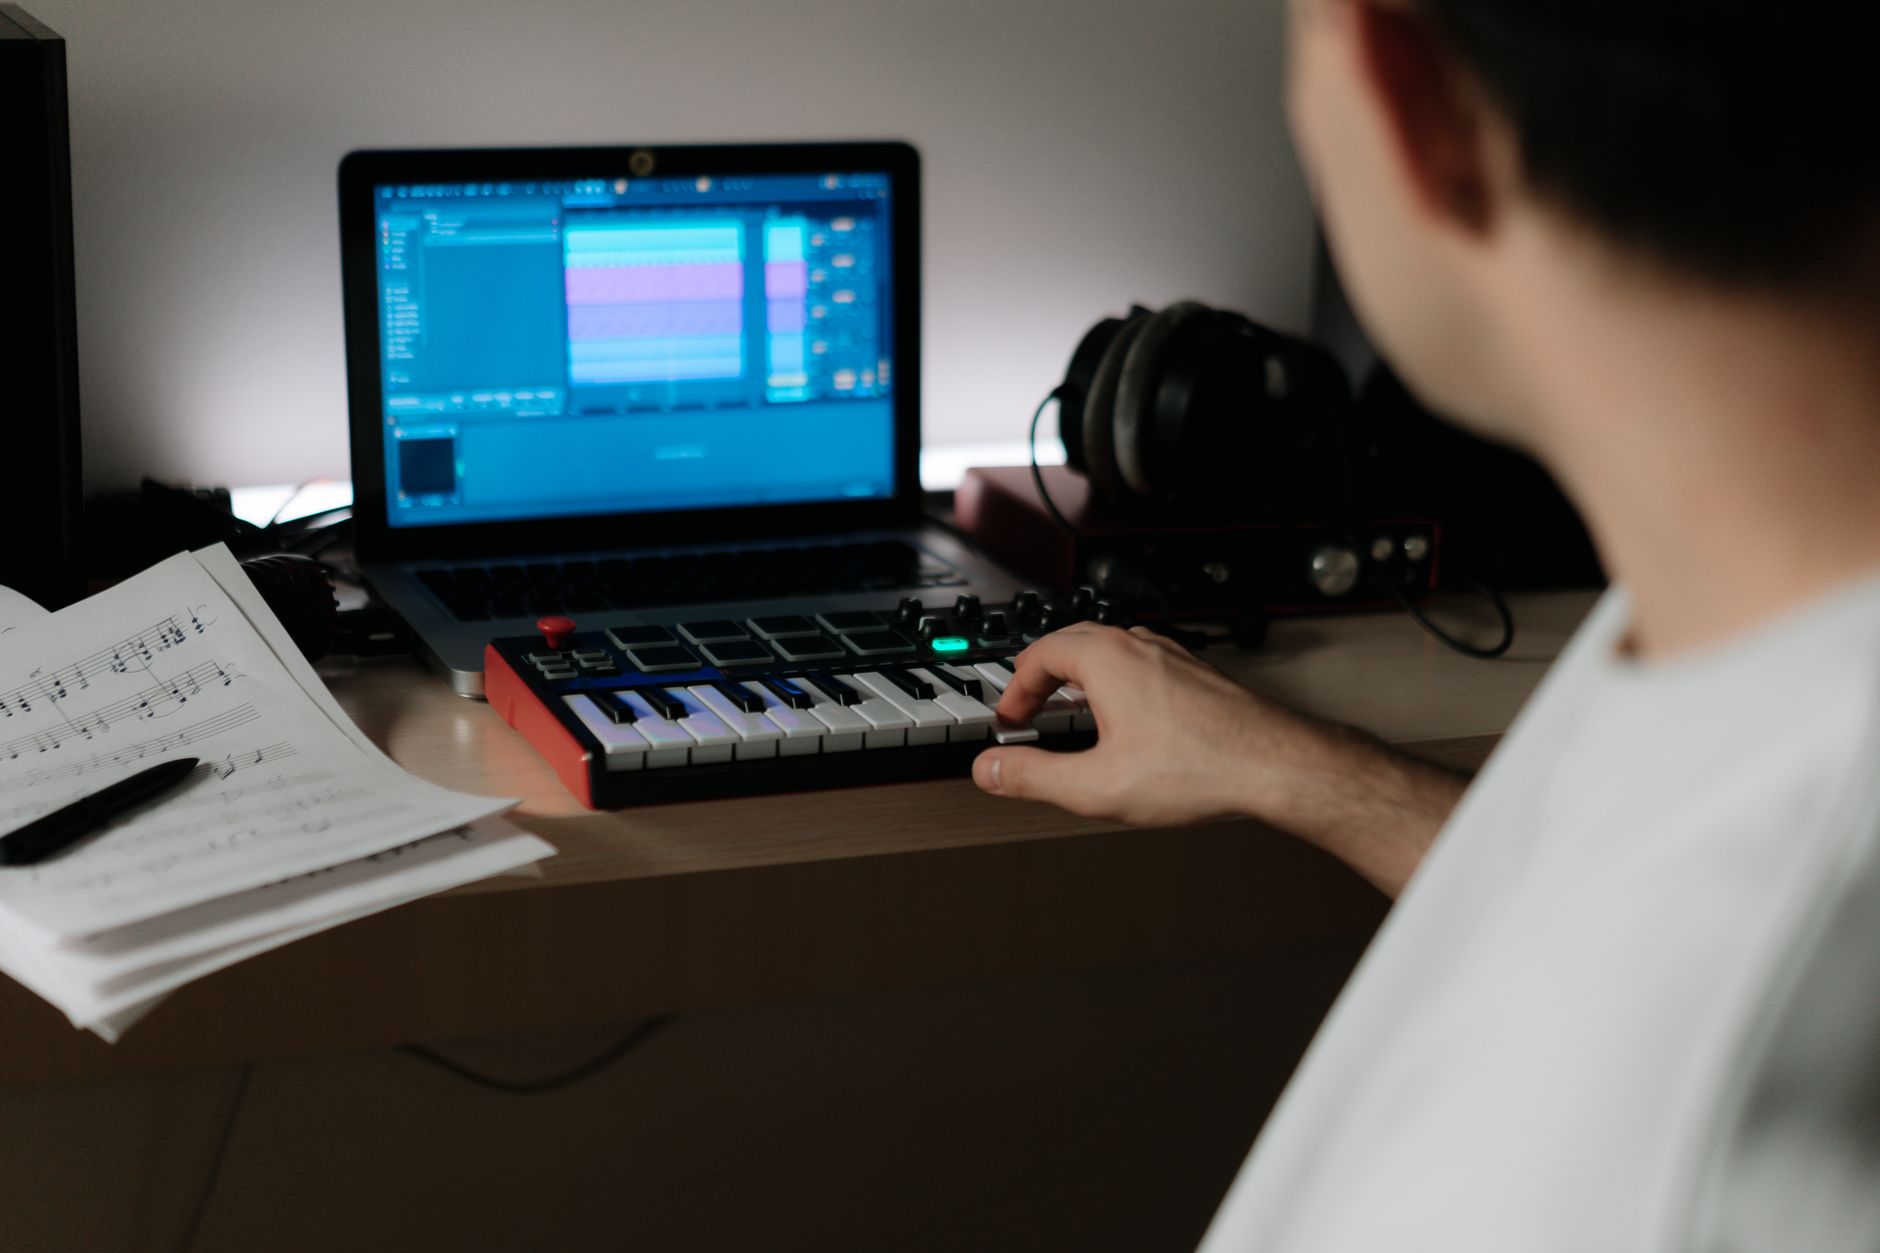
 Photo: Minh Phuc via Pexels
The gear industry profits from convincing you that your recordings sound bad because you own the wrong equipment. They mostly don’t. Most bedroom recordings sound bad because of untreated rooms, poor mic placement, and lack of editing practice — none of which cost money to fix.
Here’s what the core chain looks like:
| Component | What It Does | Budget Entry Point |
|---|---|---|
| Audio Interface | Converts mic/instrument signal to digital | $50–$100 |
| Microphone | Captures sound | $50–$100 |
| Headphones or Monitors | Playback and mixing | $50–$150 |
| DAW | Records and edits audio | $0–$100 |
That’s your signal chain. Mic → Interface → DAW → Monitors/Headphones. Learn this flow cold before buying anything else.
Audio Interfaces: The Foundation of Every Budget Home Studio
The audio interface is the most important purchase in your budget home studio setup. It determines the quality of everything going in and out. At the $50–$100 price point, the Focusrite Scarlett Solo and PreSonus AudioBox USB 96 are the two options worth considering — everything cheaper introduces noise floors and driver issues that create more problems than they solve.
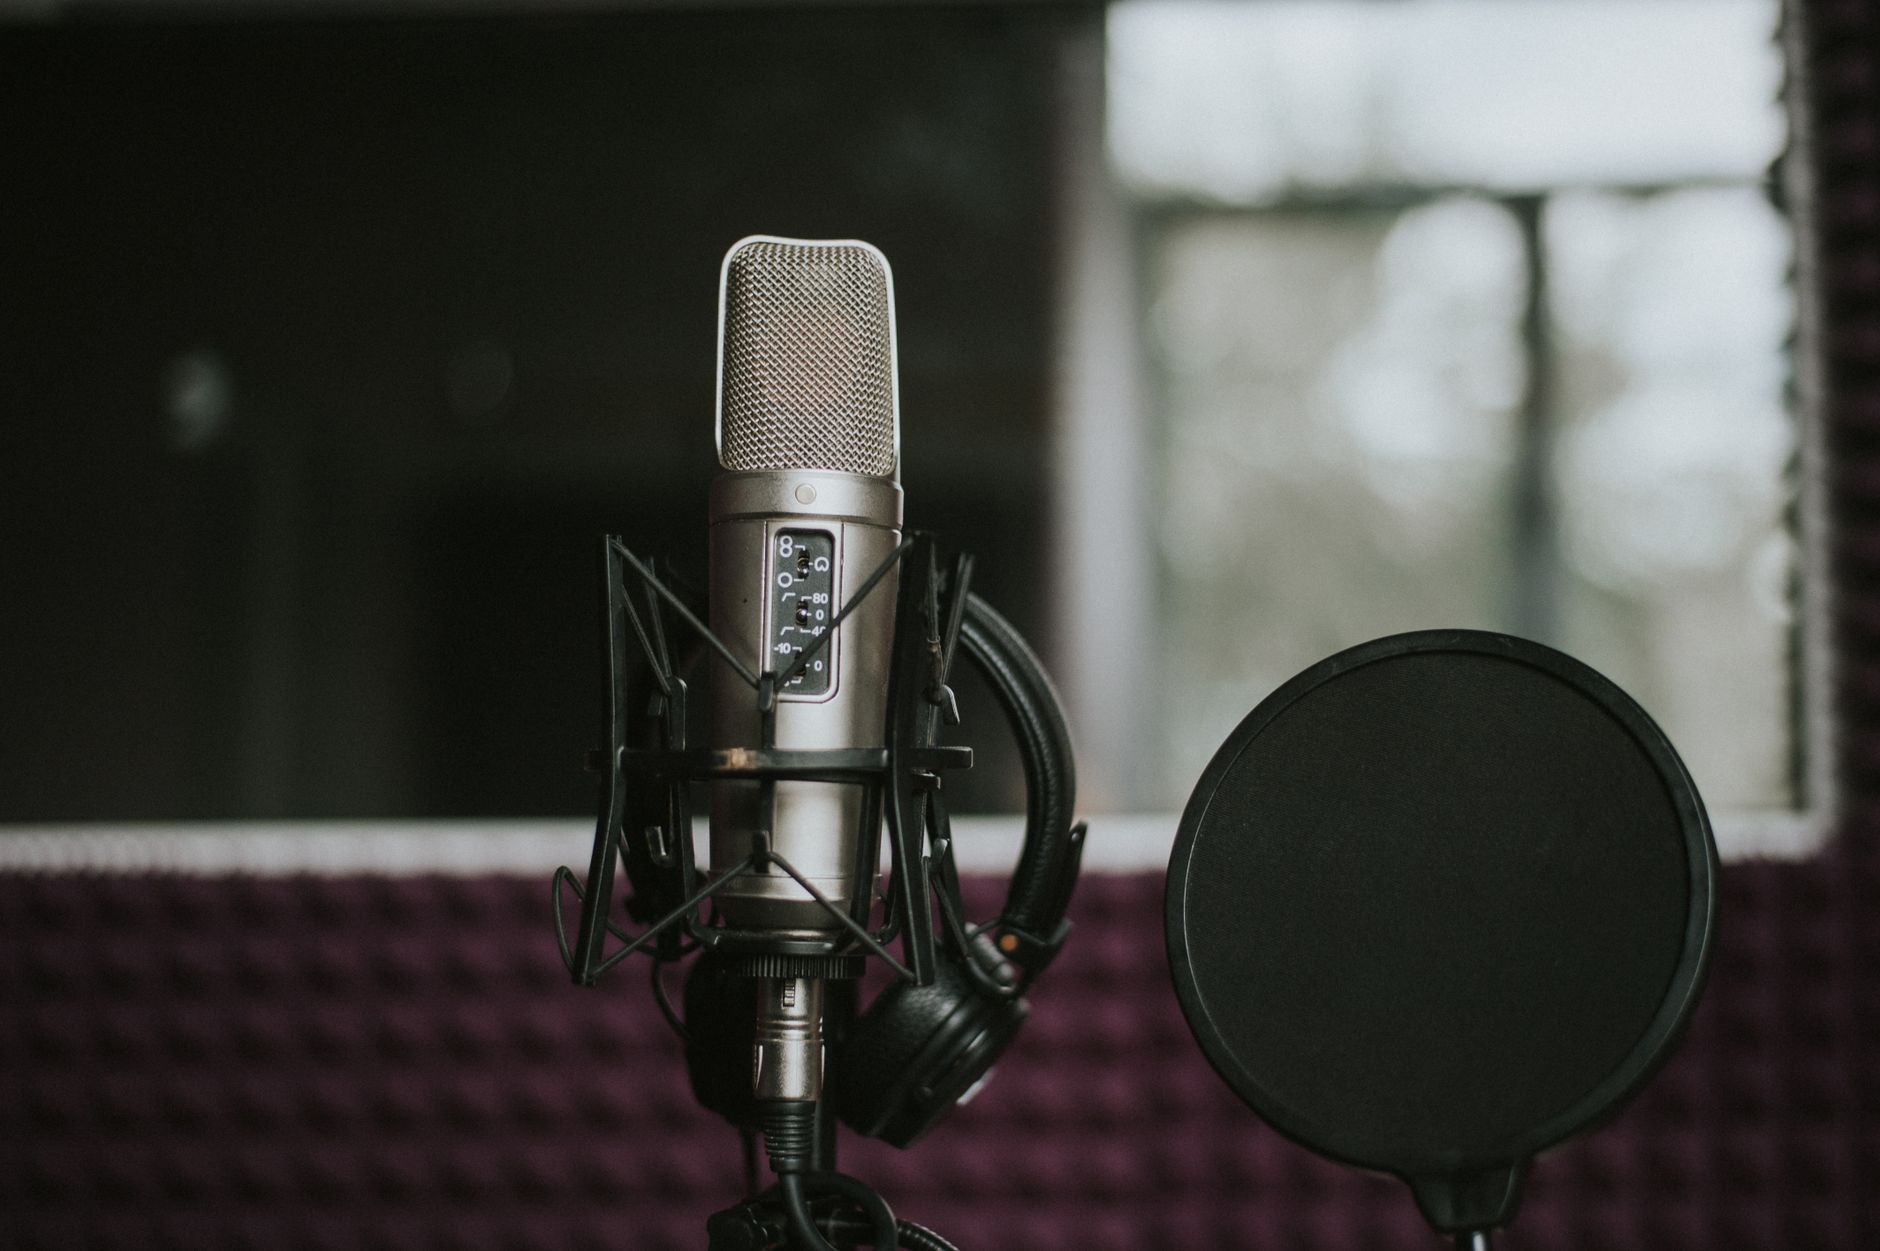
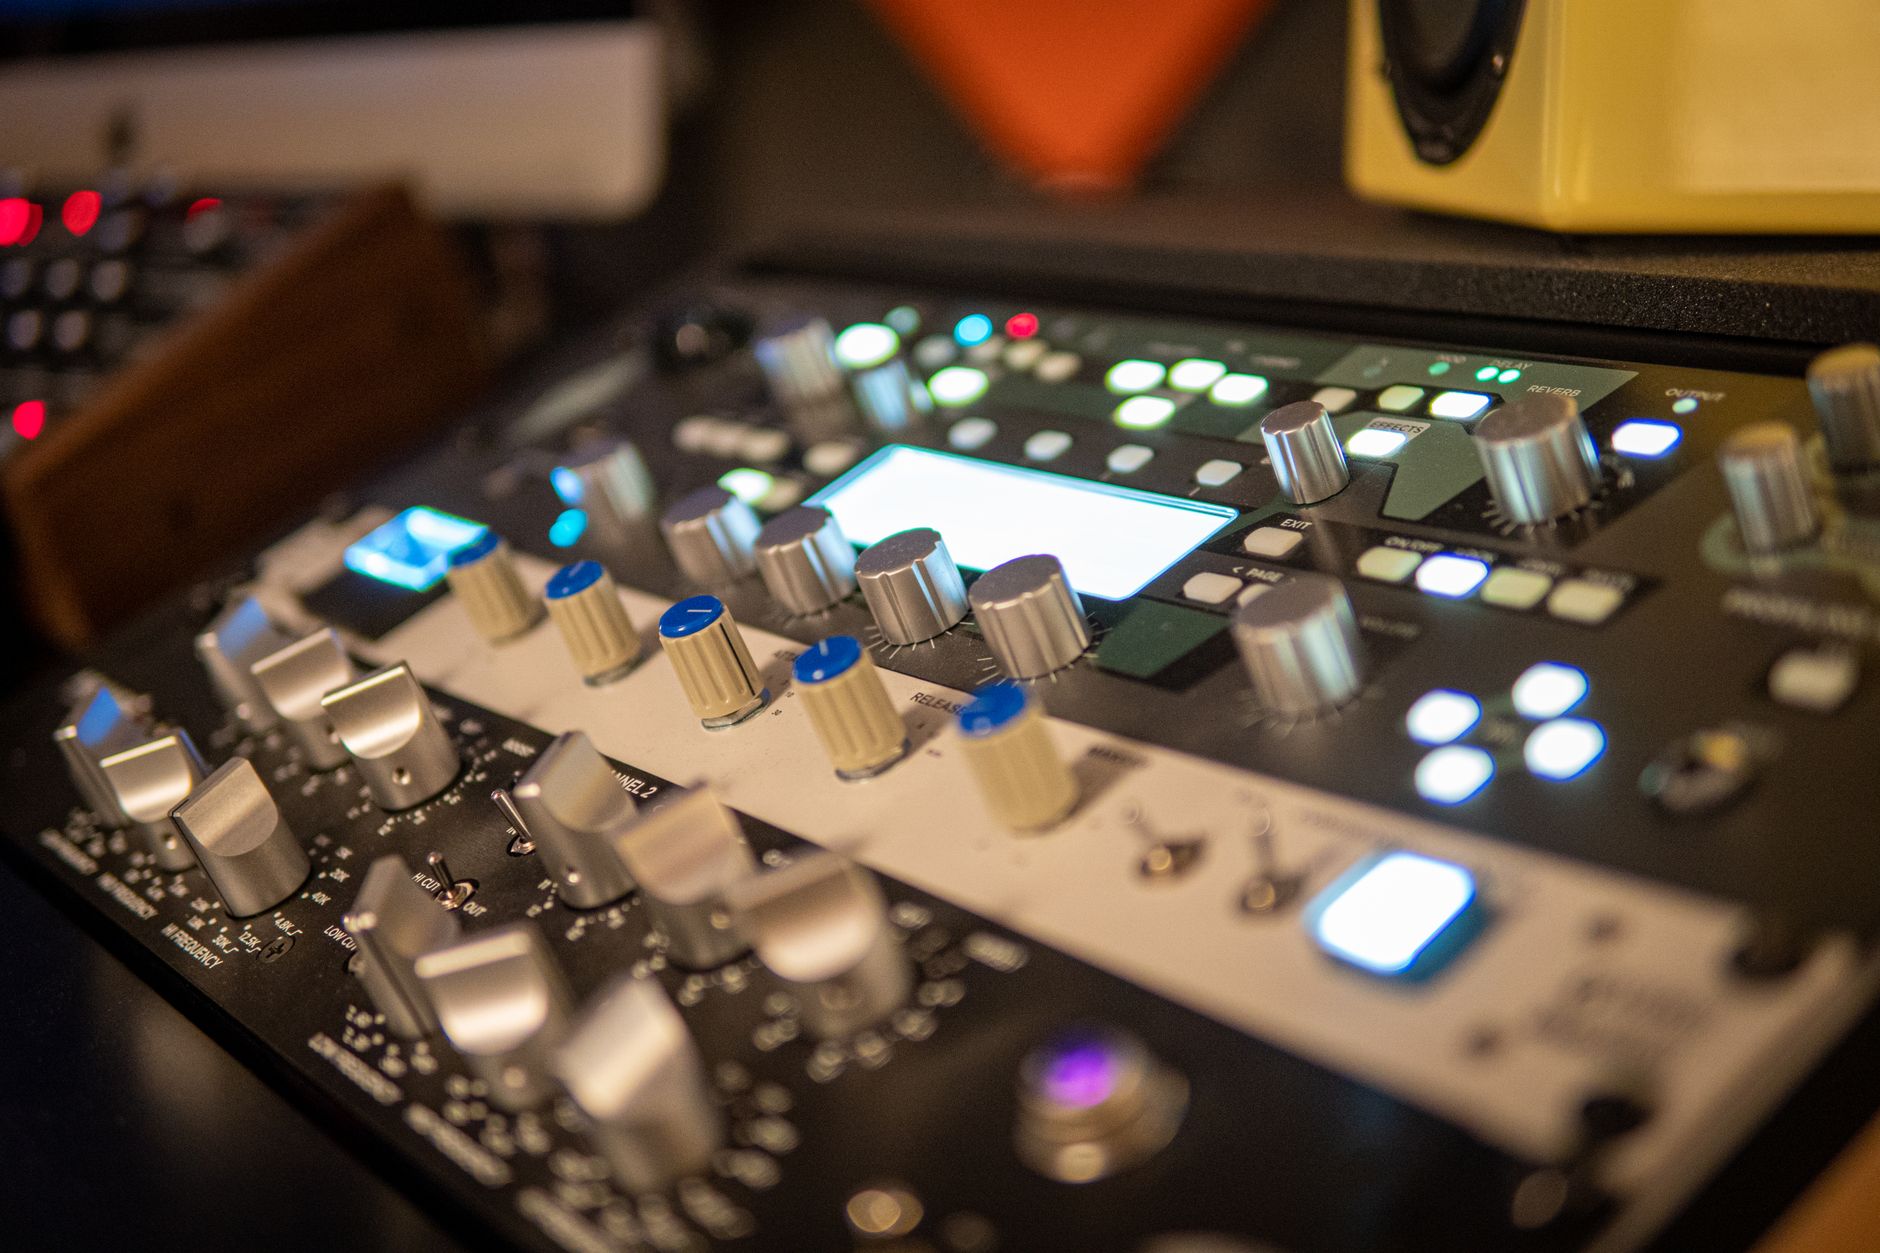 Photo: Andreu Marquès via Pexels
Focusrite Scarlett Solo (3rd Gen)
The Solo is the default recommendation for a reason: consistent preamp noise performance, class-compliant USB drivers, and a software bundle that includes a stripped-down DAW and plugin collection. It’s a 2-in/2-out interface — one combo XLR/TRS input, one instrument input, two outputs.
Specs:
| Spec | Value |
|---|---|
| Connections | USB-C |
| I/O Count | 2 in / 2 out |
| Preamps | 1 × Focusrite 3rd Gen |
| Bit Depth / Sample Rate | 24-bit / 192kHz |
| Bus Power | Yes |
| Best For | Solo vocalists, singer-songwriters, podcasters |
PreSonus AudioBox USB 96
The AudioBox costs slightly less and includes two combo inputs — useful if you want to record two sources simultaneously. Preamp quality and noise performance are comparable to the Scarlett at this price tier. Bundles with Studio One Artist, which is a genuinely capable DAW.
Specs:
| Spec | Value |
|---|---|
| Connections | USB-B |
| I/O Count | 2 in / 2 out |
| Preamps | 2 × PreSonus |
| Bit Depth / Sample Rate | 24-bit / 96kHz |
| Bus Power | Yes |
| Best For | Home producers who record two sources at once |
Comparison:
| Product | Price | Key Spec | I/O | Best For | Verdict |
|---|---|---|---|---|---|
| Focusrite Scarlett Solo | ~$120 | 24-bit/192kHz | 2-in/2-out | Solo recording | Best default |
| PreSonus AudioBox USB 96 | ~$100 | 24-bit/96kHz | 2-in/2-out | Two-source setups | Best value |
| Behringer U-Phoria UM2 | ~$50 | 16-bit/48kHz | 2-in/2-out | Ultra-tight budget | Last resort |
Verdict by archetype:
- First-time beginner: Focusrite Scarlett Solo — zero driver headaches, solid bundle
- Bedroom producer: PreSonus AudioBox USB 96 — two inputs, strong DAW included
- Gigging musician: Scarlett Solo — compact, bus-powered, works anywhere
- Prosumer: Step up to the Focusrite Scarlett 2i2 (4th Gen) for improved preamps
Microphones: What to Buy on a Tight Budget
For a budget home studio, the Audio-Technica AT2020 is the best condenser microphone under $100. Published frequency response data and long-term user consensus both point to it as the reference choice at this price tier. Below $50, the Fifine K669B performs adequately for voice and acoustic sources. Spend less than $30 and you will hear it in your recordings.
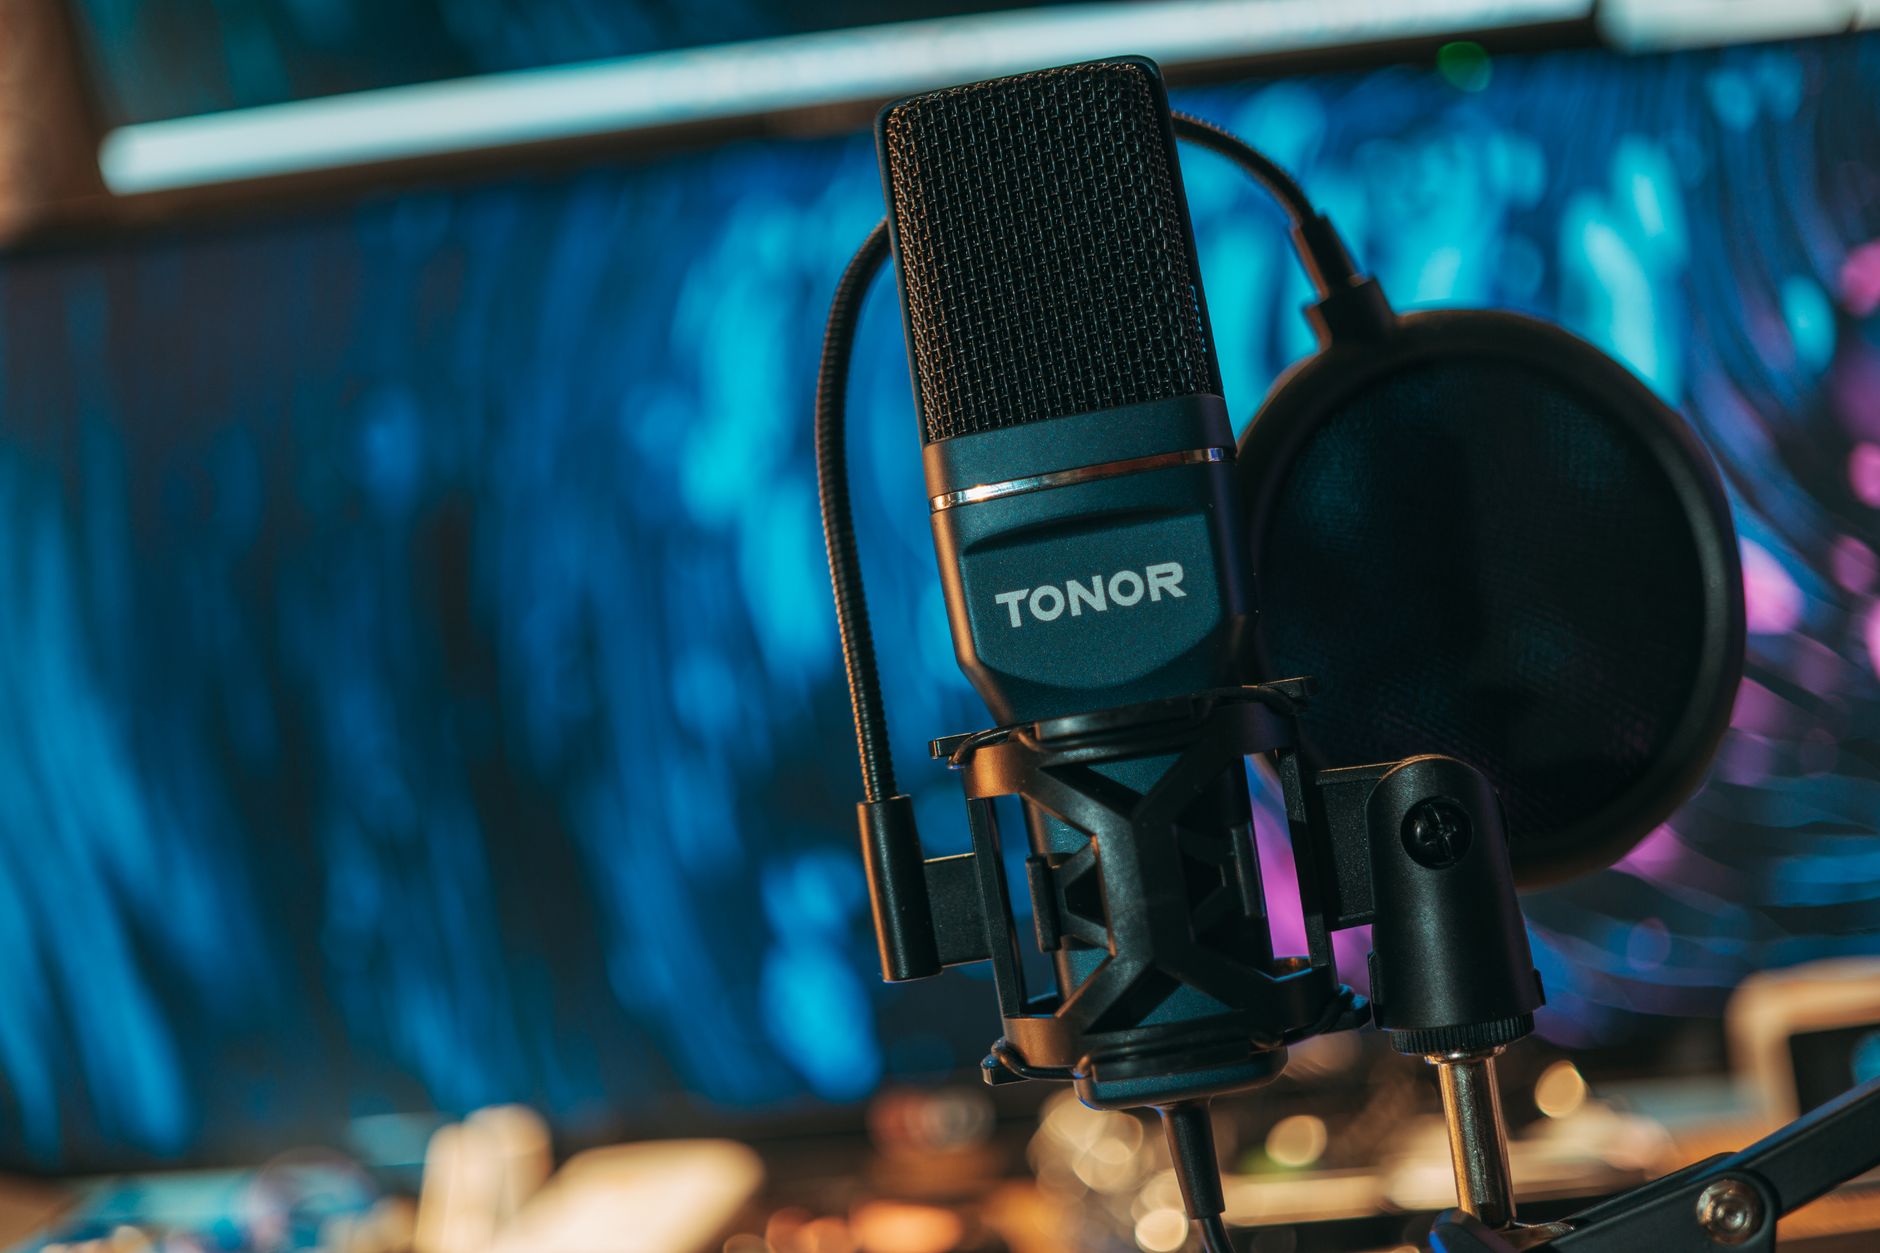
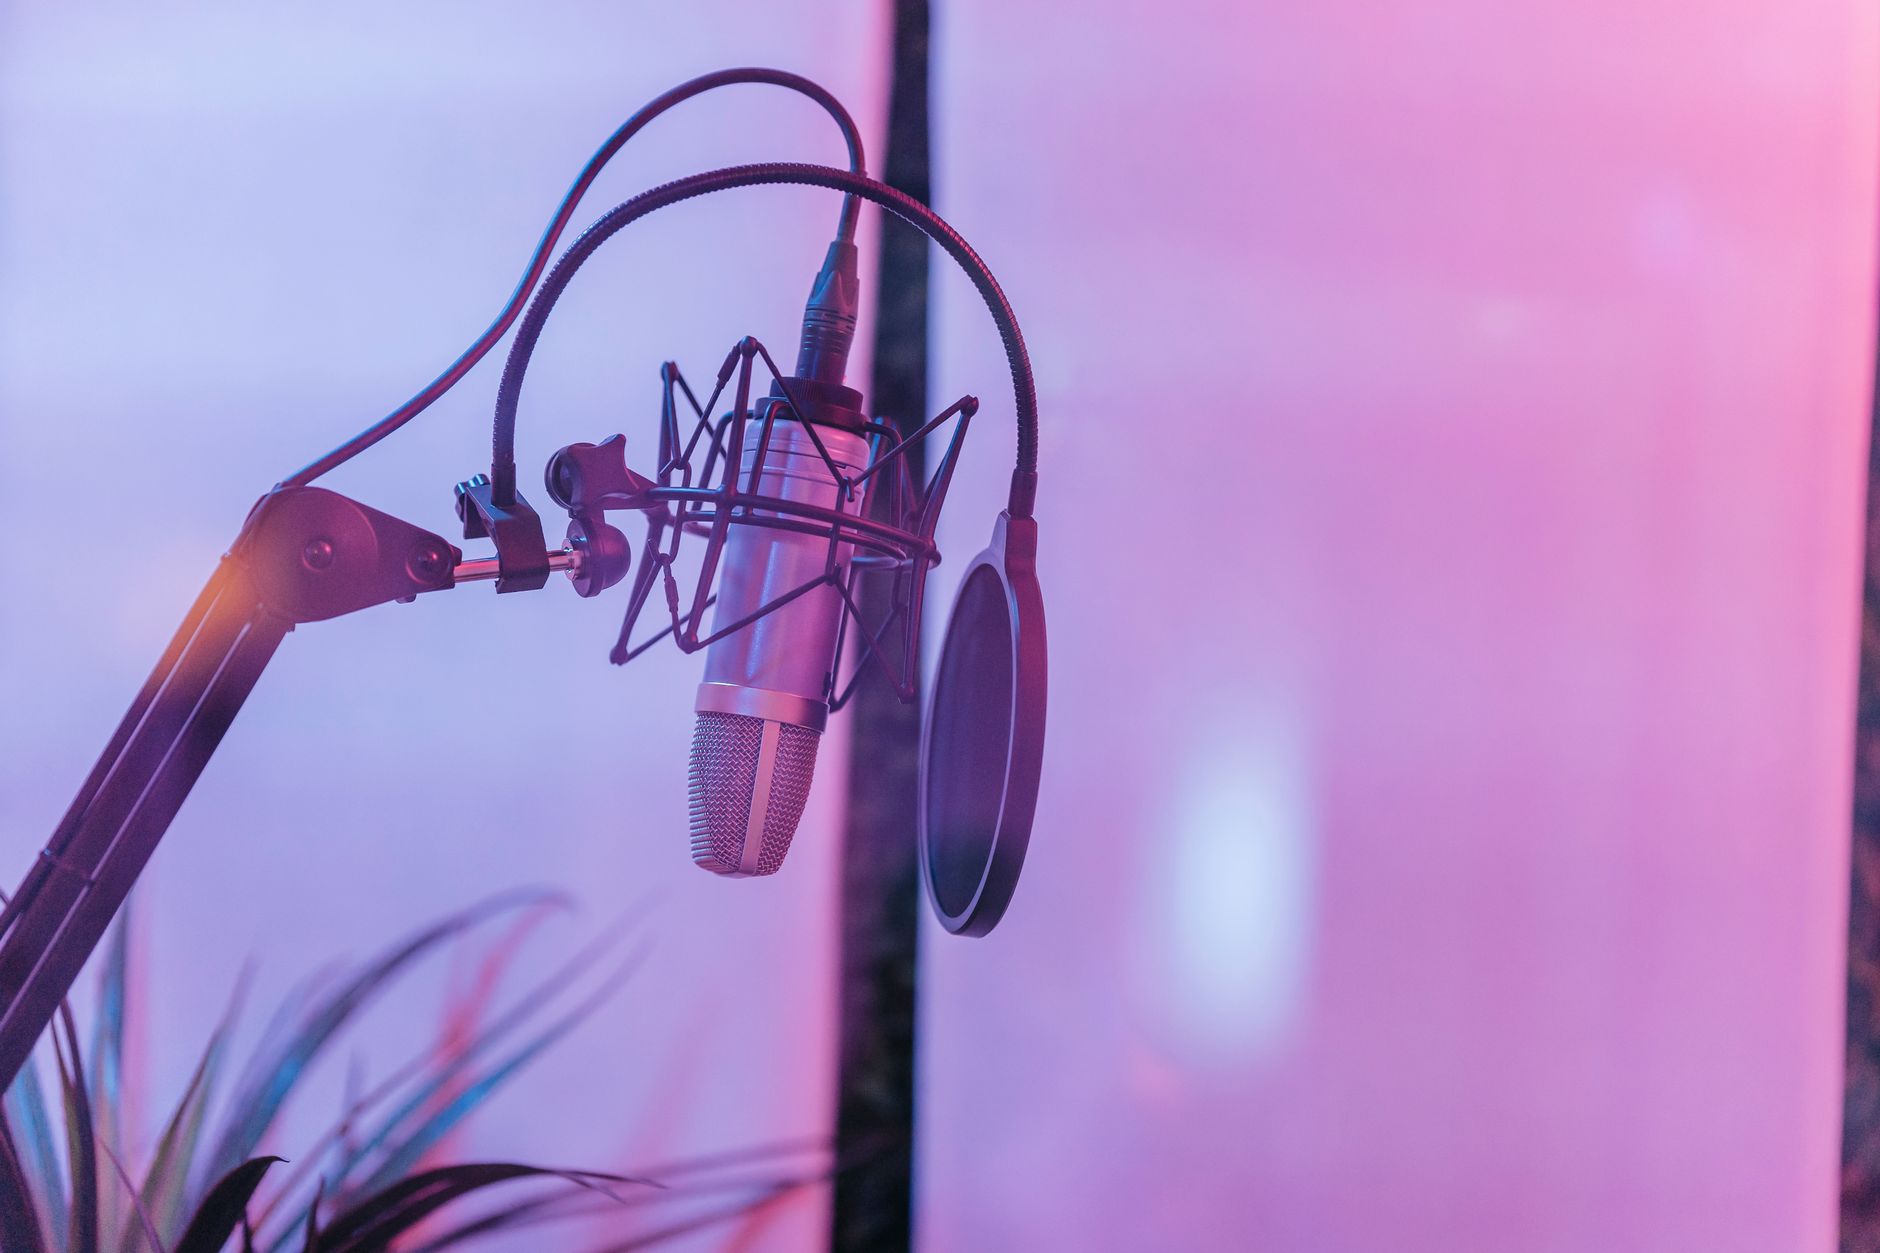 Photo: Anna Pou via Pexels
Large-Diaphragm Condensers Under $100
Large-diaphragm condensers are the standard for vocals, acoustic guitar, and most studio applications. They require 48V phantom power — your audio interface provides this with a button press.
Audio-Technica AT2020
The AT2020 has been the entry-level condenser benchmark for over a decade. According to published frequency response measurements and independent user comparisons, it holds its own against condensers that cost twice as much. Cardioid polar pattern, low self-noise (20 dB-A), handles up to 144dB SPL — enough for close-mic’d guitar amps.
Rode NT1-A
At roughly $180–$200 street, the NT1-A sits above budget territory but deserves mention as the first upgrade target. Published noise specifications (5 dB-A self-noise) make it one of the quietest studio condensers at any price. Includes a shock mount and pop filter. If you can stretch the budget, the noise floor difference is audible on quiet acoustic sources.
Microphone Comparison:
| Product | Price | Pattern | Self-Noise | Max SPL | Best For |
|---|---|---|---|---|---|
| Fifine K669B | ~$30 | Cardioid | Not published | ~110dB | Voiceovers, tight budgets |
| Audio-Technica AT2020 | ~$100 | Cardioid | 20 dB-A | 144 dB | Vocals, acoustic guitar, general tracking |
| Rode NT1-A | ~$180 | Cardioid | 5 dB-A | 137 dB | Quiet sources, professional vocal chains |
Dynamic Microphones for Loud Sources
Dynamic mics don’t need phantom power and handle loud sources without distortion. The Shure SM58 is the standard live and budget studio vocal dynamic. The SM57 is the near-universal choice for close-mic’d guitar cabinets and snare drums — it appears on more professional recordings than almost any other microphone.
For a complete budget home studio setup, one condenser (AT2020) and one dynamic (SM57 or SM58) covers 90% of recording scenarios.
Studio Monitors vs. Headphones: Which to Buy First
Buy headphones first. Studio monitors require room treatment to be useful for mixing — without acoustic panels or bass traps, monitor playback in an untreated room gives you inaccurate low-frequency information that leads to bad mix decisions. A $150 pair of open-back headphones outperforms $300 monitors in an untreated bedroom for mix accuracy.
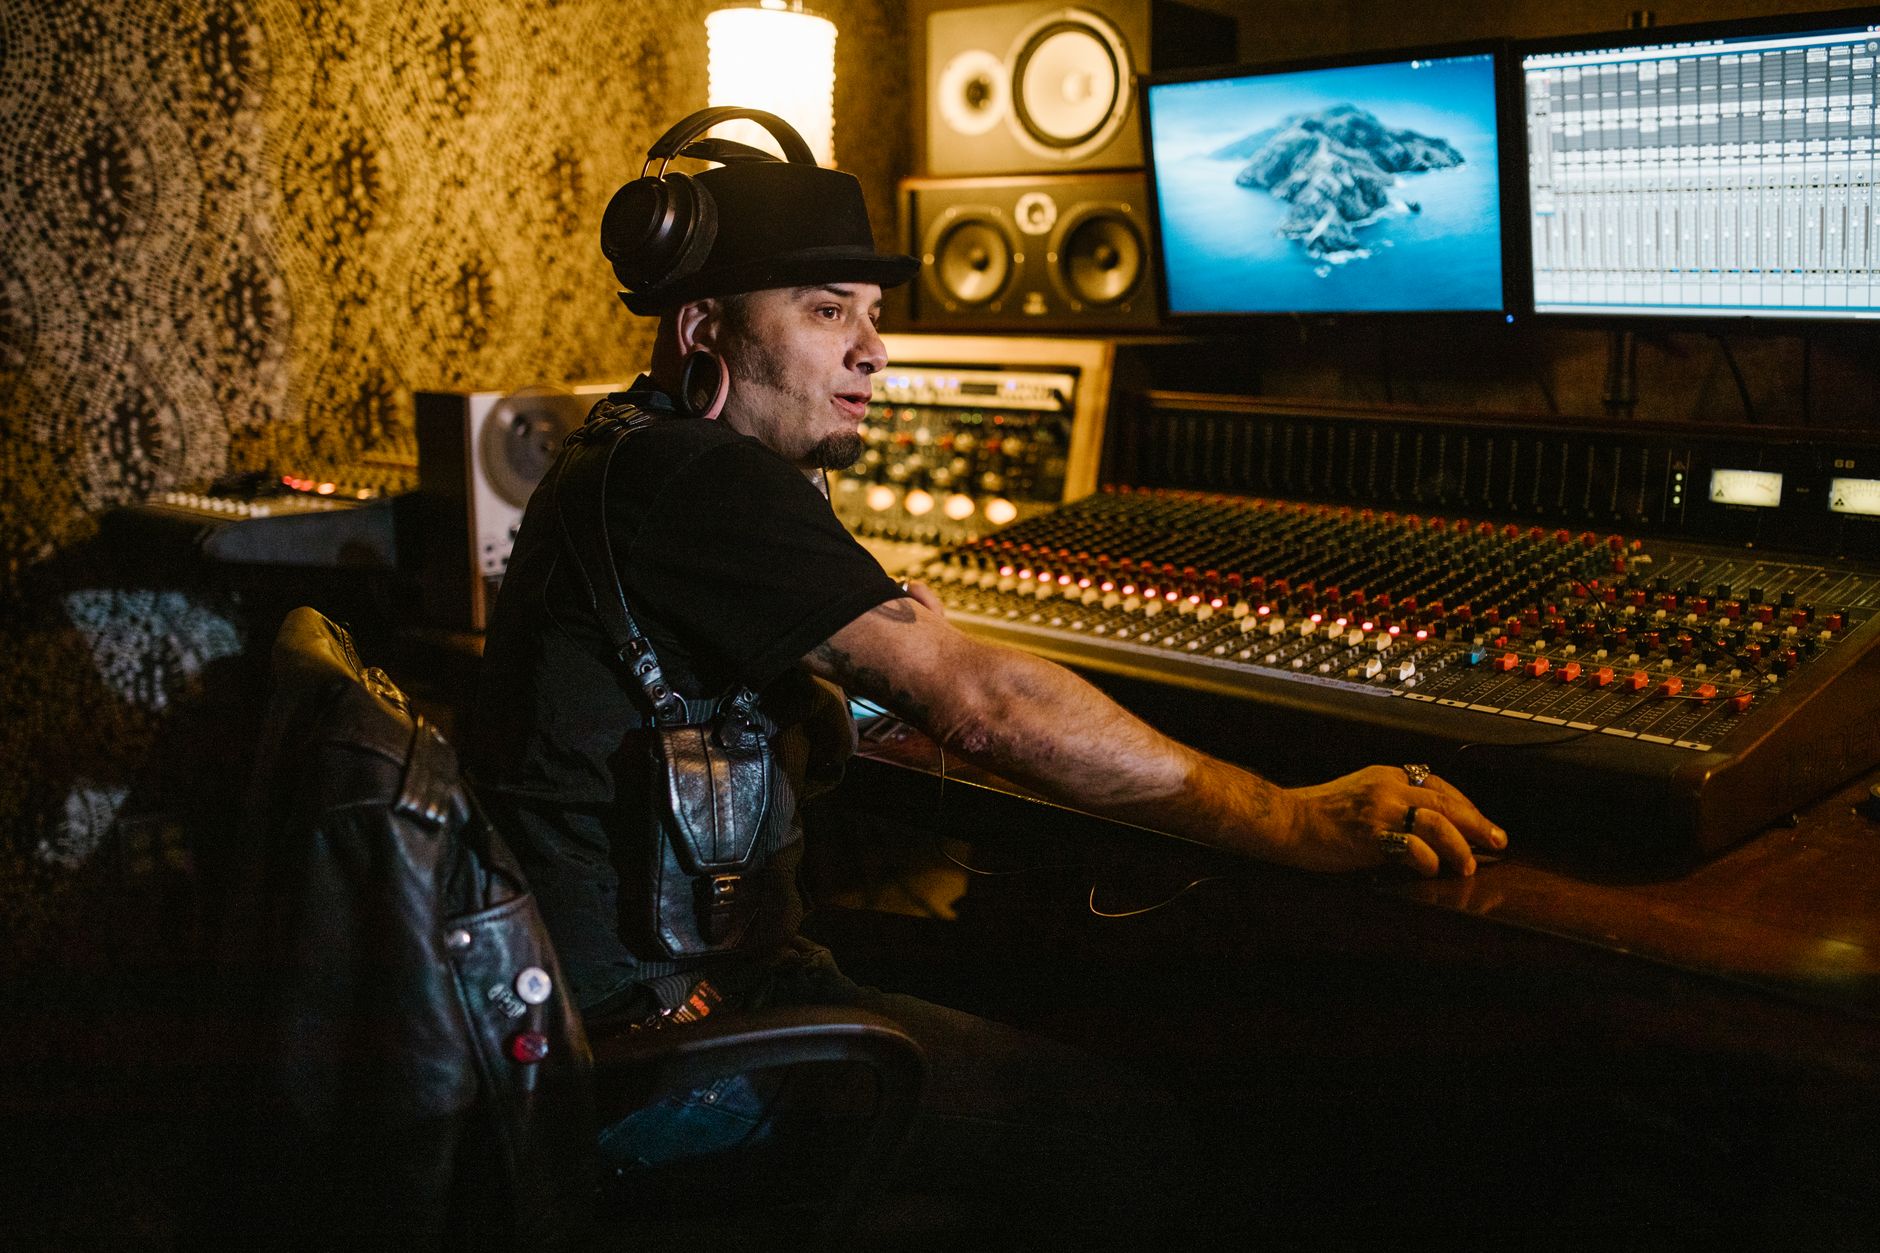 Photo: RDNE Stock project via Pexels
Headphones for the Budget Home Studio
Sony MDR-7506
The MDR-7506 has been the broadcast and project studio standard for decades. Closed-back design makes them useful for tracking (no bleed into the mic), and the slightly hyped high-end, while not flat, is well-documented — once you know the frequency character, you can compensate. Street price sits around $90–$100.
Audio-Technica ATH-M50x
The ATH-M50x is the other name that appears in every budget headphone discussion for good reason. Slightly more extended bass response than the MDR-7506, detachable cable, and comparable isolation. Expert consensus suggests the M50x is marginally better for mixing; the MDR-7506 marginally better for tracking due to a slightly more neutral mid-range.
When to Add Studio Monitors
Once you’ve treated your room — even minimally, with a rug, bookshelf diffusion, and corner treatment — studio monitors become worthwhile. For the budget home studio, the Yamaha HS5 is the reference near-field monitor at $200/side. Their notoriously flat, mid-forward character trains your ears to mix for translation. The Adam Audio T5V is an alternative with a ribbon tweeter and more extended high-frequency detail.
Headphone vs. Monitor Comparison:
| Option | Price | Type | Best For | Limitation |
|---|---|---|---|---|
| Sony MDR-7506 | ~$100 | Closed-back | Tracking + rough mixing | Hyped highs |
| Audio-Technica ATH-M50x | ~$150 | Closed-back | Mixing | Bass-heavy character |
| Yamaha HS5 (pair) | ~$400 | Near-field monitor | Mixing with treated room | Needs room treatment |
| Adam Audio T5V (pair) | ~$350 | Near-field monitor | Detailed mixing | Needs room treatment |
DAWs: Free and Low-Cost Options That Don’t Compromise
Start with a free DAW. GarageBand (Mac), Cakewalk by BandLab (Windows), and Ardour (Mac/Windows/Linux) are all fully capable of professional-quality recording. The difference between a free DAW and a $600 DAW is workflow speed and plugin ecosystem — not recording quality.
Every audio interface in the budget tier bundles a DAW license:
- Focusrite Scarlett bundles Ableton Live Lite + Pro Tools Intro
- PreSonus AudioBox bundles Studio One Artist
- Native Instruments Komplete Audio bundles Komplete Start
Use whatever comes with your interface for the first six months. Learn it. The cost of switching DAWs is high in time and mental overhead; the returns diminish past a basic level of competency.
DAW Comparison:
| DAW | Price | Platform | Best For | Learning Curve |
|---|---|---|---|---|
| GarageBand | Free | Mac only | Beginners, iOS integration | Very low |
| Cakewalk by BandLab | Free | Windows only | Multi-track recording | Medium |
| Ardour | Free / $1/month | Mac/Win/Linux | Open-source power users | High |
| Ableton Live Lite | Free (bundled) | Mac/Win | Loop-based production | Medium |
| Studio One Artist | ~$100 | Mac/Win | Songwriting, recording | Low |
| Reaper | $60 | Mac/Win/Linux | Everything | Medium |
Reaper deserves a separate note. At $60 for a personal license, it’s the most complete DAW at any price point. Routing flexibility, low CPU overhead, and a plugin ecosystem that rivals Pro Tools. If you’re not on Mac (where GarageBand is the obvious free choice), Reaper is the answer.
Acoustic Treatment on a Budget
Room acoustics affect your recordings more than any piece of gear. A $50 investment in basic treatment — a moving blanket behind the microphone, a rug on the floor, and recording in a corner with bookshelves — reduces room reflections meaningfully. You don’t need foam panels to make better recordings.
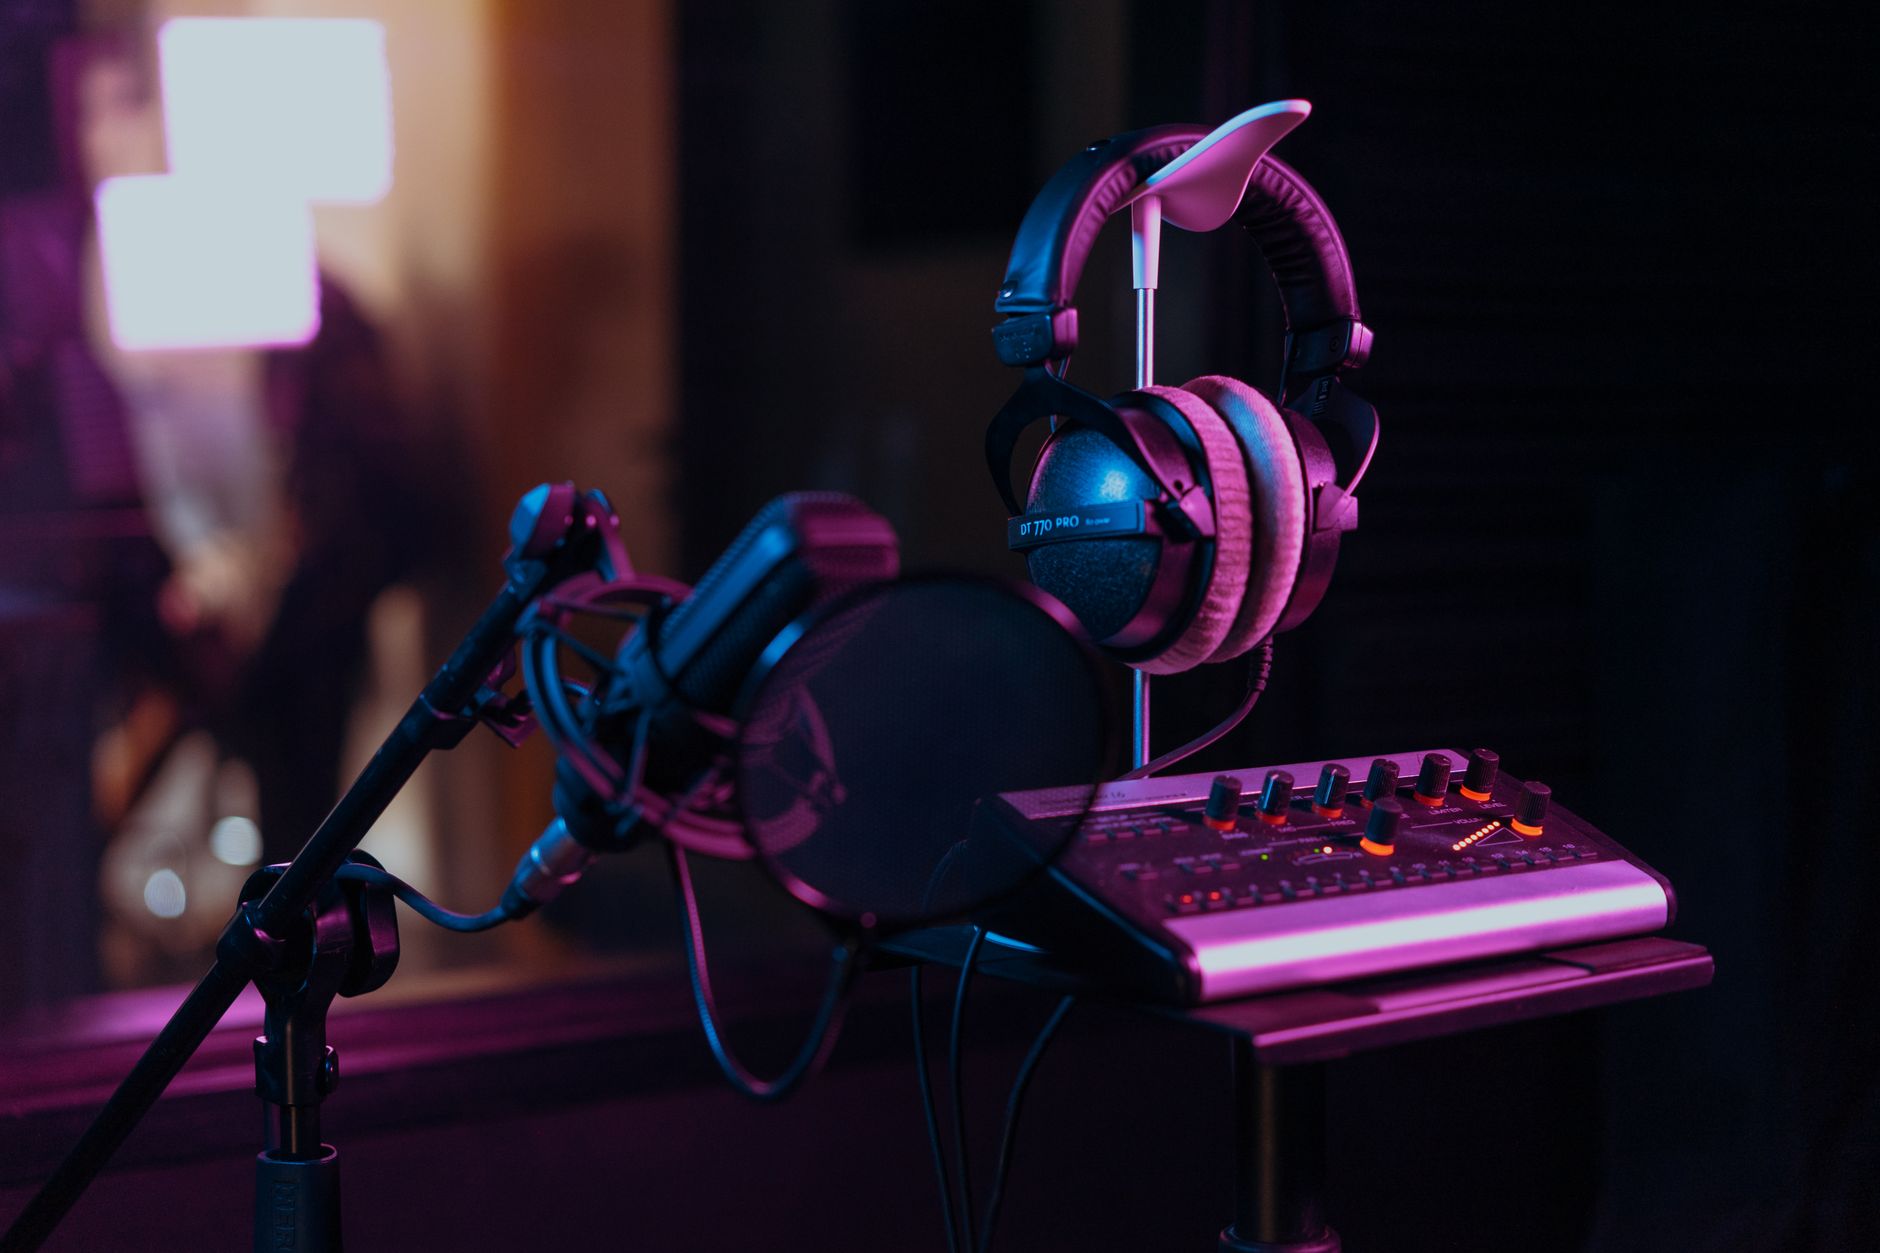 Photo: Los Muertos Crew via Pexels
The three main acoustic problems in untreated rooms:
- Flutter echo — parallel walls causing rapid repeating reflections. Break up parallel surfaces with bookshelves, irregular objects, or a corner position.
- Bass buildup — low frequencies accumulate in room corners. Bass traps (thick absorption in corners) address this; commercial options start around $50/pair.
- Early reflections into the microphone — sound hitting the mic directly plus reflected from walls causes comb filtering. A reflection filter behind the mic and a moving blanket around your recording position reduces this significantly.
Budget Treatment Approach:
| Problem | DIY Solution | Cost |
|---|---|---|
| Flutter echo | Bookshelves, irregular surfaces | $0 |
| Early reflections | Moving blanket behind mic | $30–$50 |
| Bass buildup | Rockwool/mineral wool corner panels | $40–$80 DIY |
| General diffusion | Bookshelves with varied books | $0 |
A reflection filter like the sE Electronics Reflexion Filter mounts directly to your mic stand and provides portable dead-space isolation. According to manufacturer specifications, it reduces room reflections by up to 38dB in the critical 500Hz–16kHz range. Useful for apartments where you can’t modify walls.
Complete Budget Home Studio Setup Tiers
Tier 1: Absolute Minimum ($200–$250)
Everything you need to record and release music. Nothing more.
| Item | Recommendation | Price |
|---|---|---|
| Audio Interface | PreSonus AudioBox USB 96 | $100 |
| Microphone | Audio-Technica AT2020 | $100 |
| Headphones | Use existing consumer headphones | $0 |
| DAW | GarageBand / Cakewalk / bundled | $0 |
| Mic Stand | Generic boom stand | $25 |
| XLR Cable | 10ft cable | $15 |
| Total | ~$240 |
Tier 2: Solid Starter Rig ($350–$500)
The setup that will last you through your first few years without major gaps.
| Item | Recommendation | Price |
|---|---|---|
| Audio Interface | Focusrite Scarlett 2i2 (4th Gen) | $170 |
| Microphone | Audio-Technica AT2020 | $100 |
| Headphones | Sony MDR-7506 | $100 |
| DAW | Bundled Ableton Lite / Reaper | $0–$60 |
| Mic Stand + Pop Filter | Generic | $35 |
| XLR Cables (x2) | 10ft | $25 |
| Total | ~$430–$490 |
Tier 3: Prosumer Setup ($700–$1000)
Where diminishing returns start showing up, but the jump from Tier 2 is still meaningful.
| Item | Recommendation | Price |
|---|---|---|
| Audio Interface | Focusrite Scarlett 4i4 or Universal Audio Volt 2 | $200–$250 |
| Microphone | Rode NT1-A | $180 |
| Dynamic Mic | Shure SM57 | $100 |
| Headphones | Audio-Technica ATH-M50x | $150 |
| Monitors | Yamaha HS5 (pair) | $400 |
| DAW | Studio One Professional / Reaper | $60–$400 |
| Total | ~$1,090–$1,480 |
What to Skip Until Later
The gear industry will tell you that you also need: a preamp, a compressor, a DI box, a midi controller, acoustic panels, outboard EQ, a vocal booth, a patchbay, monitor isolation pads, and a hardware reverb unit.
You don’t. Here’s the honest breakdown:
- Preamp: Your audio interface already has one. External preamps improve things marginally at the budget tier and substantially at $500+. Skip until your interface is the clear bottleneck.
- Hardware compressor: Your DAW has compression plugins that are transparent and flexible. Hardware compression matters in tracking contexts at high session volumes. Skip for years.
- Vocal booth: A corner with a moving blanket beats most $300 vocal booths for recording quality. Buy treatment materials instead.
- MIDI controller: Useful only if you’re doing production-heavy work with virtual instruments. If you’re primarily recording live instruments, skip indefinitely.
- Outboard EQ: Zero utility when you have a full-featured DAW with quality EQ plugins.
→ See also:
- Cheapest Way to Start Recording Music — absolute minimum path from zero to first recording
- Best Home Recording Gear Under $50 — individual budget components reviewed
FAQ
What is the minimum budget for a home studio? The minimum viable budget home studio costs around $200–$250 for an audio interface, condenser microphone, basic mic stand, and XLR cable. A free DAW like GarageBand or Cakewalk handles recording. You can record releasable music at this tier — the gap between budget and professional gear is smaller than it was a decade ago.
Can I record music with just a laptop and USB microphone? Yes — a USB microphone like the Audio-Technica ATR2500x connects directly to your laptop without an audio interface. This approach limits you to a single input with no way to record instruments simultaneously, and you bypass the DAC in a dedicated audio interface. It’s a functional starting point, but an audio interface gives you more flexibility for roughly the same cost.
Do I need acoustic treatment before buying gear? Basic treatment should happen before or alongside your first gear purchase, not after. A moving blanket behind the microphone and a rug on a hard floor costs under $50 and has a greater impact on recording quality than upgrading from a $100 microphone to a $200 one. Untreated room acoustics are the most common reason budget home studio recordings sound amateur.
Is GarageBand good enough for professional recordings? GarageBand is capable of professional recordings. The limiter is your skills, your room, and your signal chain — not the DAW software. Multiple commercially released albums have been recorded and mixed entirely in GarageBand. When you outgrow GarageBand’s workflow limitations (limited plugin support, no video scoring, no surround), Logic Pro X is a $200 upgrade that uses the same project format.
What’s the difference between a condenser and dynamic microphone for a home studio? Condenser microphones are more sensitive and accurate — they capture more detail in vocals and acoustic instruments, but they also capture more room noise, which is why room treatment matters. Dynamic microphones are less sensitive, handle loud sources well (guitar amps, drums, loud vocalists), and reject more room noise. A budget home studio benefits from having one of each: a condenser (AT2020) for quiet-to-moderate sources and a dynamic (SM57 or SM58) for loud sources and live applications.
Do I need studio monitors if I already have good headphones? No — at the budget home studio tier, quality closed-back or open-back headphones are a better investment than studio monitors in an untreated room. Monitors only provide accurate mix information when the room itself is relatively neutral. If you’re mixing exclusively on headphones, periodic A/B checking against consumer earbuds and a car stereo helps catch translation problems that headphone-only mixing can introduce.
What sample rate should I record at for a home studio? Record at 44.1kHz or 48kHz, 24-bit. The difference between 44.1kHz and 96kHz or 192kHz is inaudible in published research at normal listening volumes and significantly increases file sizes and CPU load. 24-bit gives you 144dB of dynamic range — more than any microphone or acoustic environment will use — and substantial headroom for editing without noise floor issues. Save high sample rates for specific audio-for-video workflows that require them.
How do I connect a guitar to a budget home studio interface? Plug directly into the instrument (Hi-Z) input on your audio interface using a standard quarter-inch guitar cable. Every interface in the budget tier — Scarlett Solo, AudioBox USB 96, and similar — has at least one instrument input. From there, use amp simulation plugins in your DAW (Guitar Rig, BIAS FX, or the free Neural DSP Parallax) to shape your tone. A hardware DI box is unnecessary for home recording; the instrument input on modern interfaces serves the same function.
Editorial methodology: Assessments are based on manufacturer specifications, published user reviews, and editorial research. Physical hands-on testing is noted explicitly where it occurred. Rankings reflect our editorial judgment and are not influenced by affiliate commission rates. Full editorial policy · Affiliate disclosure