Contents
The Complete Home Recording Studio Setup Guide (2026)
TL;DR: A functional home recording studio setup needs four core components: an audio interface, a condenser or dynamic microphone, studio monitors or headphones, and a DAW. You can build a professional-sounding room for $300–$2,000 depending on your goals. The gear matters less than your room acoustics and gain-staging discipline.
What Do You Actually Need for a Home Recording Studio Setup?
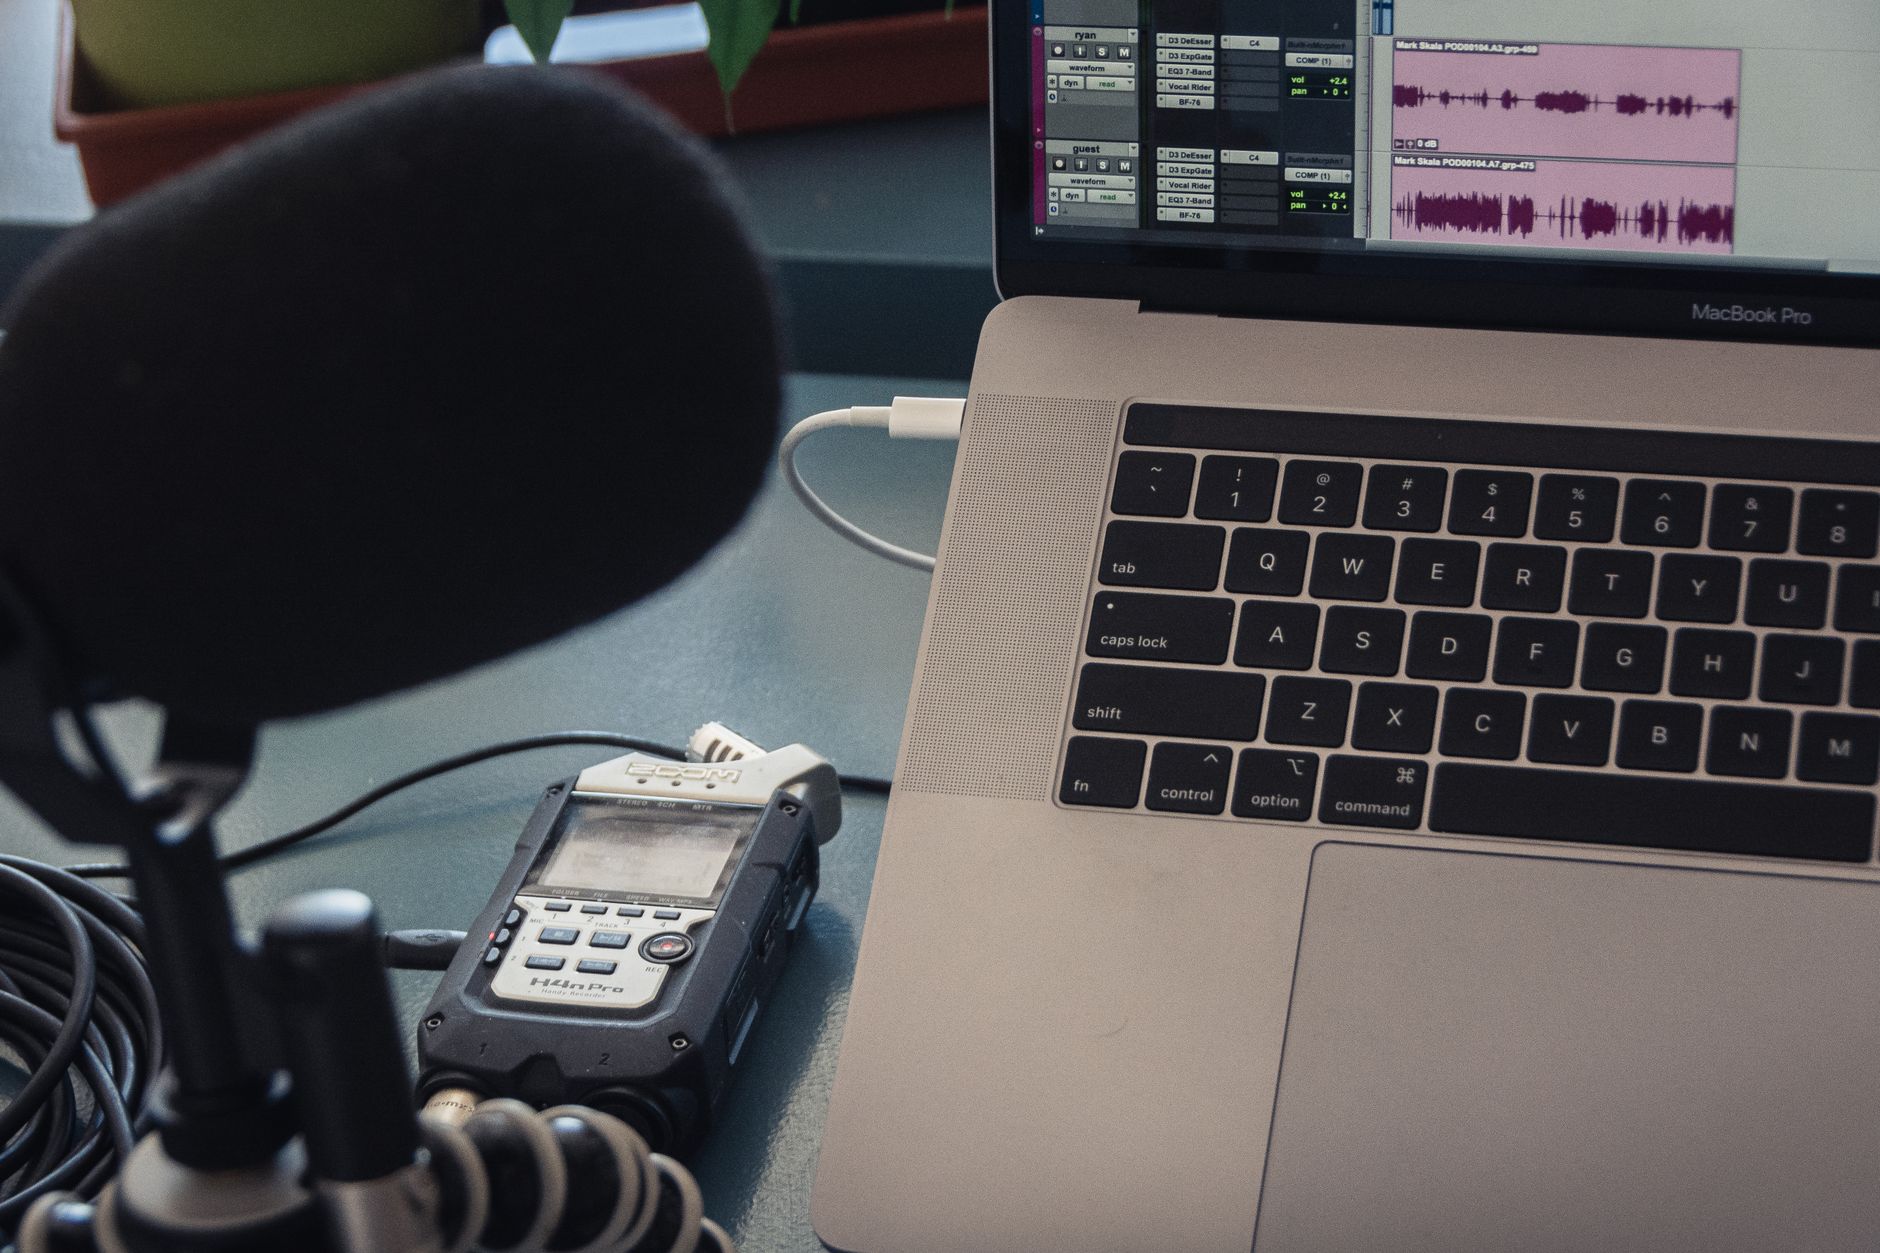
The minimum viable home recording studio setup is: audio interface + microphone + headphones + free DAW. Everything else is an upgrade, not a requirement. Most beginner recordings fail because of bad room acoustics and poor gain staging — not because the gear wasn’t expensive enough.
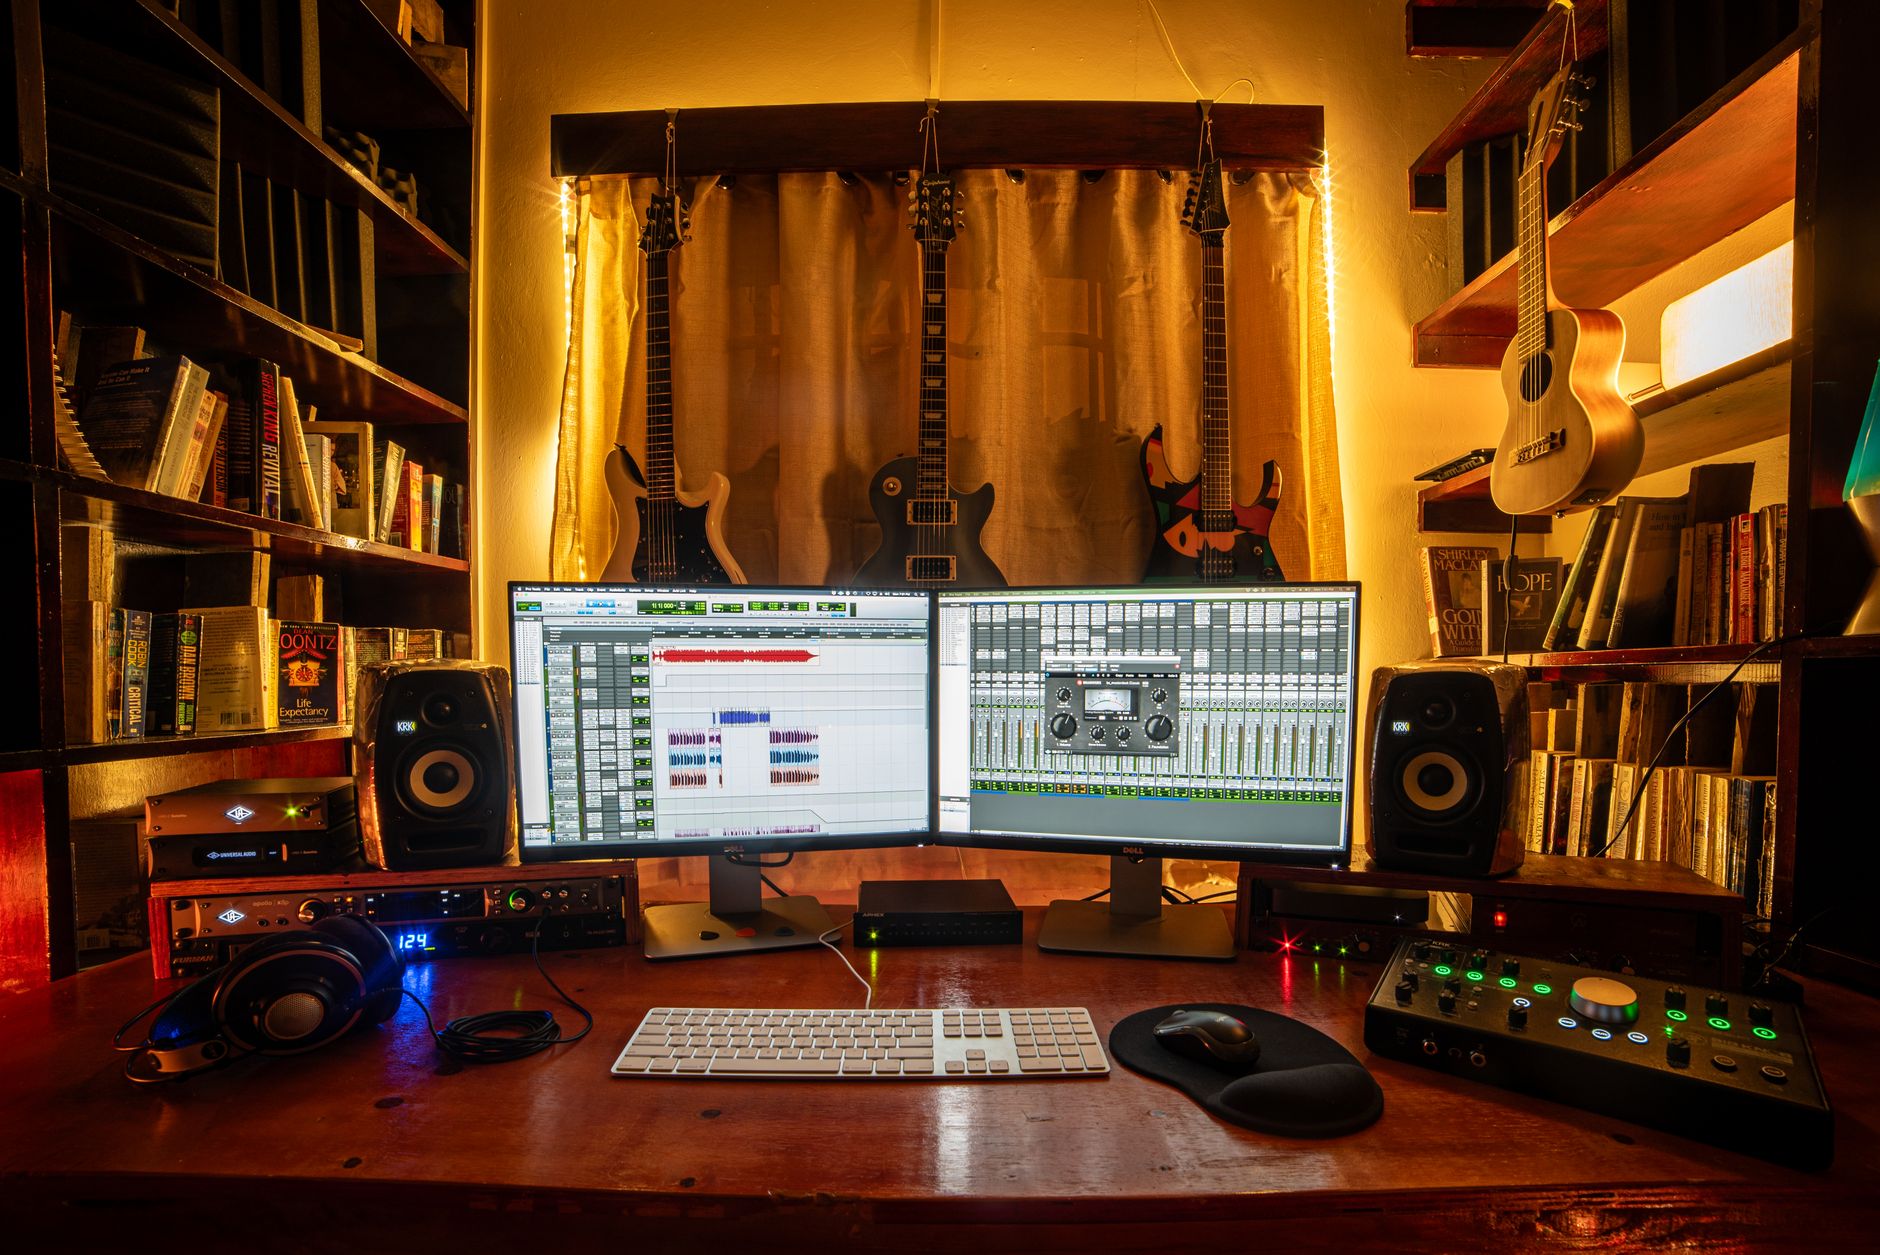 Photo: Dominik Gryzbon via Pexels
Before buying anything, decide what you’re recording. A podcaster, a singer-songwriter, and a full-band producer need fundamentally different signal chains. This guide covers all three, but the core principles are identical.
The four non-negotiable components:
| Component | Entry Level | Mid-Range | Pro-Grade |
|---|---|---|---|
| Audio Interface | Focusrite Scarlett Solo (Gen 4) | Universal Audio Volt 276 | Apollo Twin X |
| Microphone | Audio-Technica AT2020 | Shure SM7dB | Neumann TLM 103 |
| Monitoring | Sony MDR-7506 headphones | Yamaha HS5 monitors | Focal Alpha 65 Evo |
| DAW | GarageBand / Audacity (free) | Ableton Live Intro | Pro Tools Studio |
How Do You Choose Your Audio Interface?
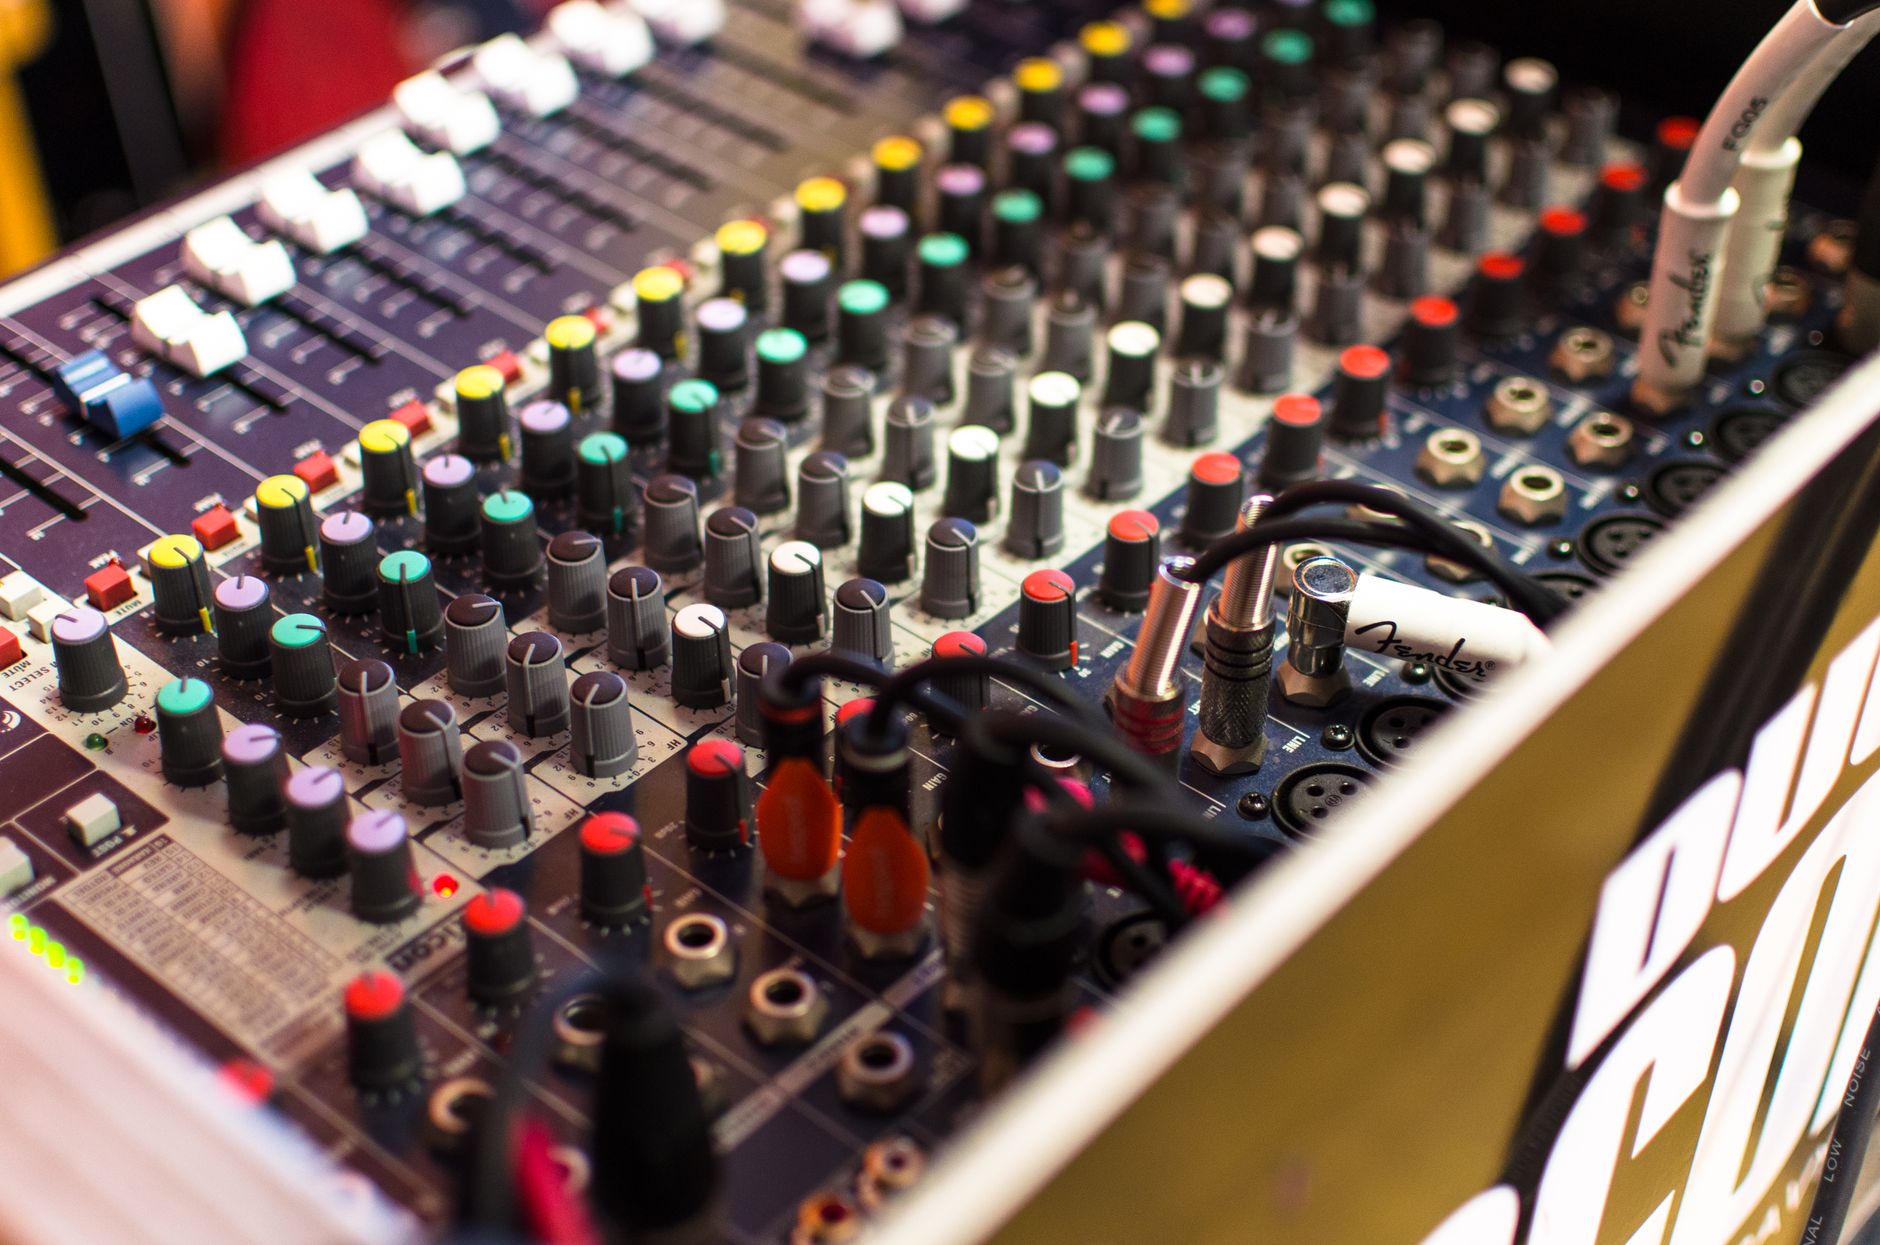
The audio interface is the most important purchase in your studio. It converts analog signals (mic, guitar, keyboard) to digital audio your computer can process. Prioritize low-latency drivers and clean preamps over sample rate specs — 24-bit/96kHz from a quality interface beats 32-bit/192kHz from a cheap one.
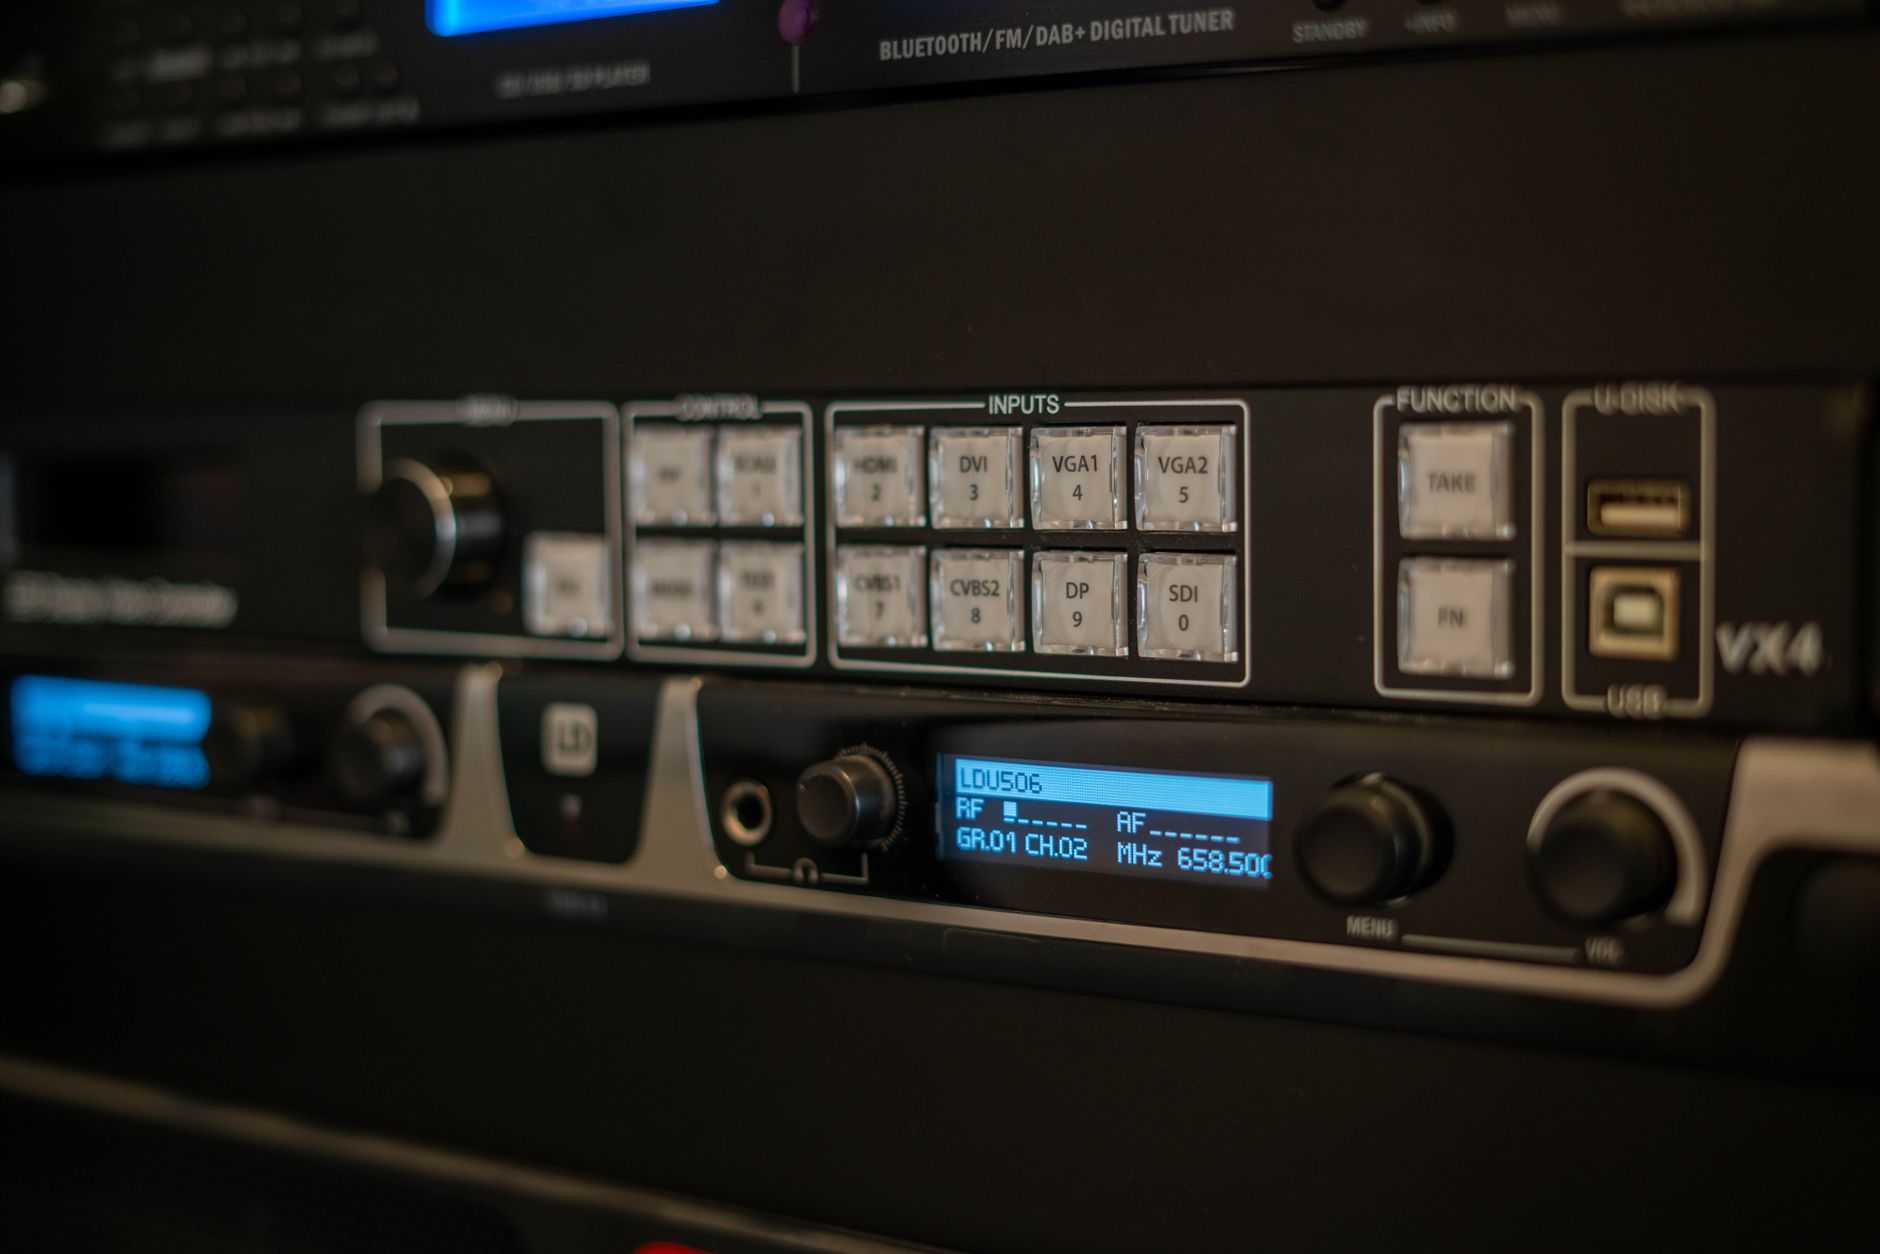 Photo: Vladimir Srajber via Pexels
How Many Inputs Do You Need?
For solo recording (voice, one instrument at a time): a 2-in/2-out interface is enough. Recording a live band simultaneously requires 8+ inputs, usually via an interface with ADAT expansion.
- Solo vocalist/podcaster: Focusrite Scarlett Solo — 1 mic preamp, bus-powered, under $130
- Singer-songwriter: Focusrite Scarlett 2i2 — 2 preamps, instrument input, under $180
- Home producer (multiple sources): PreSonus Studio 1810c — 8 preamps, ADAT, under $400
Interface Gain Staging
Target -18 dBFS to -12 dBFS on your DAW input meter when tracking. The red “clip” light on your interface is not a suggestion — clipping analog gain is unrecoverable. Leave 6 dB of headroom above your loudest peaks.
Signal chain: Microphone → XLR cable → Interface preamp gain → DAW input channel
How Do You Select the Right Microphone?
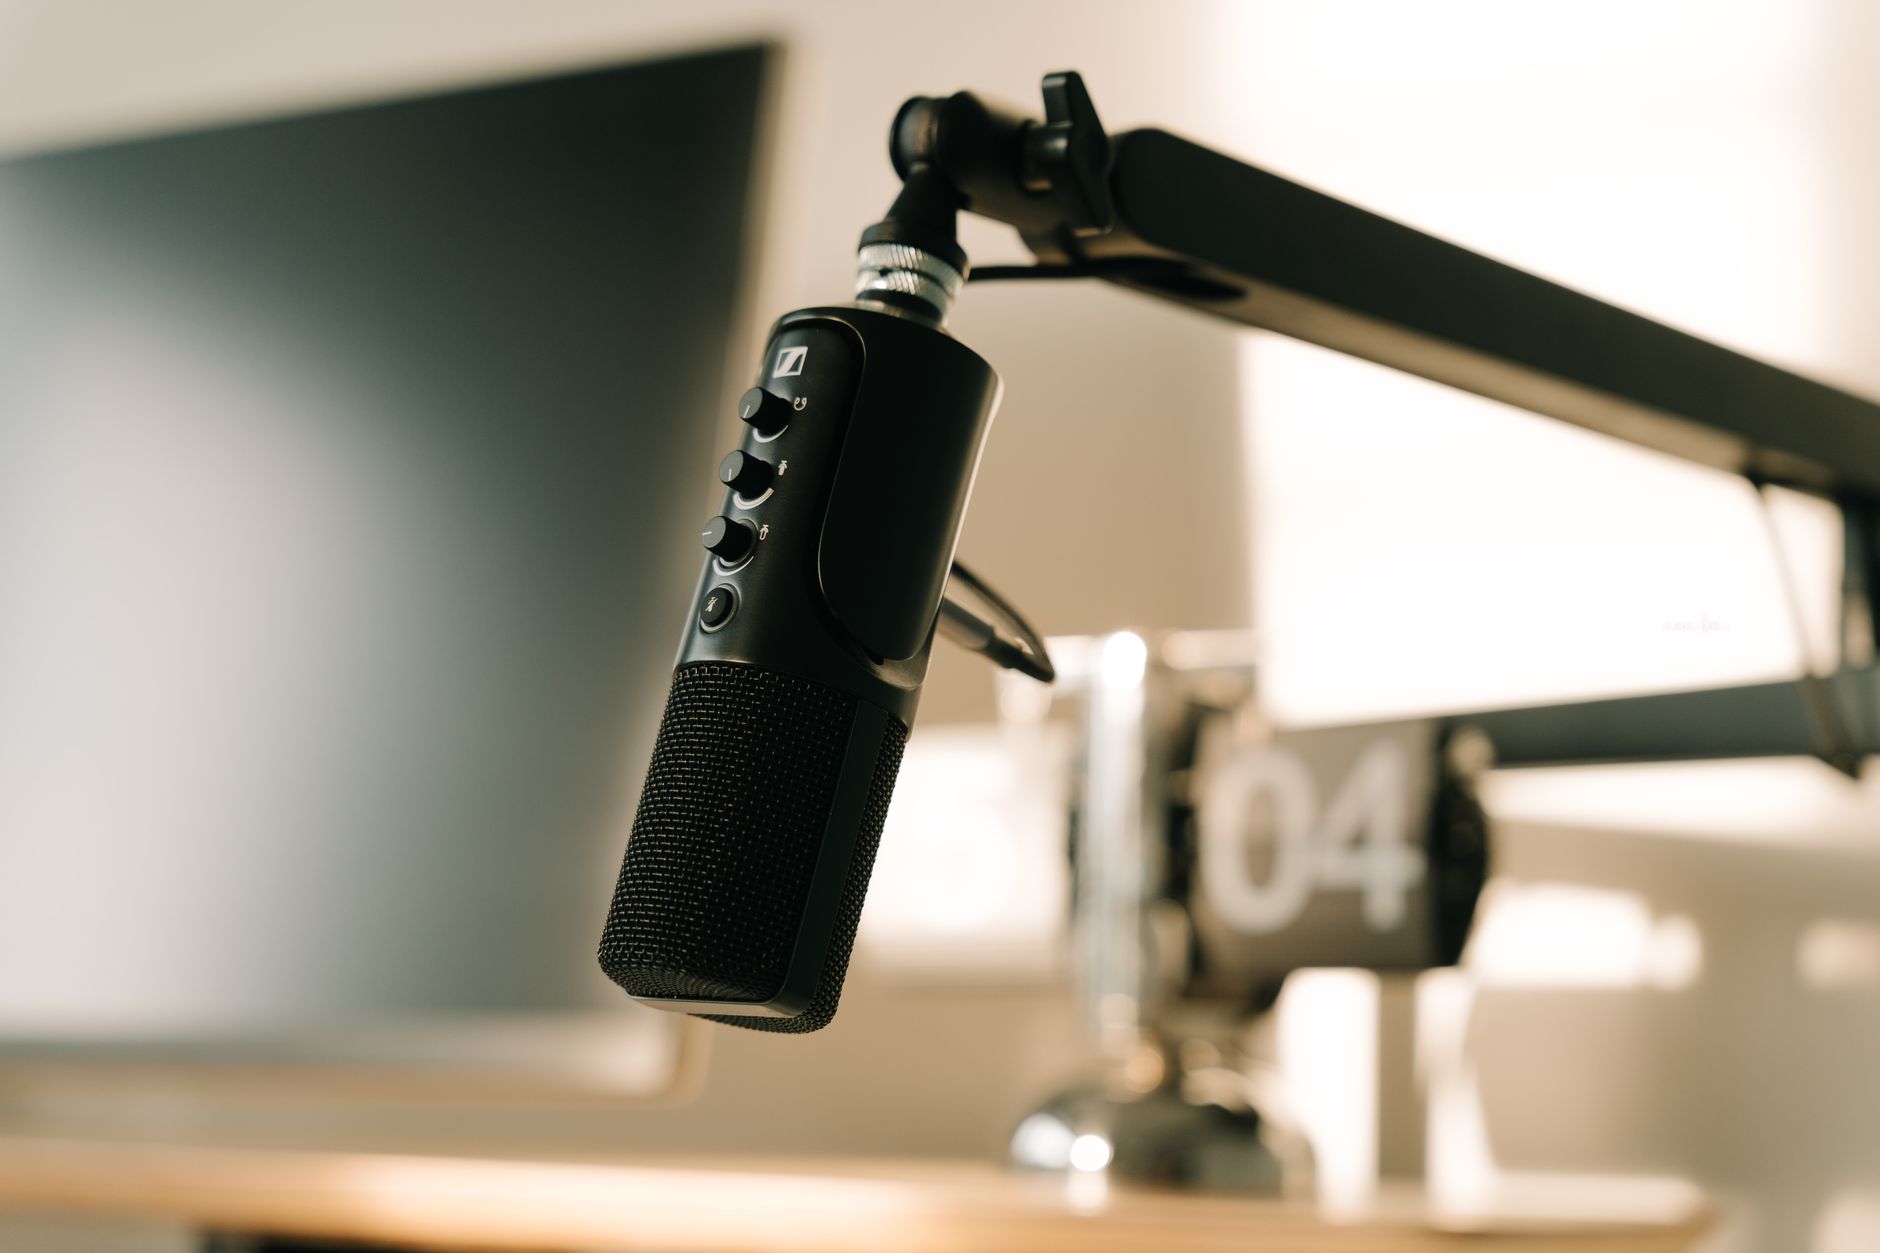
Match the microphone type to the source. Condenser mics capture more detail and transient response — ideal for vocals, acoustic instruments, and room sound. Dynamic mics handle high SPL and reject room noise — better for loud sources (guitar amps, drums) and untreated rooms.
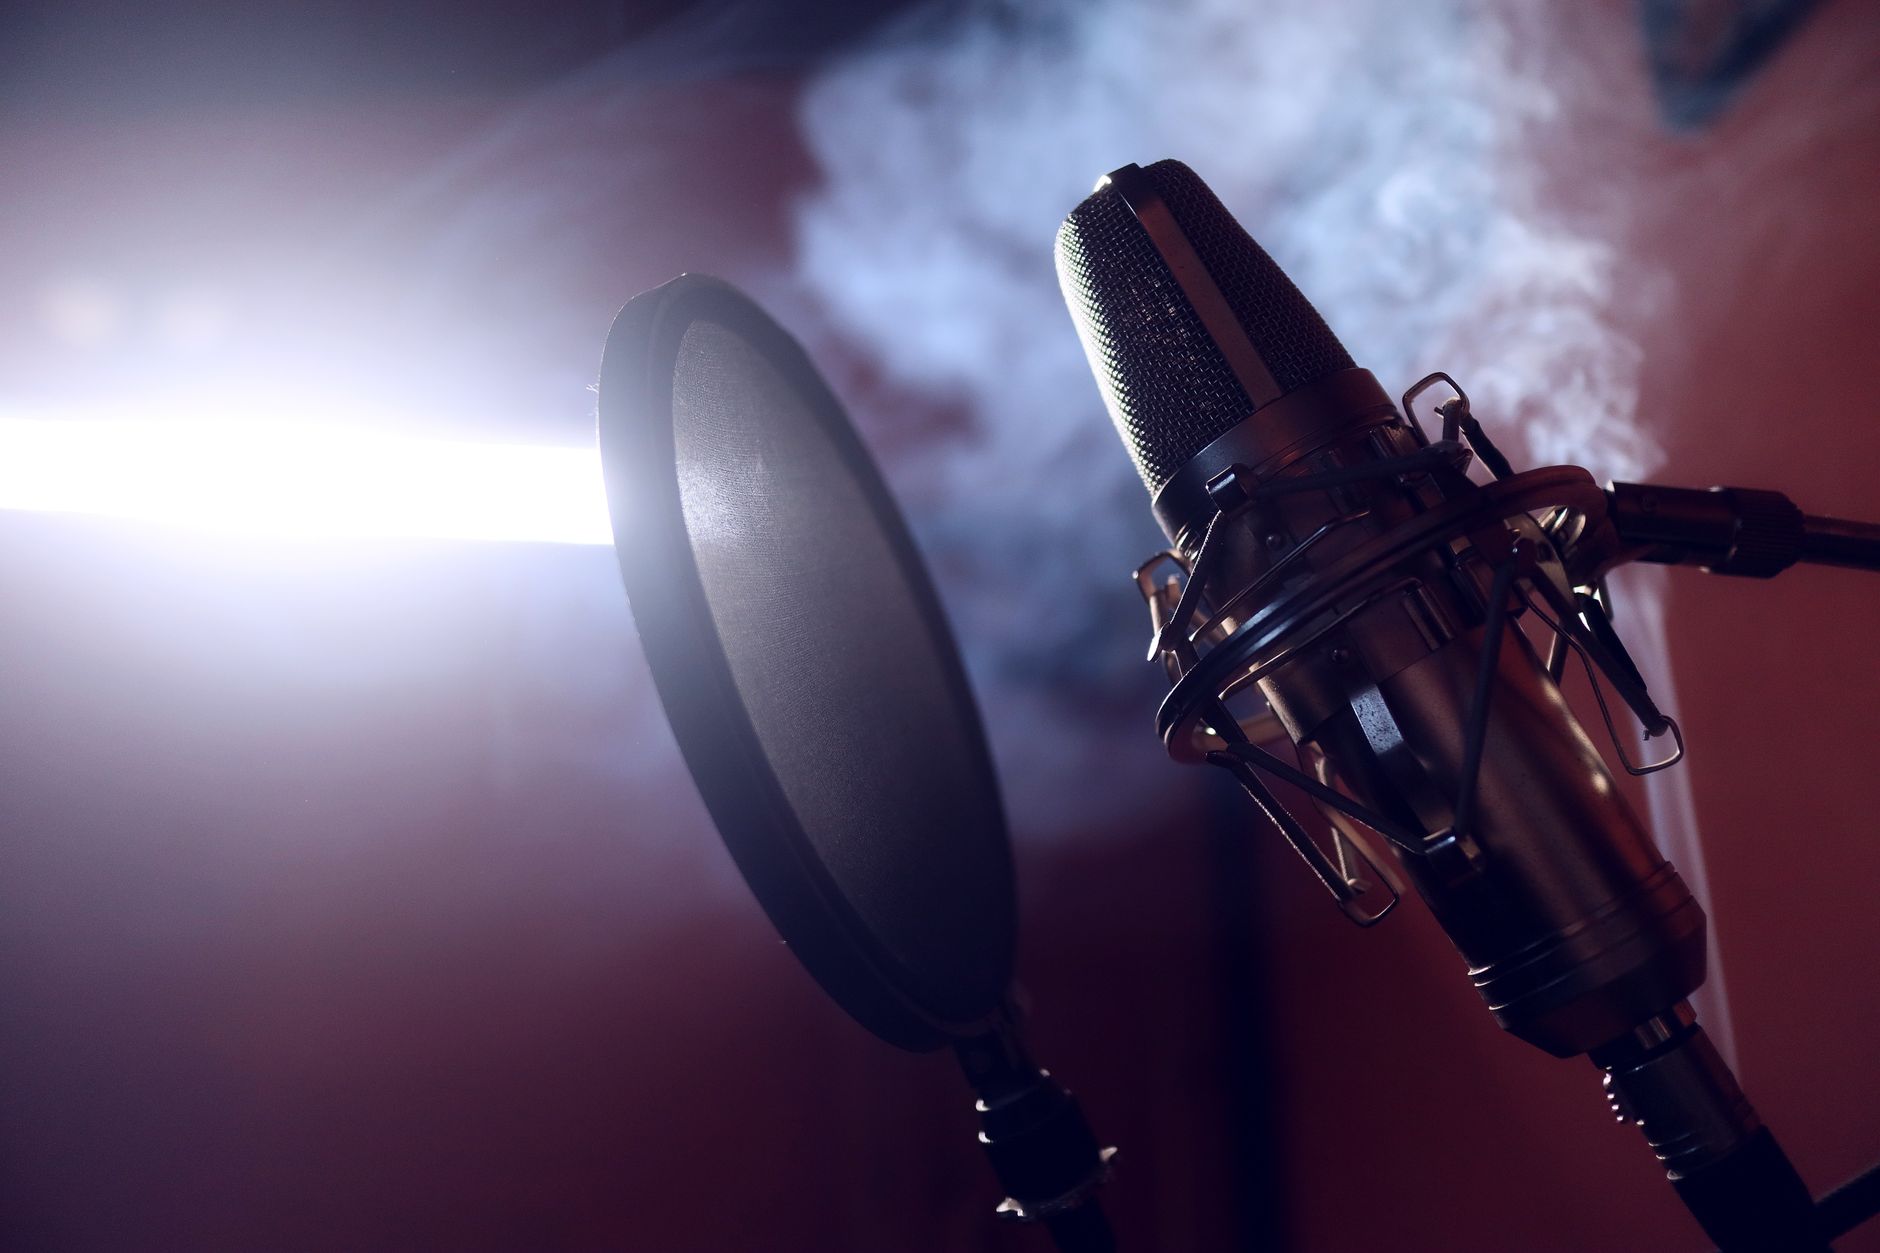 Photo: Damian Scarlassa via Pexels
Condenser vs. Dynamic: Decision Matrix
| Situation | Recommended Type | Why |
|---|---|---|
| Untreated bedroom | Dynamic | Rejects room reflections |
| Treated home studio | Large-diaphragm condenser | Captures full frequency detail |
| Guitar amp close-mic | Dynamic | Handles high SPL |
| Acoustic guitar/piano | Small-diaphragm condenser | Accurate transient response |
| Podcasting (broadcast sound) | Dynamic (SM7dB, PodMic) | Proximity effect, noise rejection |
| Voiceover/vocals | Large-diaphragm condenser | Air, presence, detail |
Top picks by budget:
- Under $100: Audio-Technica AT2020 — published frequency response is flat with a gentle 2–4 kHz presence peak; consistent across units
- Under $200: Rode NT1 (5th gen) — self-noise spec of 4 dB(A) makes it among the quietest condensers at this price
- Under $400: Shure SM7dB — built-in preamp adds 28 dB of clean gain, eliminating the “not enough gain” problem on budget interfaces
- Professional ($1,000+): Neumann TLM 103 — industry-standard vocal mic, transformer-less design, 7 dB(A) self-noise
Polar Patterns Explained
Cardioid rejects sound from behind the mic. That rejection ratio (typically 15–25 dB at 180°) is your free acoustic treatment for an untreated room. Unless you’re specifically recording room ambience, start with a cardioid.
Figure-8 picks up front and back equally — useful for two performers facing each other, but it will capture every reflection in your room.
Omnidirectional captures equally in all directions — only useful in a well-treated or purpose-built studio environment.
Studio Monitors vs. Headphones
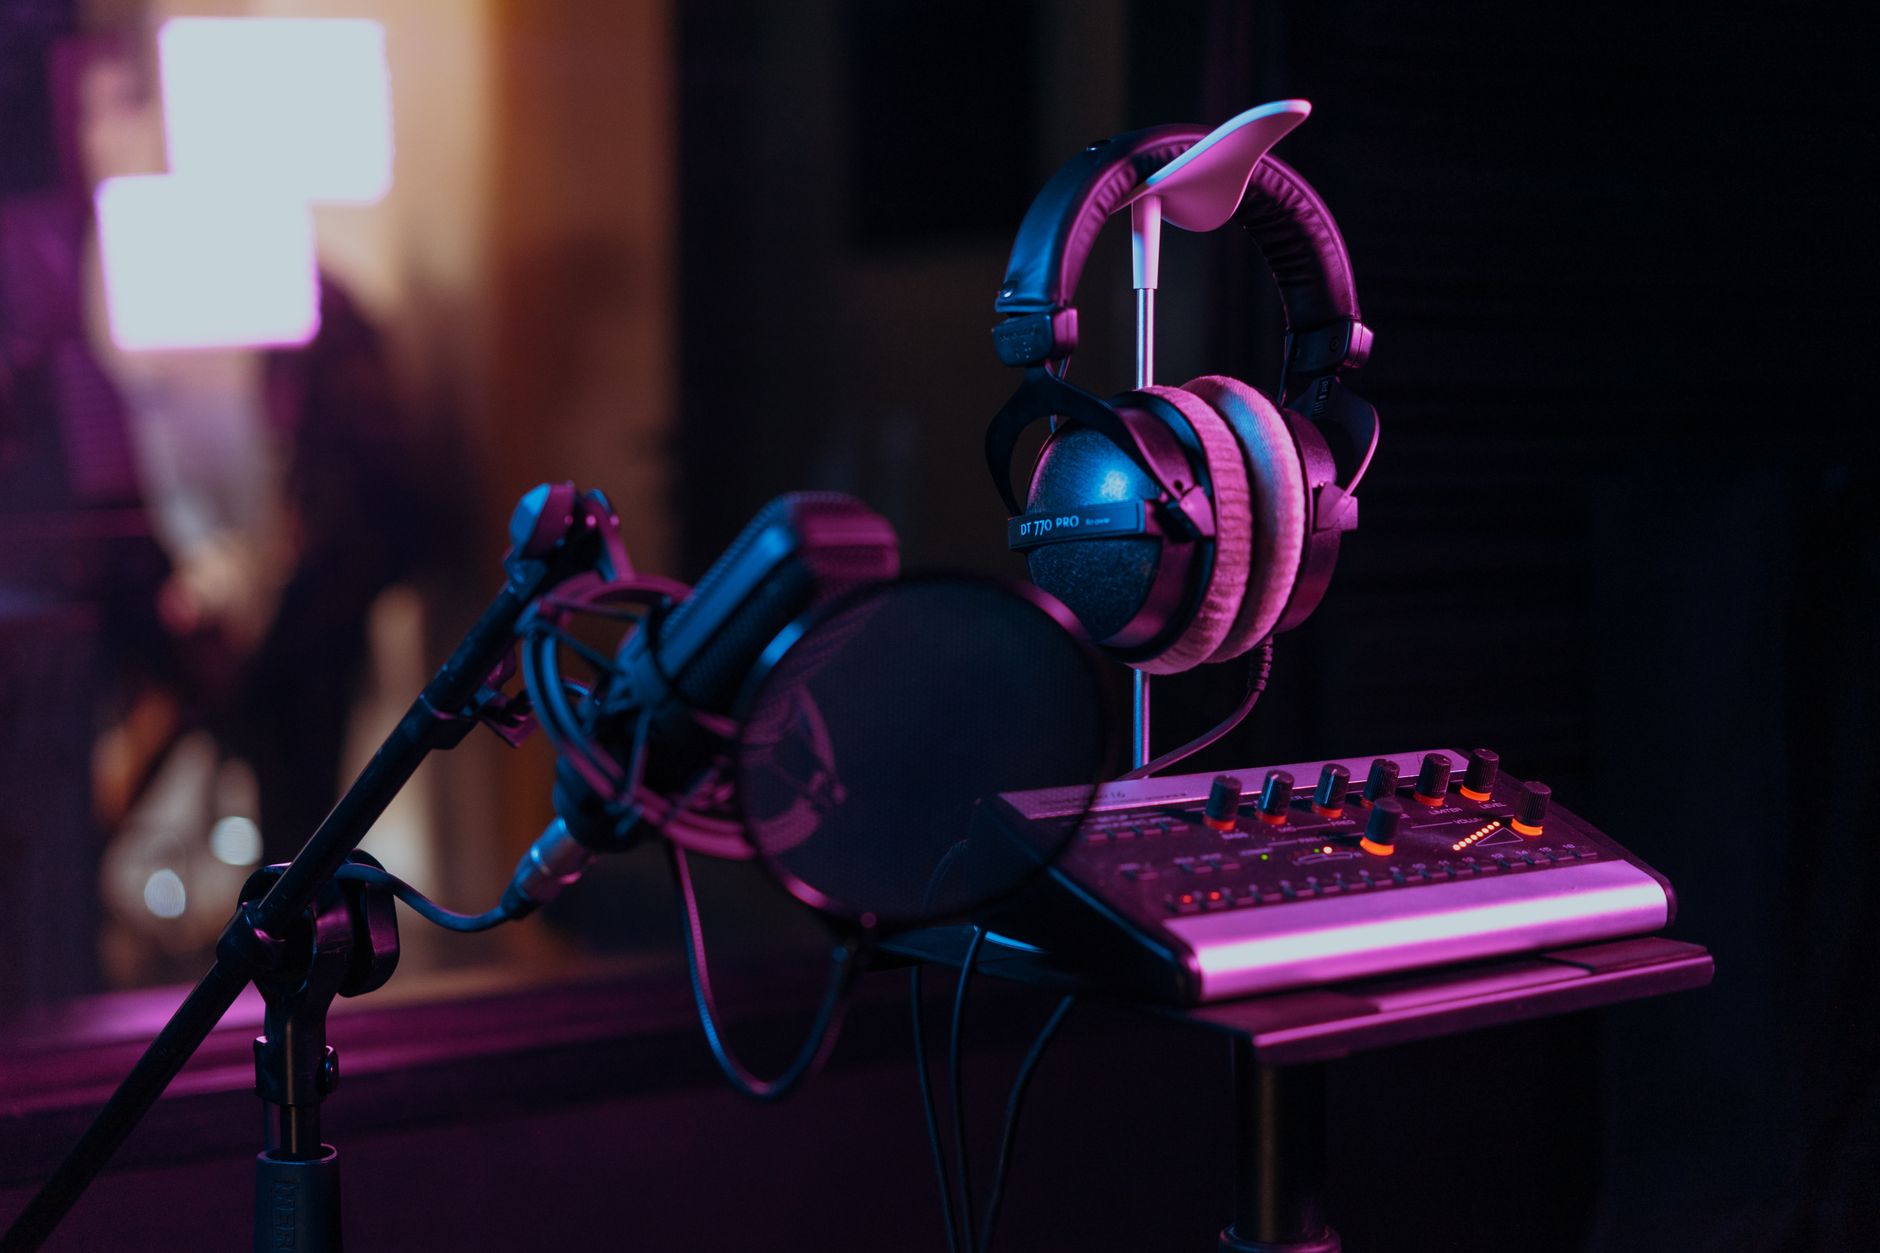
Studio monitors are not speakers optimized to make music sound good — they’re tools for making accurate mixing decisions. A monitor that flatters your mix hides problems. The best affordable choice for most home studios is a pair of near-field monitors in the $300–$600/pair range, supplemented by headphones for detail work.
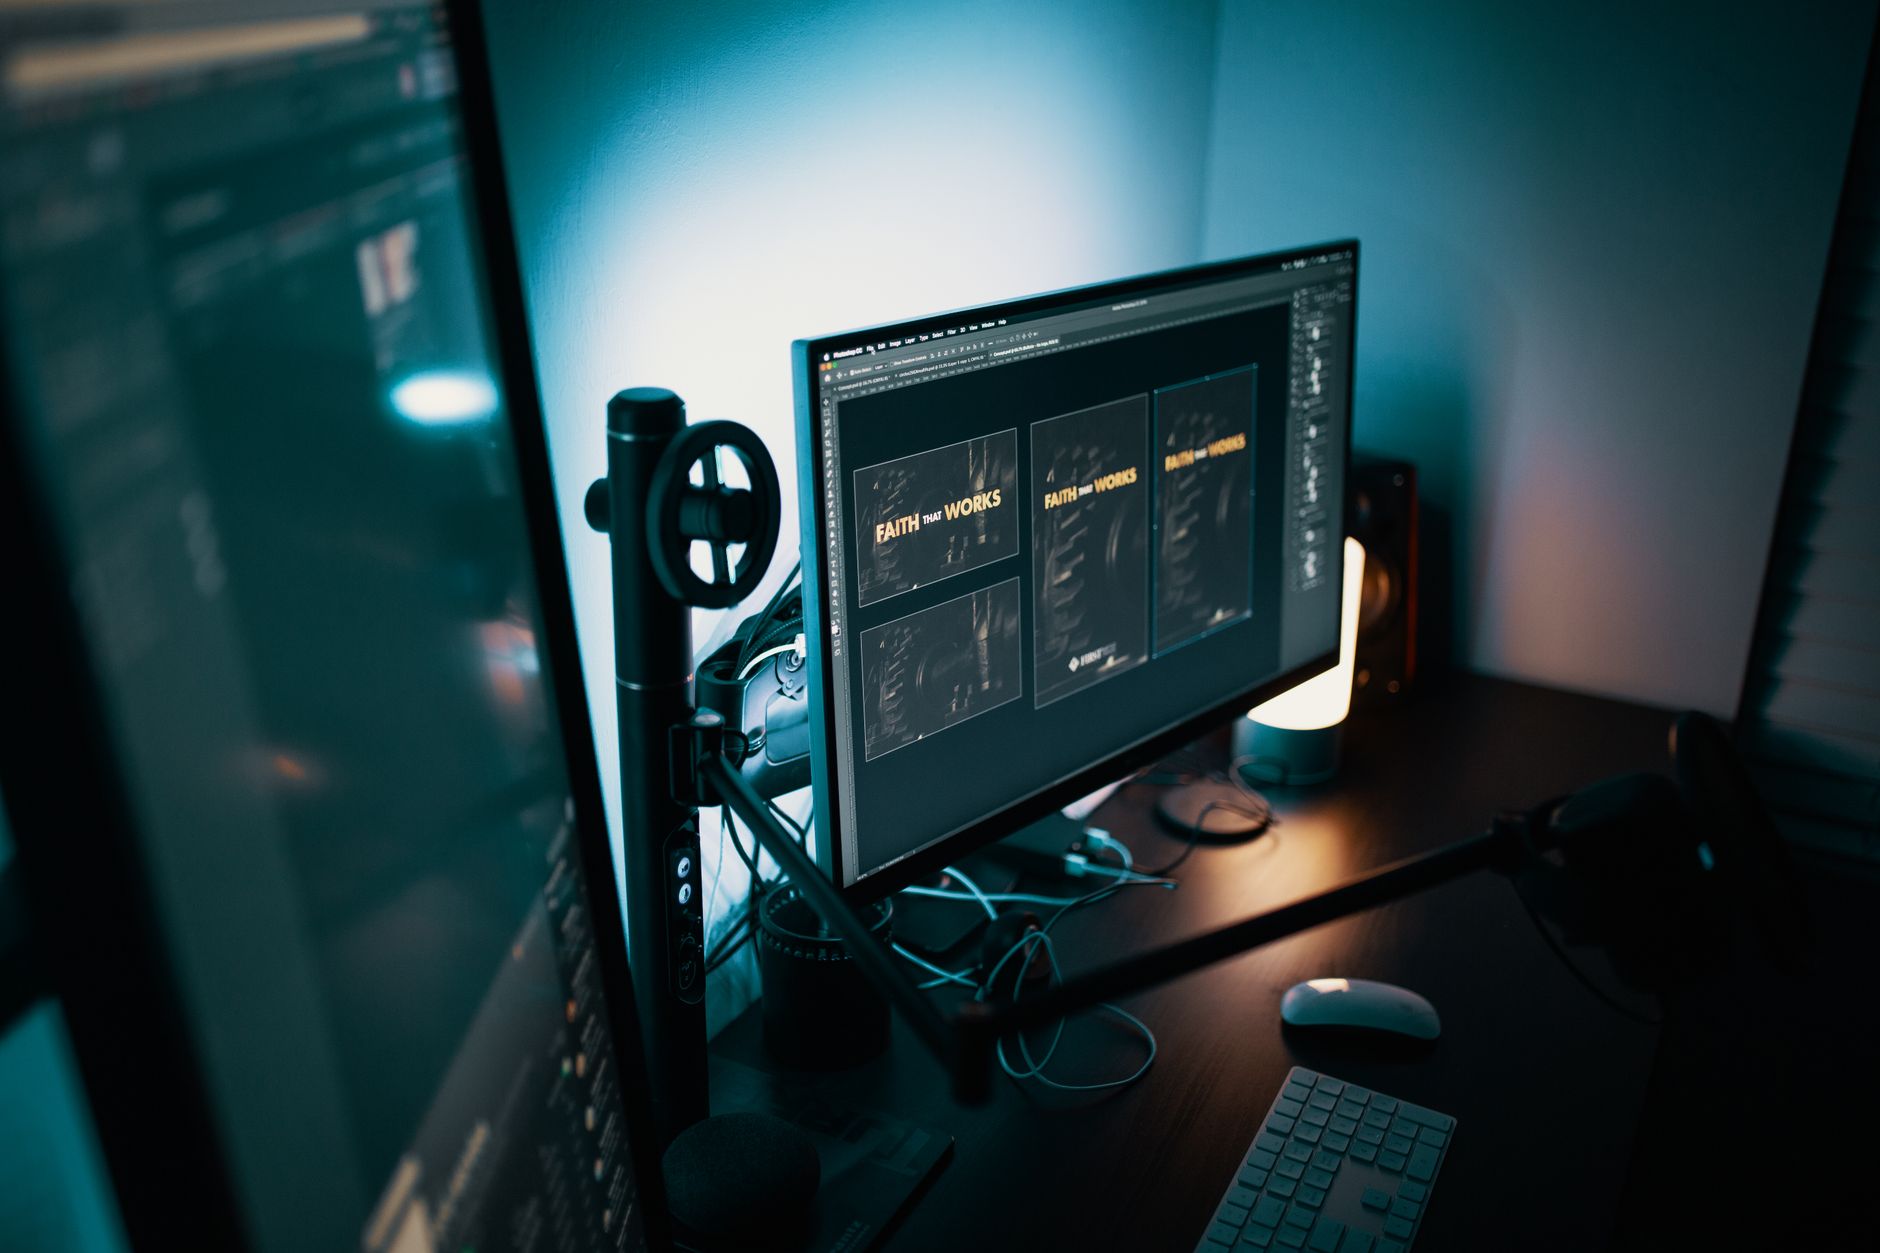 Photo: Josh Sorenson via Pexels
The Room Is Half Your Monitoring System
A $2,000 pair of monitors in an untreated room will give you worse decisions than $400 monitors in a room with basic acoustic panels. Bass frequencies below 200 Hz build up in corners and along parallel walls, creating nodes where certain frequencies are 6–10 dB louder or quieter than they actually are.
Minimum room treatment before trusting your monitors:
- 2-inch acoustic panels at first reflection points (side walls, ceiling)
- Bass traps in corners
- Monitor placement: equilateral triangle between the two monitors and your head, tweeters at ear level, 3–5 feet from the front wall
Monitor Recommendations
| Monitor | Price/Pair | Best For |
|---|---|---|
| Yamaha HS5 | ~$400 | Tracking translation (deliberately unforgiving) |
| Adam Audio T5V | ~$350 | Wide sweet spot, home studio |
| KRK Rokit 5 G4 | ~$350 | Producer-focused, punchy low end |
| Focal Alpha 50 Evo | ~$900 | Professional reference quality |
Headphone Monitoring
Use open-back headphones for mixing (they image more accurately, closer to speaker behavior) and closed-back for tracking (isolation prevents bleed into the mic).
- Closed-back tracking: Sony MDR-7506 — industry standard for session work, accurate mids
- Open-back mixing: Sennheiser HD 600 — benchmark for headphone mixing accuracy at under $400
- Budget closed-back: Audio-Technica ATH-M50x — widely used, slightly hyped low-end to account for
DAW Selection Guide
Your DAW is not a limiting factor at any price point above free. GarageBand and Reaper run professional sessions daily. Choose based on your workflow, not feature lists.
| DAW | Price | Best For | Platform |
|---|---|---|---|
| GarageBand | Free | Mac users starting out | macOS/iOS |
| Audacity | Free | Basic recording/editing | All |
| Reaper | $60 (discounted) | Full-featured, lightweight | All |
| Ableton Live Intro | $99 | Electronic production, loop-based | All |
| Logic Pro | $200 (one-time) | Full Mac studio production | macOS |
| Pro Tools Intro | Free tier | Industry-standard session format | All |
| FL Studio Producer | $199 (lifetime) | Beat production, MIDI-heavy | All/Mac |
Plugin Ecosystem Essentials
Every DAW ships with capable stock plugins. The case for third-party plugins is narrow until you’ve maxed out the stock ones. That said, three categories justify early investment:
- Room correction/metering: Sonarworks SoundID Reference corrects your headphone or monitor frequency response using published calibration profiles — more impactful than any EQ plugin
- Vocal processing: Stock compressors work. The gap between stock and third-party narrows every release cycle
- Virtual instruments: If you’re producing without live instruments, a quality piano or orchestral library matters
Complete Signal Chain Walkthrough
This is the full signal path for a standard home vocal recording session. Every stage affects your final sound. Understanding the chain is more valuable than any single gear upgrade.
Signal Chain: Vocal Recording
Singer
  ↓
Pop filter (6–8 inches from mic)
  ↓
Large-diaphragm condenser (cardioid, 6–12 inches from pop filter)
  ↓
XLR cable (balanced, 15–25 ft max for home studio)
  ↓
Audio interface mic preamp (+30 to +50 dB gain)
  → Phantom power ON (48V) for condenser mics
  → Target: -18 to -12 dBFS on DAW meter
  ↓
DAW input channel
  → High-pass filter: 80–100 Hz (removes low-end rumble)
  → No processing while tracking (print dry, process later)
  ↓
Headphone mix → singer's headphones (direct monitoring for zero latency)
Signal Chain: Electric Guitar (DI)
Guitar
  ↓
Instrument cable
  ↓
Audio interface instrument (Hi-Z) input
  → Hi-Z impedance matches guitar's passive pickups
  → No DI box needed for direct interface connection
  ↓
DAW: amp simulator plugin (Neural DSP, Line 6 Helix Native, free options: BIAS FX 2 demo, NadIR + IRs)
Signal Chain: Electric Guitar (Mic’d Amp)
Guitar → amp
  ↓
SM57 (dynamic) at speaker cone, 1–2 inches, angled 15–30°
  ↓
Interface mic preamp (no phantom power)
  → Gain staging: louder amp = less preamp gain needed
  ↓
DAW: print dry amp tone, add room mic blend if available
Step-by-Step Home Studio Session Workflow
- Boot sequence: Interface on first, then DAW. Prevents driver conflicts on most systems.
- Set buffer size: 64–128 samples for tracking (low latency); 512–1024 samples for mixing (CPU headroom).
- Create session: Set sample rate to 48 kHz (44.1 kHz for music-only projects). Bit depth: 24-bit minimum.
- Set input gain: With the performer playing/singing at performance volume, adjust interface gain until meter peaks at -12 to -18 dBFS. Check for no clipping on your interface’s peak LED.
- Enable direct monitoring: Use your interface’s hardware monitoring (zero latency) rather than DAW software monitoring while tracking.
- Record a level check: 10 seconds, check the waveform. It should be clearly visible but not touching the top of the track lane.
- Print the take dry: No effects on the recorded signal. Plugins on input monitoring are fine for feel, but the raw signal hits the drive.
- Comping: Use your DAW’s comp lanes to combine the best sections of multiple takes.
- Gain staging before mixing: Every track into the mix should peak around -18 dBFS before fader moves. This gives your mix bus room to breathe.
- Export/bounce: 24-bit WAV for archiving, mastered MP3/AAC for distribution.
Acoustic Treatment: The Overlooked Multiplier
Acoustic treatment is the highest-ROI investment in any home studio. $200 in acoustic panels will improve your recordings more than $500 in new gear. Recording in an untreated room captures the room along with your source — and that captured room cannot be removed in post.
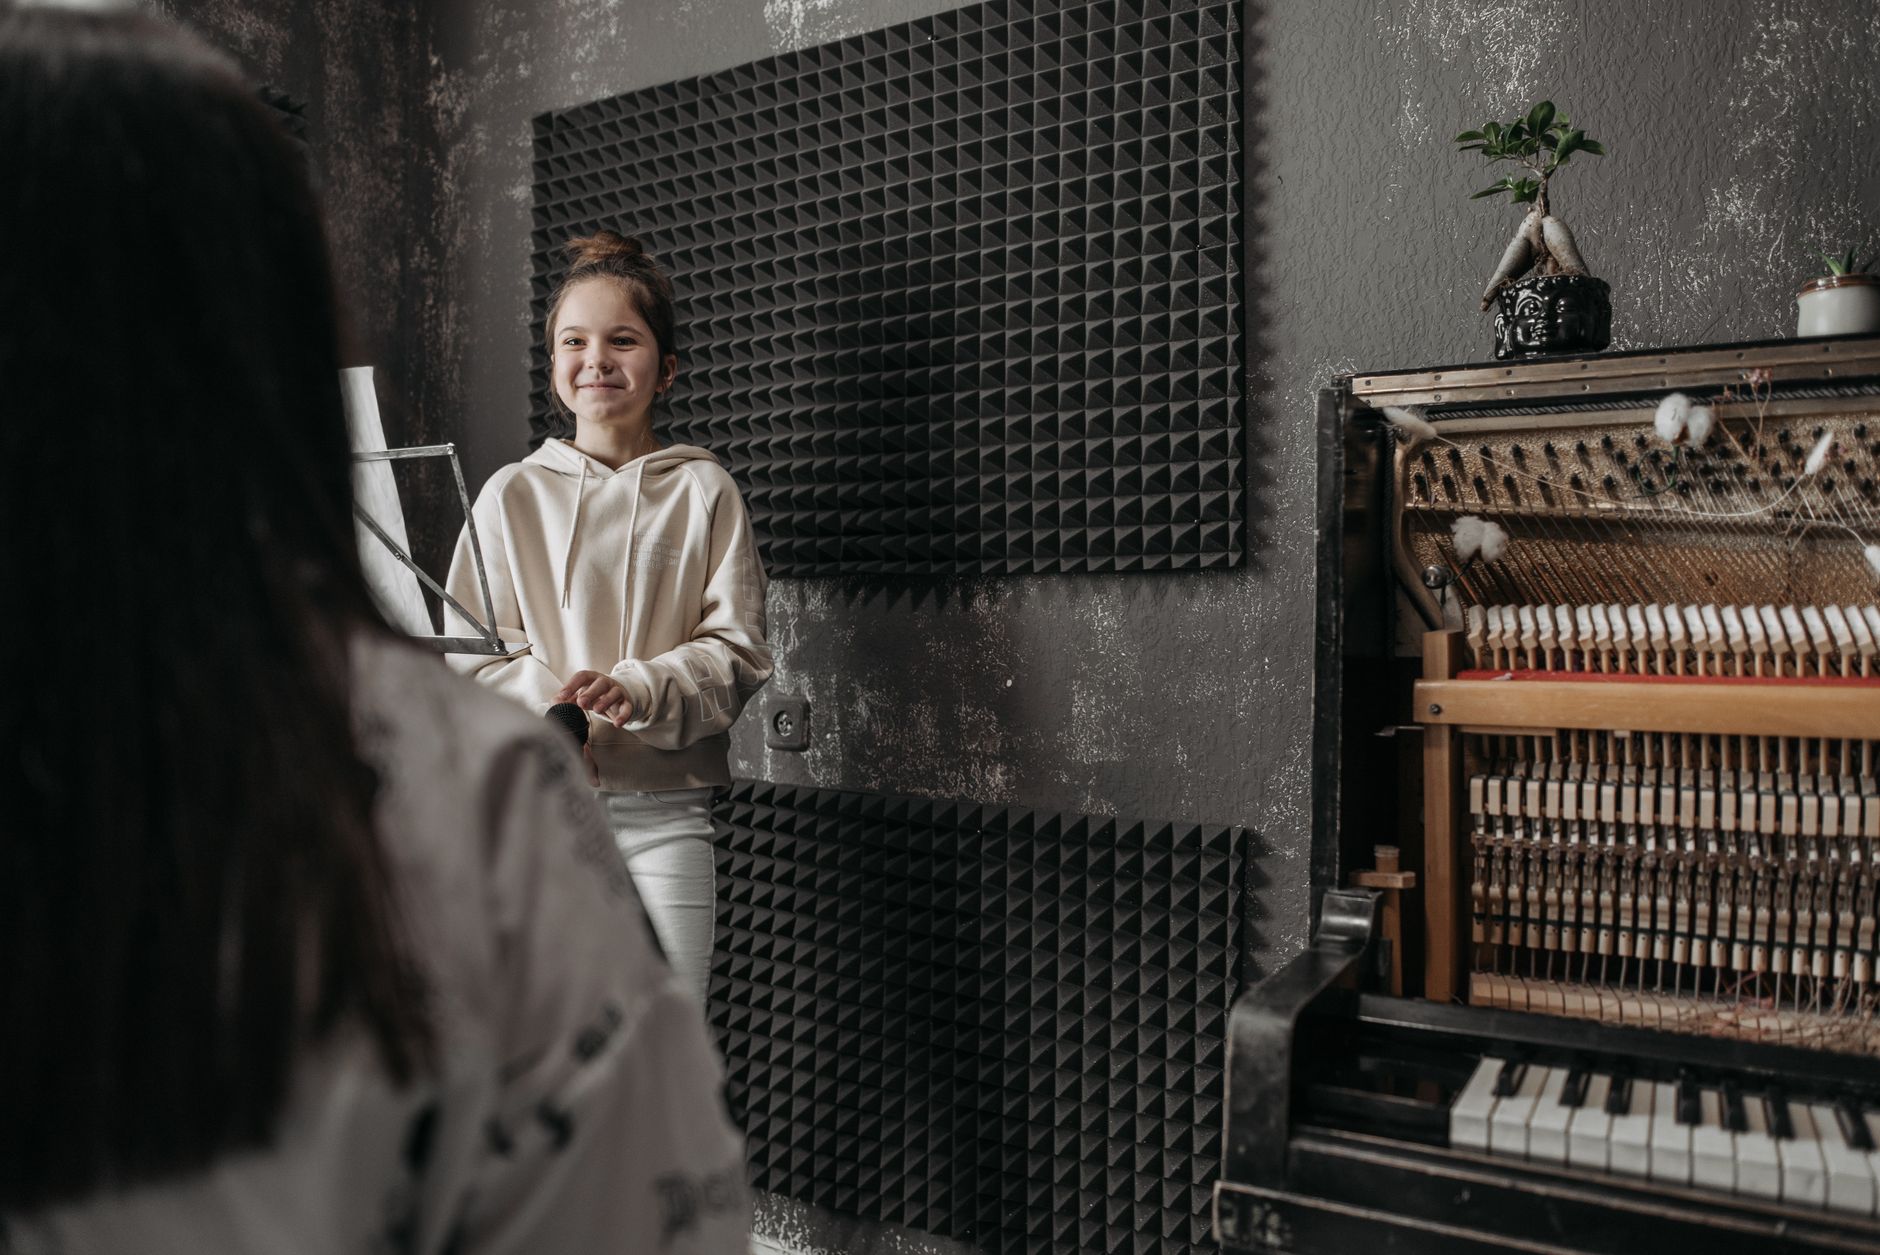 Photo: Pavel Danilyuk via Pexels
Room Problems and Solutions
| Problem | Symptom | Fix |
|---|---|---|
| Flutter echo | Metallic ringing after a clap | Absorption panels on parallel walls |
| Bass buildup | Boomy mixes, muddy low end | Corner bass traps (2–4 inches thick minimum) |
| Early reflections | Cloudy stereo image, comb filtering | First-reflection panels (side walls, ceiling) |
| Reverb tail too long | Room audible on vocals | Broadband absorption behind and beside mix position |
DIY Acoustic Panels
Rigid fiberglass or Rockwool (stone wool) performs significantly better per dollar than acoustic foam. A 2×4 foot panel with 2-inch Rockwool 60 (or 80) behind breathable fabric costs roughly $15–25 per panel in materials. Published absorption data shows Rockwool achieving NRC (Noise Reduction Coefficient) values above 0.9 at mid-frequencies — comparable to commercial panels at 4–6× the price.
Bass traps in corners are more effective than wall panels for controlling low-frequency buildup below 150 Hz. Floor-to-ceiling placement maximizes surface area.
Troubleshooting Matrix
| Symptom | Likely Cause | Fix |
|---|---|---|
| No signal in DAW | Wrong input selected / phantom power off | Check DAW input routing; enable 48V phantom power for condenser |
| Constant hum (60 Hz) | Ground loop | Use balanced cables; interface and computer on same power strip |
| Latency/timing drift while recording | Buffer size too low | Increase buffer to 256–512 samples for tracking |
| Thin, fizzy vocal sound | Too much high-pass filtering / mic too far | Set HPF at 80 Hz, move mic closer, check polarity |
| Muddy mix, can’t hear separation | Bass buildup in untreated room | Add corner bass traps; mix at low volumes; check on headphones |
| Crackling / dropouts | CPU overload or USB bandwidth | Freeze CPU-heavy tracks; use a dedicated USB bus for interface |
| Sibilance on vocals | Proximity + condenser presence peak | De-esser plugin at 6–10 kHz; back off mic slightly; off-axis angle |
| Phase issues (hollow sound) | Multiple mics on same source, misaligned | Flip phase on one mic; use the 3:1 rule (second mic ≥3× farther away) |
Room Setup: Physical Layout
The standard near-field monitoring position is an equilateral triangle: both monitors and your head form a triangle with roughly equal sides (typically 3–5 feet per side). Monitors should be at ear level, tweeter aimed at your ear. Position your mix position so your back isn’t directly against the wall — a 3-foot gap breaks up low-end buildup behind you.
Avoid placing monitors in corners (low-end reinforcement) or flat against the wall (comb filtering from early reflections). A small amount of toe-in (monitors angled slightly inward) narrows the sweet spot but often improves stereo image clarity.
Computer and Connectivity
A modern mid-range laptop or desktop is sufficient for most home recording workflows. Audio processing is CPU-intensive but not GPU-intensive — GPU specs are irrelevant for audio.
Minimum specs that hold up in practice:
- Processor: Intel Core i5 (10th gen+) or Apple M1+
- RAM: 16 GB (32 GB for large orchestral templates)
- Storage: SSD for OS and project files; HDD acceptable for sample libraries
- USB: Dedicate one USB bus to your audio interface — don’t share with storage drives
Apple Silicon (M1/M2/M3/M4) machines show a substantial performance advantage in published benchmarks for audio workloads. Plugin latency and track count both improve significantly over Intel equivalents at the same price point. If you’re buying new hardware, Mac mini M4 or MacBook Air M3/M4 represent strong value for the dollar in 2026.
Interface connectivity: USB-C/USB 3.0 interfaces outperform USB 2.0 in sustained throughput at high track counts. Thunderbolt interfaces (Apollo Twin, RME Babyface Pro) offer the lowest measured latency and most stable drivers, but USB interfaces from Focusrite, PreSonus, and SSL perform acceptably for most home studio use cases.
The $500 Starter Kit (Recommended Combination)
Based on expert consensus and published specifications, this combination delivers professional-quality recordings for under $500:
| Item | Price |
|---|---|
| Focusrite Scarlett 2i2 (Gen 4) | ~$180 |
| Audio-Technica AT2020 | ~$100 |
| Sony MDR-7506 headphones | ~$100 |
| Pop filter (any) | ~$15 |
| XLR cable (10 ft, balanced) | ~$15 |
| Mic stand (desk or floor) | ~$25 |
| Reaper DAW | ~$60 |
| Total | ~$495 |
What this kit gets you: 24-bit/192kHz recording, two low-noise preamps, clean cardioid condenser on vocals and acoustic instruments, flat-response headphones for mixing, and a full-featured DAW with lifetime updates.
What to add next: acoustic treatment (largest impact), studio monitors when you have a treated room, a second microphone for stereo recording or backup.
→ See also:
FAQ
Q: Do I need acoustic treatment before I start recording? Acoustic treatment significantly improves recording quality, but it’s not a blocker. Start recording immediately and add treatment as budget allows. Prioritize a closet or small room with soft furnishings (carpet, curtains, upholstered furniture) as a recording booth if your main room has a noticeable echo. Treatment matters most for mixing decisions — if you’re only tracking and sending files to a mixing engineer, your untreated room is workable.
Q: Can I record professional-quality audio on a laptop? Yes. A modern mid-range laptop paired with a quality USB audio interface produces audio indistinguishable from a dedicated studio workstation for most applications. Apple Silicon laptops (M3/M4) in particular show very strong performance in published benchmarks for audio processing. The computer is rarely the limiting factor — room acoustics, microphone placement, and gain staging have far more impact on final quality.
Q: What’s the difference between a USB mic and an XLR mic? USB microphones have an analog-to-digital converter built in and connect directly to your computer — no interface required. XLR microphones output analog signal that requires an audio interface to convert. XLR is preferable for most studio setups: you can upgrade the interface independently, you can use multiple mics simultaneously, and you have manual control over gain staging. USB mics are a legitimate choice for podcasters, streamers, and beginners who want simplicity over flexibility.
Q: How do I eliminate hum and noise from my recordings? Sixty-cycle hum (that constant low buzz) almost always comes from a ground loop — electrical interference between components on different ground potentials. Fix: plug all audio components into the same power strip or UPS. Use balanced XLR cables for any run over 6 feet. Separate power cables from audio cables where they cross. If hum persists, a ground lift adapter on the interface’s power supply sometimes resolves it. High-frequency hiss is usually preamp gain — lower mic gain and move the mic closer to the source.
Q: Do I need a mixing console for my home studio? No. A mixer between your microphone and interface adds gain stages, which adds noise and cost without improving your recordings. The mixing console’s job is now done by your DAW’s virtual mixer. The only legitimate use case for a hardware mixer in a home studio is routing multiple performers to a headphone mix during tracking — and a dedicated headphone amp (like the Behringer HA400) is cheaper and simpler for that task.
Q: What sample rate and bit depth should I record at? Record at 24-bit, 48 kHz for most projects (44.1 kHz if the final deliverable is CD or iTunes). The difference between 48 kHz and 96 kHz in the recorded signal is inaudible in controlled listening tests — the practical benefit of 96 kHz is additional headroom for heavy pitch-shifting or time-stretching in post. 32-bit float is useful for tracking live events where gain staging is unpredictable; the extended dynamic range prevents clipping even if the input clips the interface, but it offers no advantage over 24-bit for standard home recording sessions.
Q: When should I upgrade my gear vs. improve my room? Almost always improve your room first. The rule of thumb among professional recording engineers is: if you can’t get a good sound in your room, changing microphones won’t fix it. Published measurements consistently show that room-induced coloration has a larger effect on recorded audio than the frequency response differences between microphones in the same price tier. Spend on acoustic panels and bass traps before upgrading from a mid-range condenser to a premium one.
Editorial methodology: Assessments are based on manufacturer specifications, published user reviews, and editorial research. Physical hands-on testing is noted explicitly where it occurred. Rankings reflect our editorial judgment and are not influenced by affiliate commission rates. Full editorial policy · Affiliate disclosure