Contents
How to Record Acoustic Guitar at Home
TL;DR: The best way to record acoustic guitar at home is with a large-diaphragm condenser mic aimed at the 12th fret, 6–12 inches away, running into an audio interface with at least 48V phantom power. A treated room makes more difference than your gear. With good mic placement and basic acoustic treatment, home recordings rival professional studios.
What You Actually Need to Record Acoustic Guitar
You need four things: a condenser microphone, an audio interface, a DAW, and a treated recording space. The mic and room do the most work — gear above the $150/channel mark returns diminishing results fast. A $200 mic in a treated closet beats a $1,000 mic in a live bathroom every time.
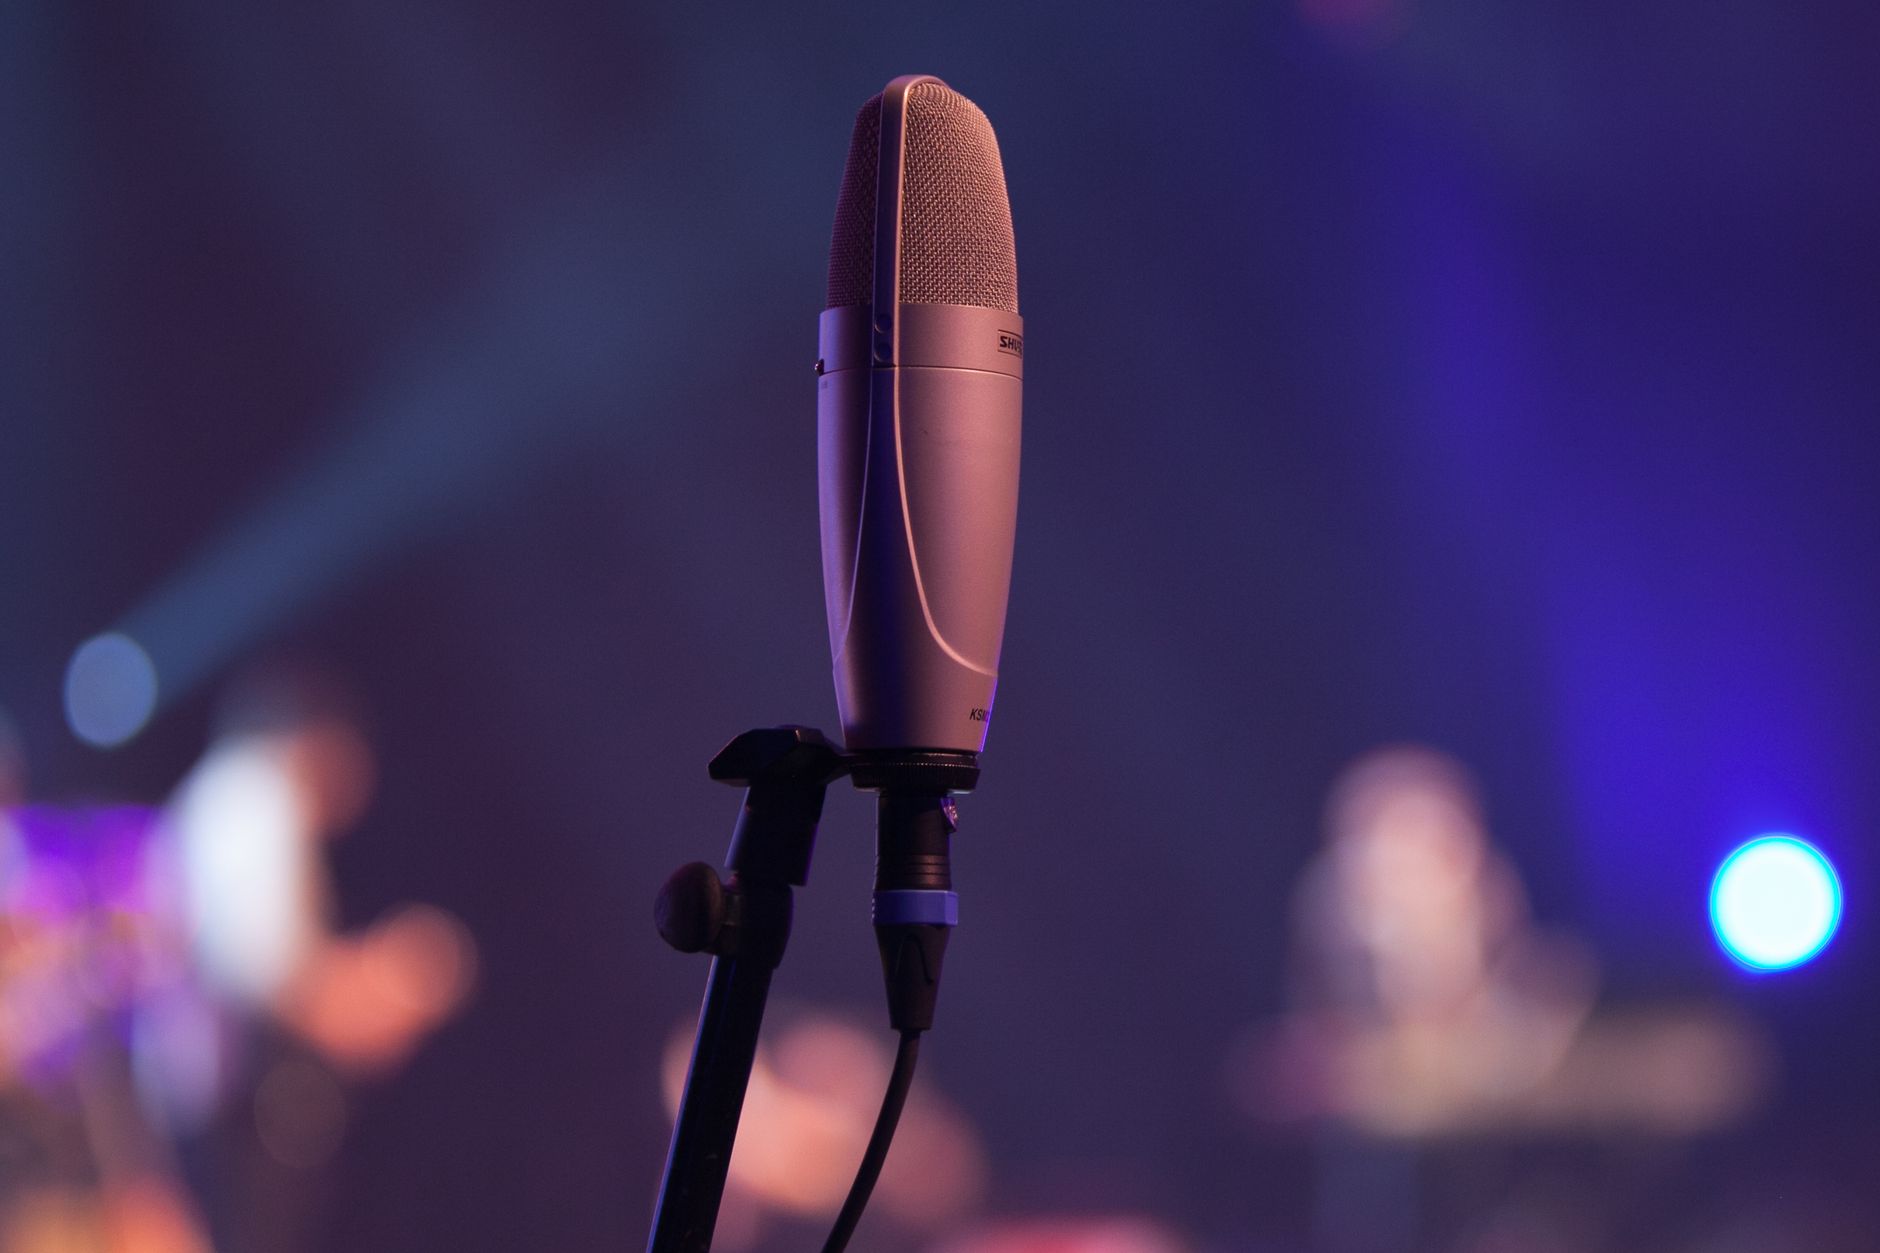 Photo: Luke Yanko via Pexels
The Minimum Viable Signal Chain
| Component | Budget Pick | Mid-Range Pick | What It Does |
|---|---|---|---|
| Condenser mic | Audio-Technica AT2020 | Shure SM81 | Captures transients, body resonance |
| Audio interface | Focusrite Scarlett Solo | Universal Audio Volt 176 | Phantom power, AD conversion |
| DAW | GarageBand (free) | Reaper ($60) | Recording, editing, mixing |
| Acoustic treatment | Moving blankets | 2“ rockwool panels | Kills room reflections |
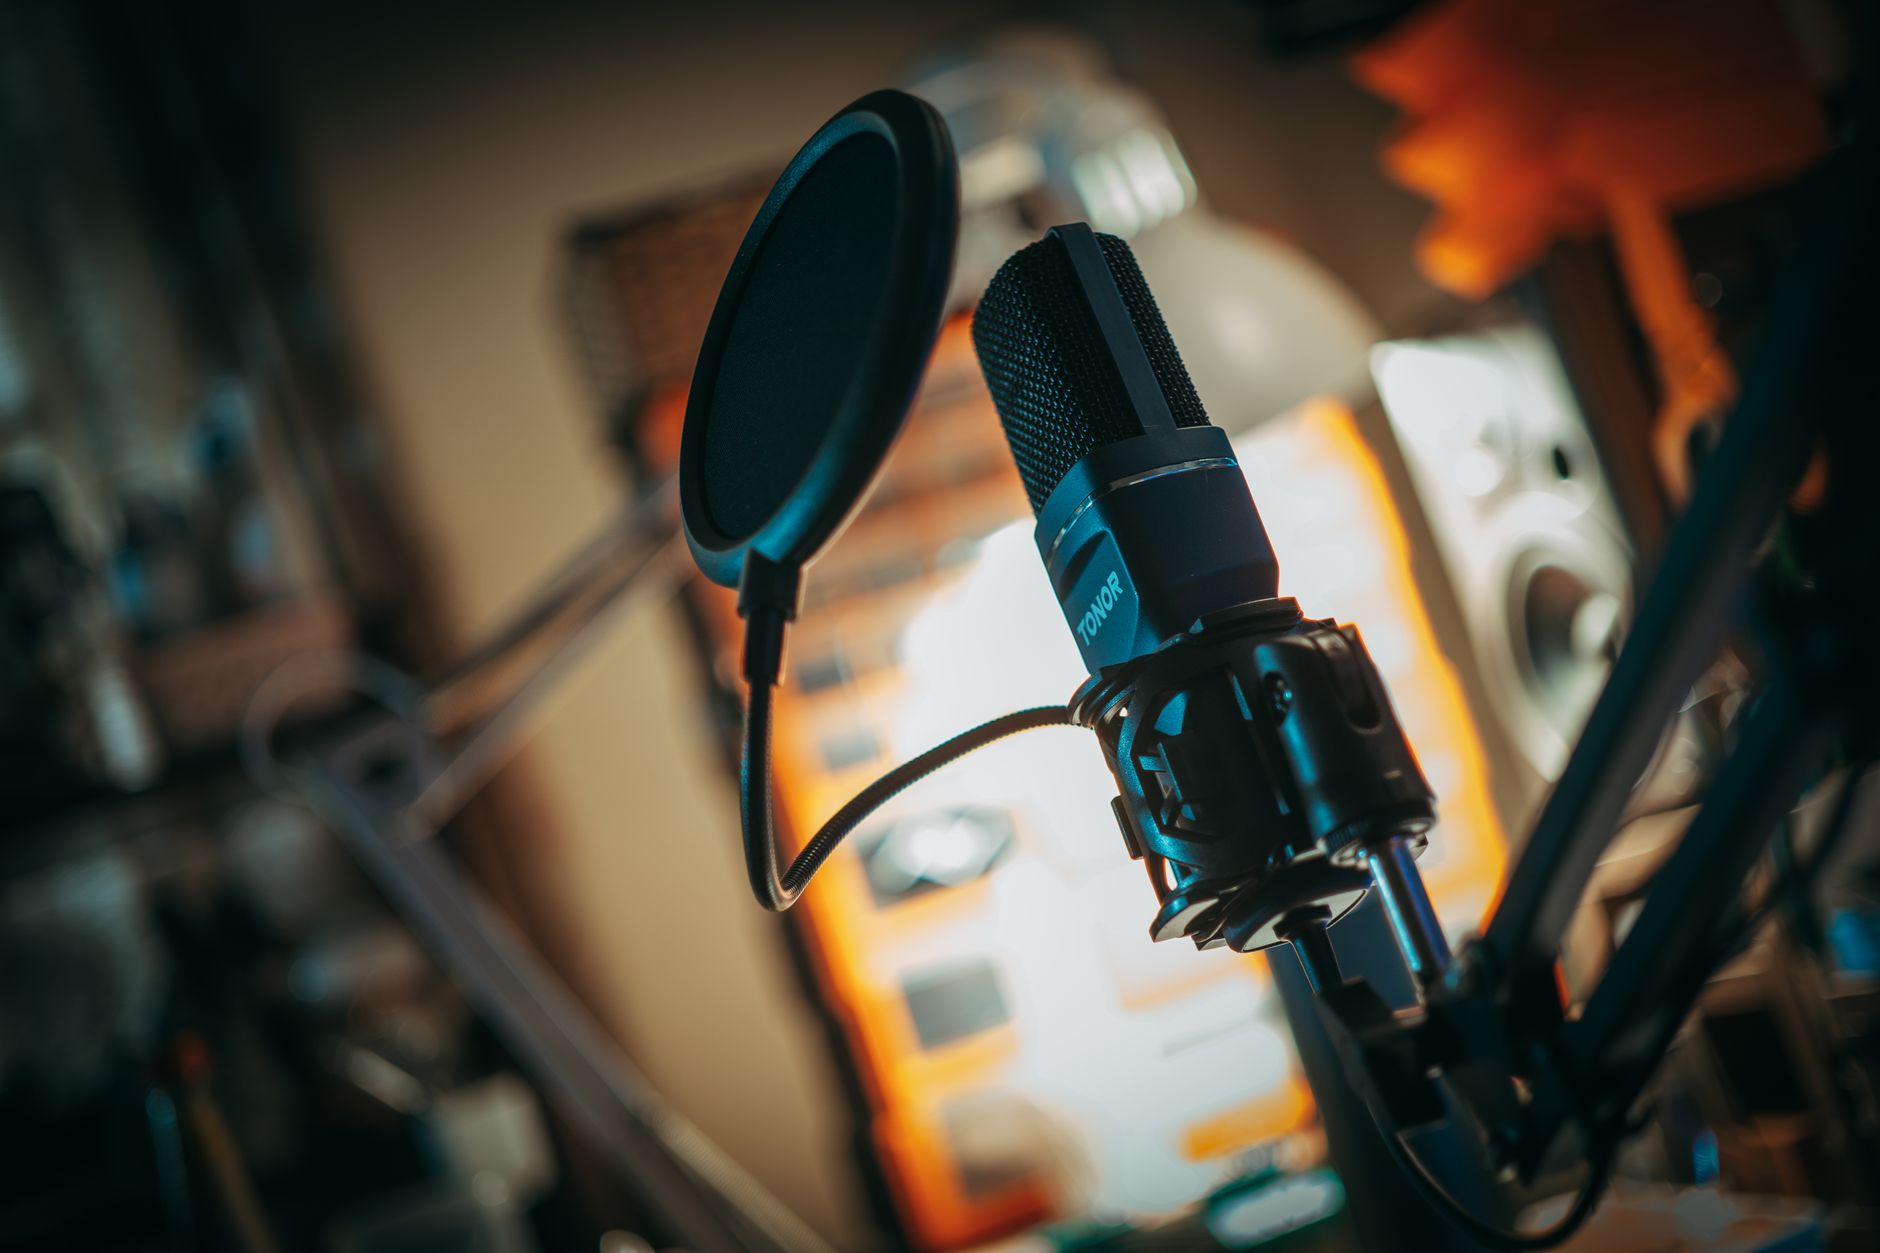
A dynamic mic like the SM7B can work, but cardioid condensers capture the full frequency range of an acoustic — especially the high-end shimmer and transient attack — far better for this application.
Mic Placement: The Single Most Important Decision
Point the mic at the 12th fret, 6–12 inches back, angled slightly toward the soundhole. This position balances warmth from the body with clarity from the fretboard. Moving the mic closer to the soundhole adds bass; toward the headstock adds brightness and string noise.
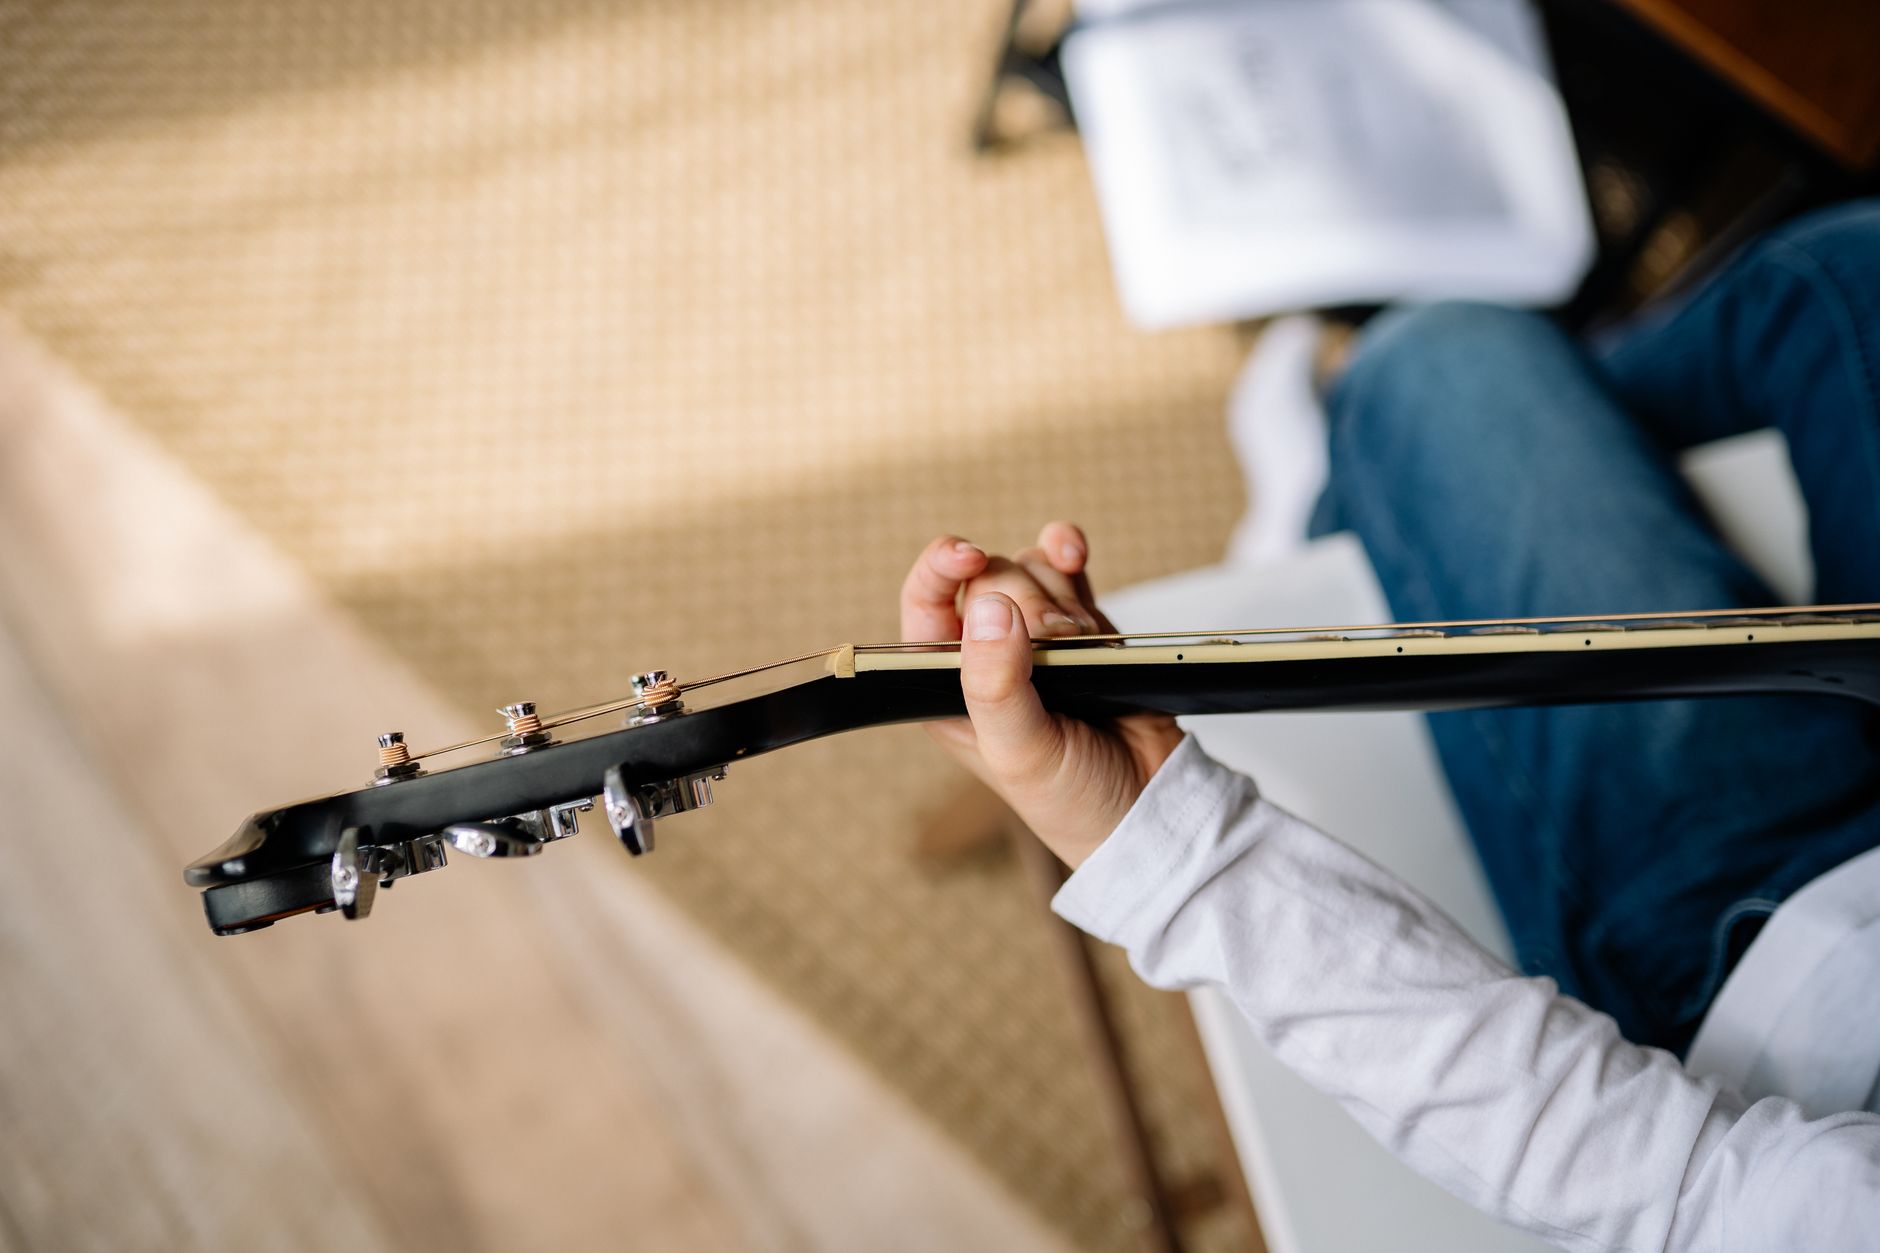 Photo: Yan Krukau via Pexels
Position Reference Table
| Mic Position | Sound Character | Best For |
|---|---|---|
| 12th fret, 6–8“ | Balanced, full | Most recording situations |
| Soundhole edge, 6“ | Boomy, warm | Strummed folk, country |
| Upper bout, 8–10“ | Airy, natural room | Fingerpicking, classical |
| Behind the neck, 18“ | Open, spacious | Room blend mic |
Off-axis technique: Rotating the mic capsule 30–45° off-axis (still aimed at the 12th fret zone) rolls off harsh upper-mids. Published testing data from Shure’s mic placement guides confirms this is one of the most effective toneshaping tools that costs nothing.
Two-Mic Setups
For stereo or blended mono, a common pairing documented extensively in recording engineering literature:
- Mic 1: 12th fret, 6–8“ (the primary mic)
- Mic 2: Over the right shoulder of the player, 18–24“ back (room perspective)
Check polarity before mixing. Flip the phase on Mic 2 and listen — if the combined sound gets thinner, flip it back.
Treating Your Room (Without Renovating It)
Parallel walls create flutter echo; bare floors add low-end buildup; glass and plaster cause harsh reflections. You don’t need a purpose-built studio — you need mass and absorption behind and beside the mic, and diffusion or absorption at the first reflection points.
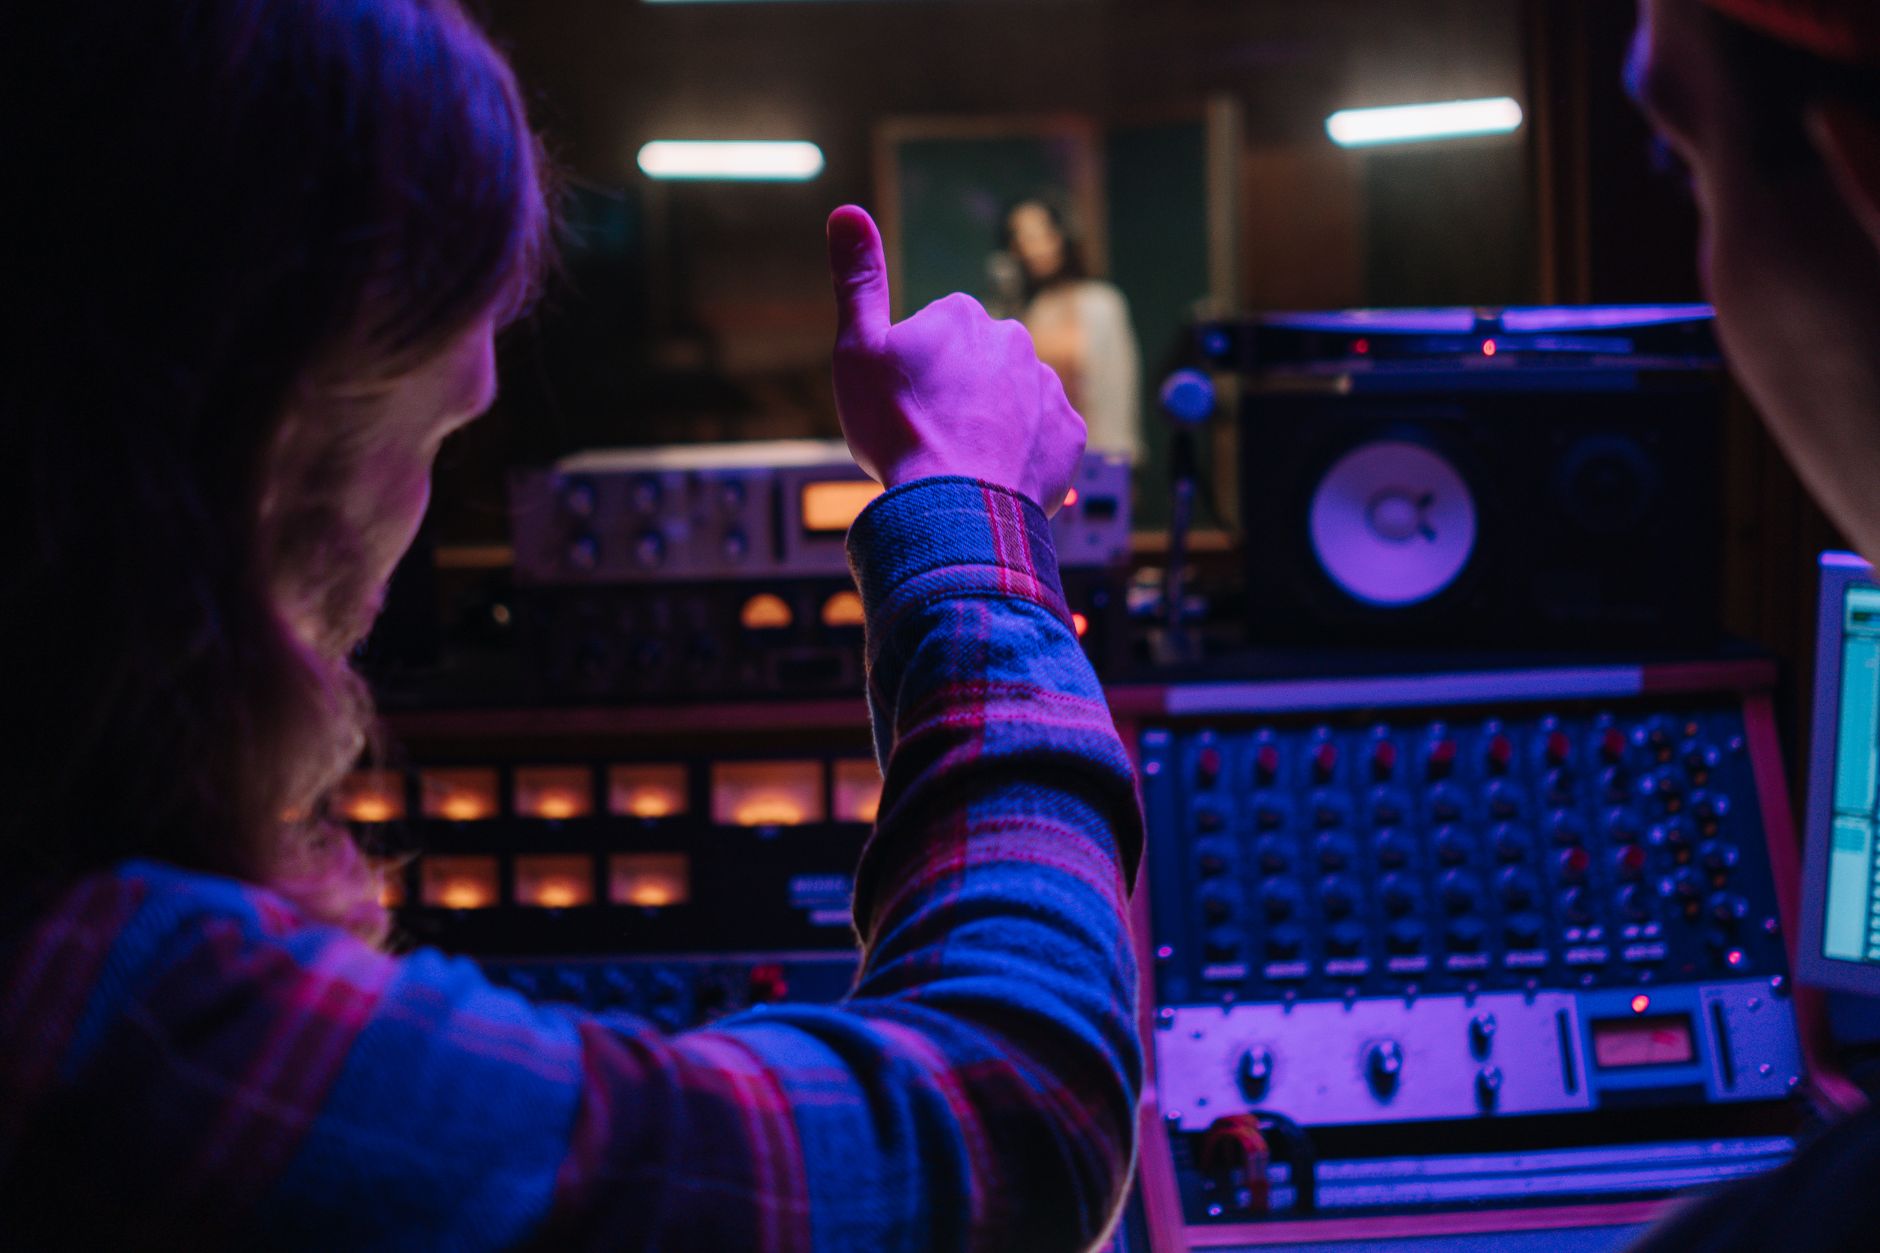 Photo: cottonbro studio via Pexels
Practical options that work based on acoustic treatment principles:
- Record in a closet packed with clothes — the most cost-effective solution for home recording
- Hang moving blankets on the walls within 3 feet of the mic
- Place a thick rug on hard floors
- Position a sofa or bookshelf behind the recording position
The goal isn’t a dead room — it’s a room where the reflections you capture sound like space, not problems. A room that’s too dead sounds unnatural and difficult to mix.
Gain Staging and Interface Setup
Set input gain so your loudest strums peak at –18 to –12 dBFS. Enable 48V phantom power before plugging in a condenser. Record at 24-bit/44.1kHz minimum — the extra headroom of 24-bit eliminates clipping risk without creating file size problems.
Signal chain: acoustic guitar → condenser mic → XLR cable → audio interface (phantom power on) → USB/Thunderbolt → DAW track (input monitoring off during playback)
Common gain mistakes:
- Hitting 0 dBFS during loud passages (clips permanently)
- Setting gain too low (forces plugin gain later, raises noise floor)
- Leaving phantom power off (mic produces no signal or very low output)
Step-by-Step Recording Workflow
- Set up your room — record in the most treated space available, mic stand positioned 12th fret distance
- Enable phantom power on the interface, wait 5 seconds before connecting the mic
- Set gain — play at your loudest and adjust so the peak meter stays below –12 dBFS
- Check for noise — record 10 seconds of silence, listen back on headphones; HVAC and fridge hum must be gone
- Place the mic — 12th fret, 6–8 inches, capsule aimed slightly toward soundhole
- Record a test take — listen back critically for room sound, not performance
- Adjust placement if needed — move 2 inches at a time, re-test
- Commit to a position and record — do not touch the mic mid-session
- Capture multiple takes — 3–5 full takes gives you enough material to comp
- Apply light low-cut EQ at 80–100Hz during mixing to remove handling noise and rumble
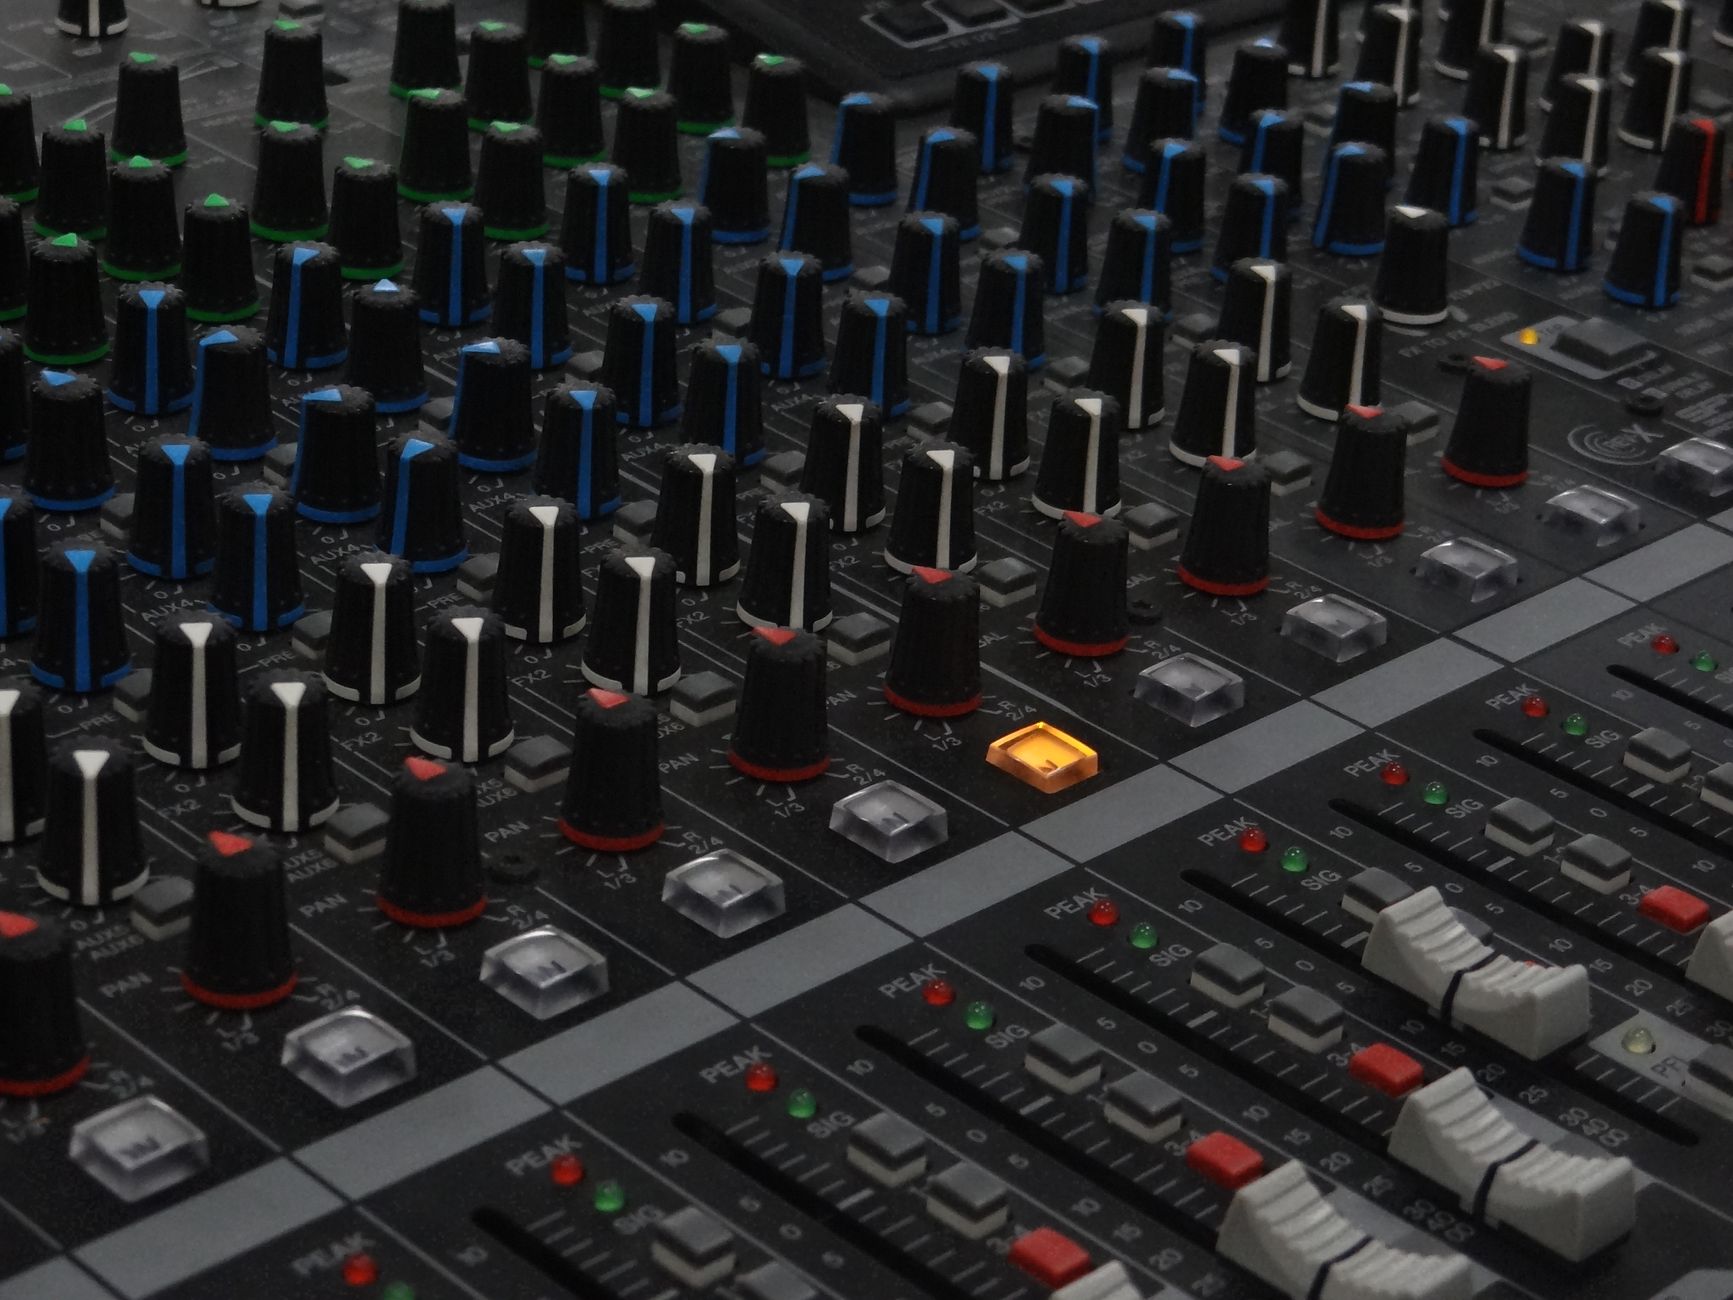 Photo: Daniel Singh via Pexels
Troubleshooting Matrix
| Symptom | Likely Cause | Fix |
|---|---|---|
| No signal in DAW | Phantom power off / wrong input selected | Enable 48V; check DAW input assignment |
| Harsh, brittle tone | Mic too close to soundhole or bright room | Move mic to 12th fret; add absorption |
| Muddy, boomy sound | Proximity effect / mic too close | Increase distance to 10–12“; high-pass at 100Hz |
| Excessive room reverb | Bare walls, hard floors | Record in closet; hang blankets behind mic |
| Hum or buzz | Ground loop / electrical interference | Try different outlet; move away from monitors |
| Low-level hiss | Interface gain too high; mic preamp noise | Lower gain; re-record; noise reduction plugin |
| Phase issues (two mics) | Polarity not checked | Flip phase on room mic; A/B both positions |
| Clicking/dropout | Buffer size too small | Increase buffer to 256–512 samples |
DI Recording: When to Skip the Mic
An undersaddle piezo pickup into a DI box or acoustic preamp is not a substitute for a mic in most contexts — the recorded tone is thinner, with exaggerated pick attack. That said, it’s a legitimate tool when:
- The room is completely untreatable
- You’re recording fast demos or scratch tracks
- You’re blending DI with a mic signal (a technique documented in countless studio engineer interviews)
For a blended approach: mic signal carries the body and air; DI signal carries transient definition and fullness. Mix roughly 70% mic / 30% DI, and low-cut the DI above 200Hz.
→ See also
- How to Record Guitar at Home: The Complete Guide (2026)
- How to Record Electric Guitar at Home
- How to Record Guitar Without an Amp
FAQ
What microphone is best for recording acoustic guitar at home? A large-diaphragm condenser in the $100–$300 range — like the Audio-Technica AT2020 or Rode NT1 — handles the full frequency range of an acoustic well. Small-diaphragm condensers like the Shure SM81 are preferred by many engineers for fingerpicking because they capture faster transients, but they’re harder to justify at the budget level. The room matters more than the specific mic model.
Do I need acoustic treatment to record acoustic guitar at home? Yes, in practice. An untreated room adds reflections that are impossible to remove in post without artifacts. You don’t need professional panels — recording inside a walk-in closet full of clothes is acoustic treatment. The primary goal is breaking up parallel surfaces within 3–4 feet of the microphone.
How far should the mic be from an acoustic guitar? 6–12 inches is the practical range for most recording. Closer captures more direct sound and body resonance (with added proximity effect on cardioid mics); farther captures more room character. For how to record acoustic guitar cleanly, start at 8 inches aimed at the 12th fret and adjust based on what you hear.
Can I record acoustic guitar with a USB microphone? Yes — USB mics like the Blue Yeti or Rode NT-USB will capture a usable acoustic guitar recording. The limitation is flexibility: you can’t adjust preamp gain independently, can’t use two mics simultaneously, and the converters are generally lower quality than a dedicated interface. For serious recording, a proper mic and interface chain is worth the small additional cost.
Why does my acoustic guitar recording sound hollow or boxy? A boxy, telephone-like midrange is almost always a room problem — specifically early reflections off nearby walls or a desktop. Move the mic farther from any flat surface within 2 feet, add absorption behind the mic, and apply a gentle dip with a parametric EQ in the 300–600Hz range. If it persists, the mic may be pointed too directly at the soundhole.
Should I record acoustic guitar in mono or stereo? Mono is more practical for most home setups — a well-placed single mic in a treated space sounds fuller than a poorly executed stereo pair. Stereo works well when you have two matched mics, a treated room, and a mix that benefits from wide acoustic guitar. For singer-songwriter and band-mix contexts, mono tracks pan well and sit cleanly in the mix without phase management problems.
Editorial methodology: Assessments are based on manufacturer specifications, published user reviews, and editorial research. Physical hands-on testing is noted explicitly where it occurred. Rankings reflect our editorial judgment and are not influenced by affiliate commission rates. Full editorial policy · Affiliate disclosure