Contents
How to Record Your First Song: Complete Beginner Setup Guide
TL;DR: To record your first song, you need an audio interface, a DAW, and either a microphone or a direct-inject instrument connection. Plug in, set your gain so levels peak around -18 dBFS, hit record. This guide walks every step from cables to exported file.
What You Actually Need Before You Start
Direct answer: Four things — an audio interface, a DAW (digital audio workstation), a way to capture sound (mic or DI), and headphones or monitors. You can record your first song for under $200 total. Everything else is optional until you know what’s missing.
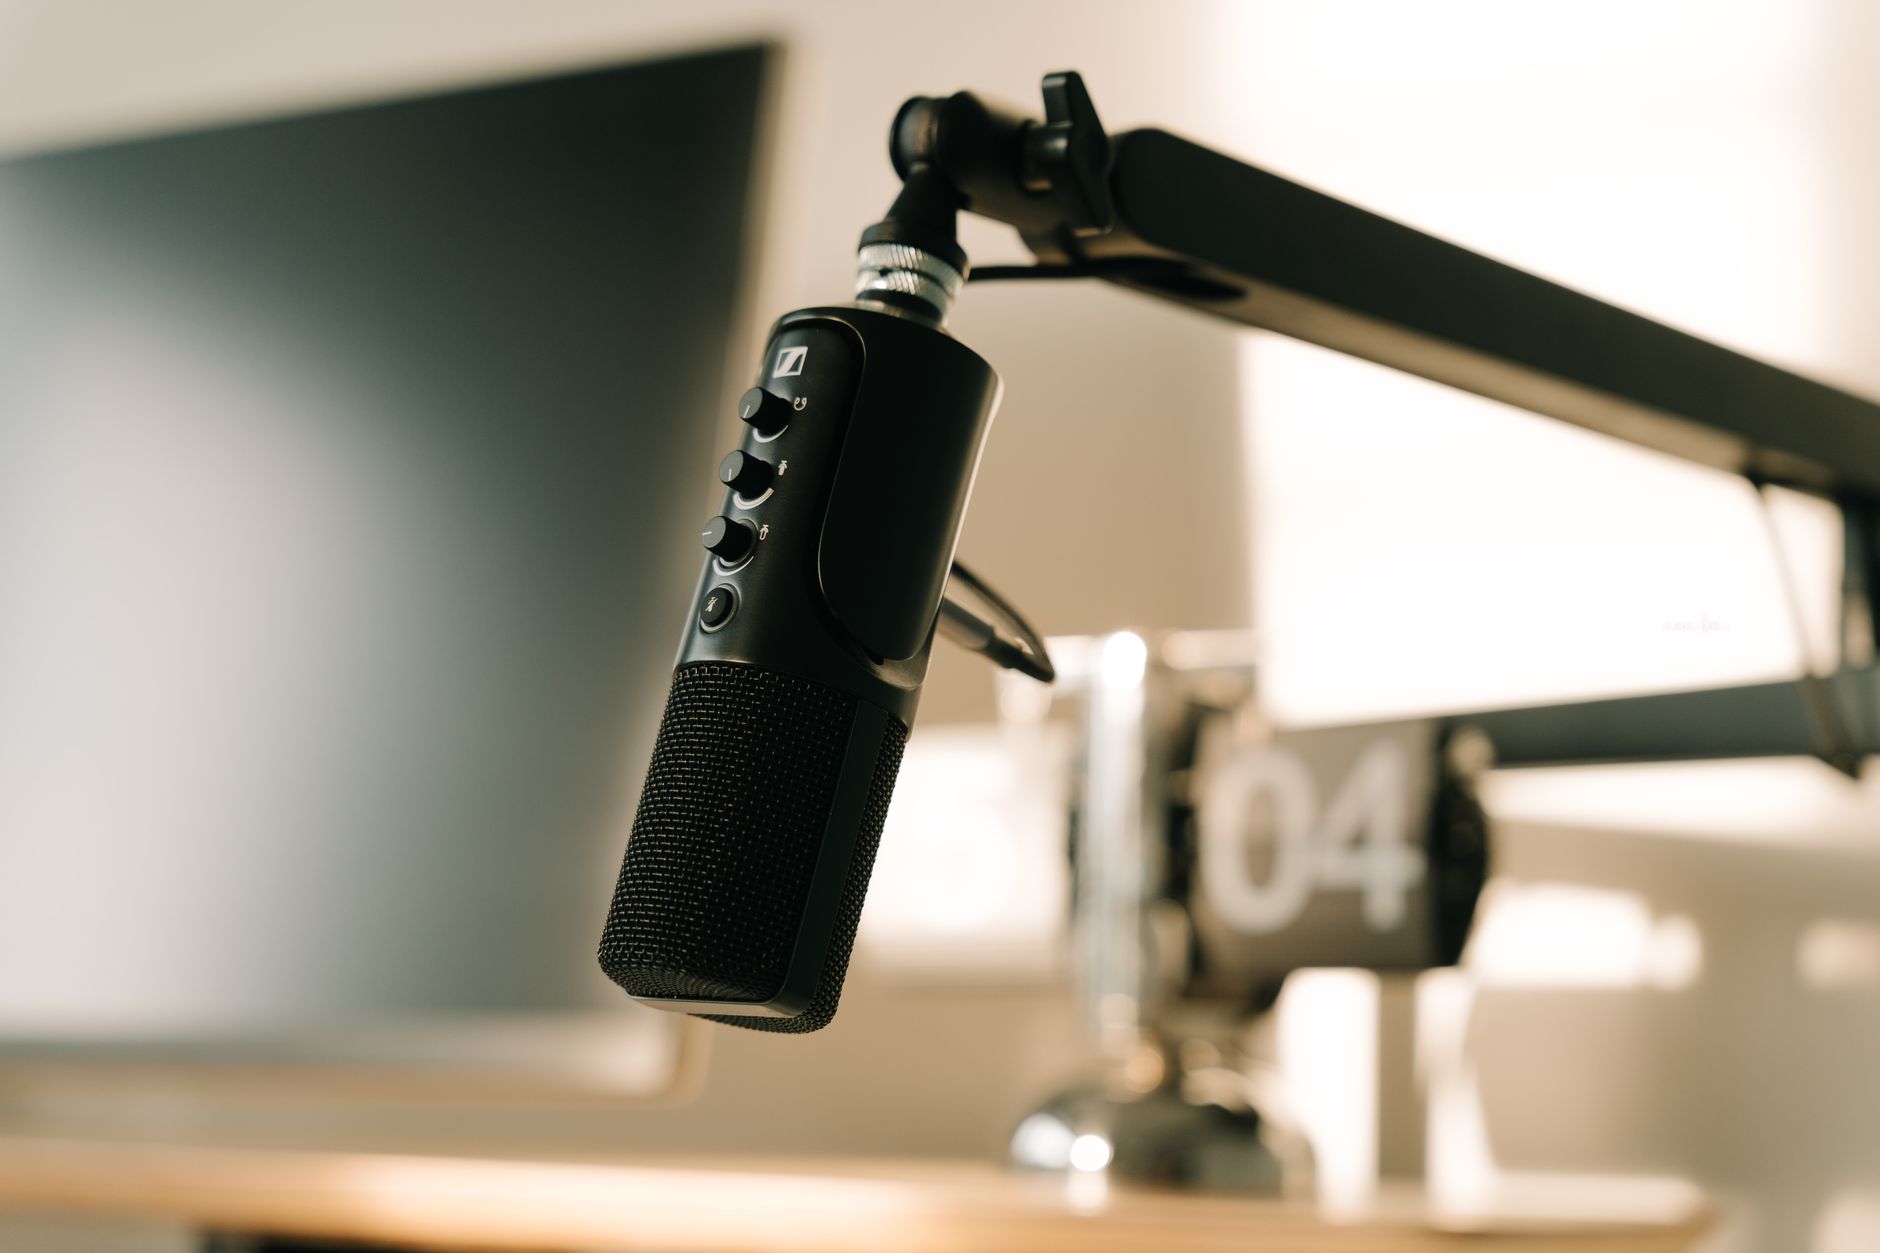
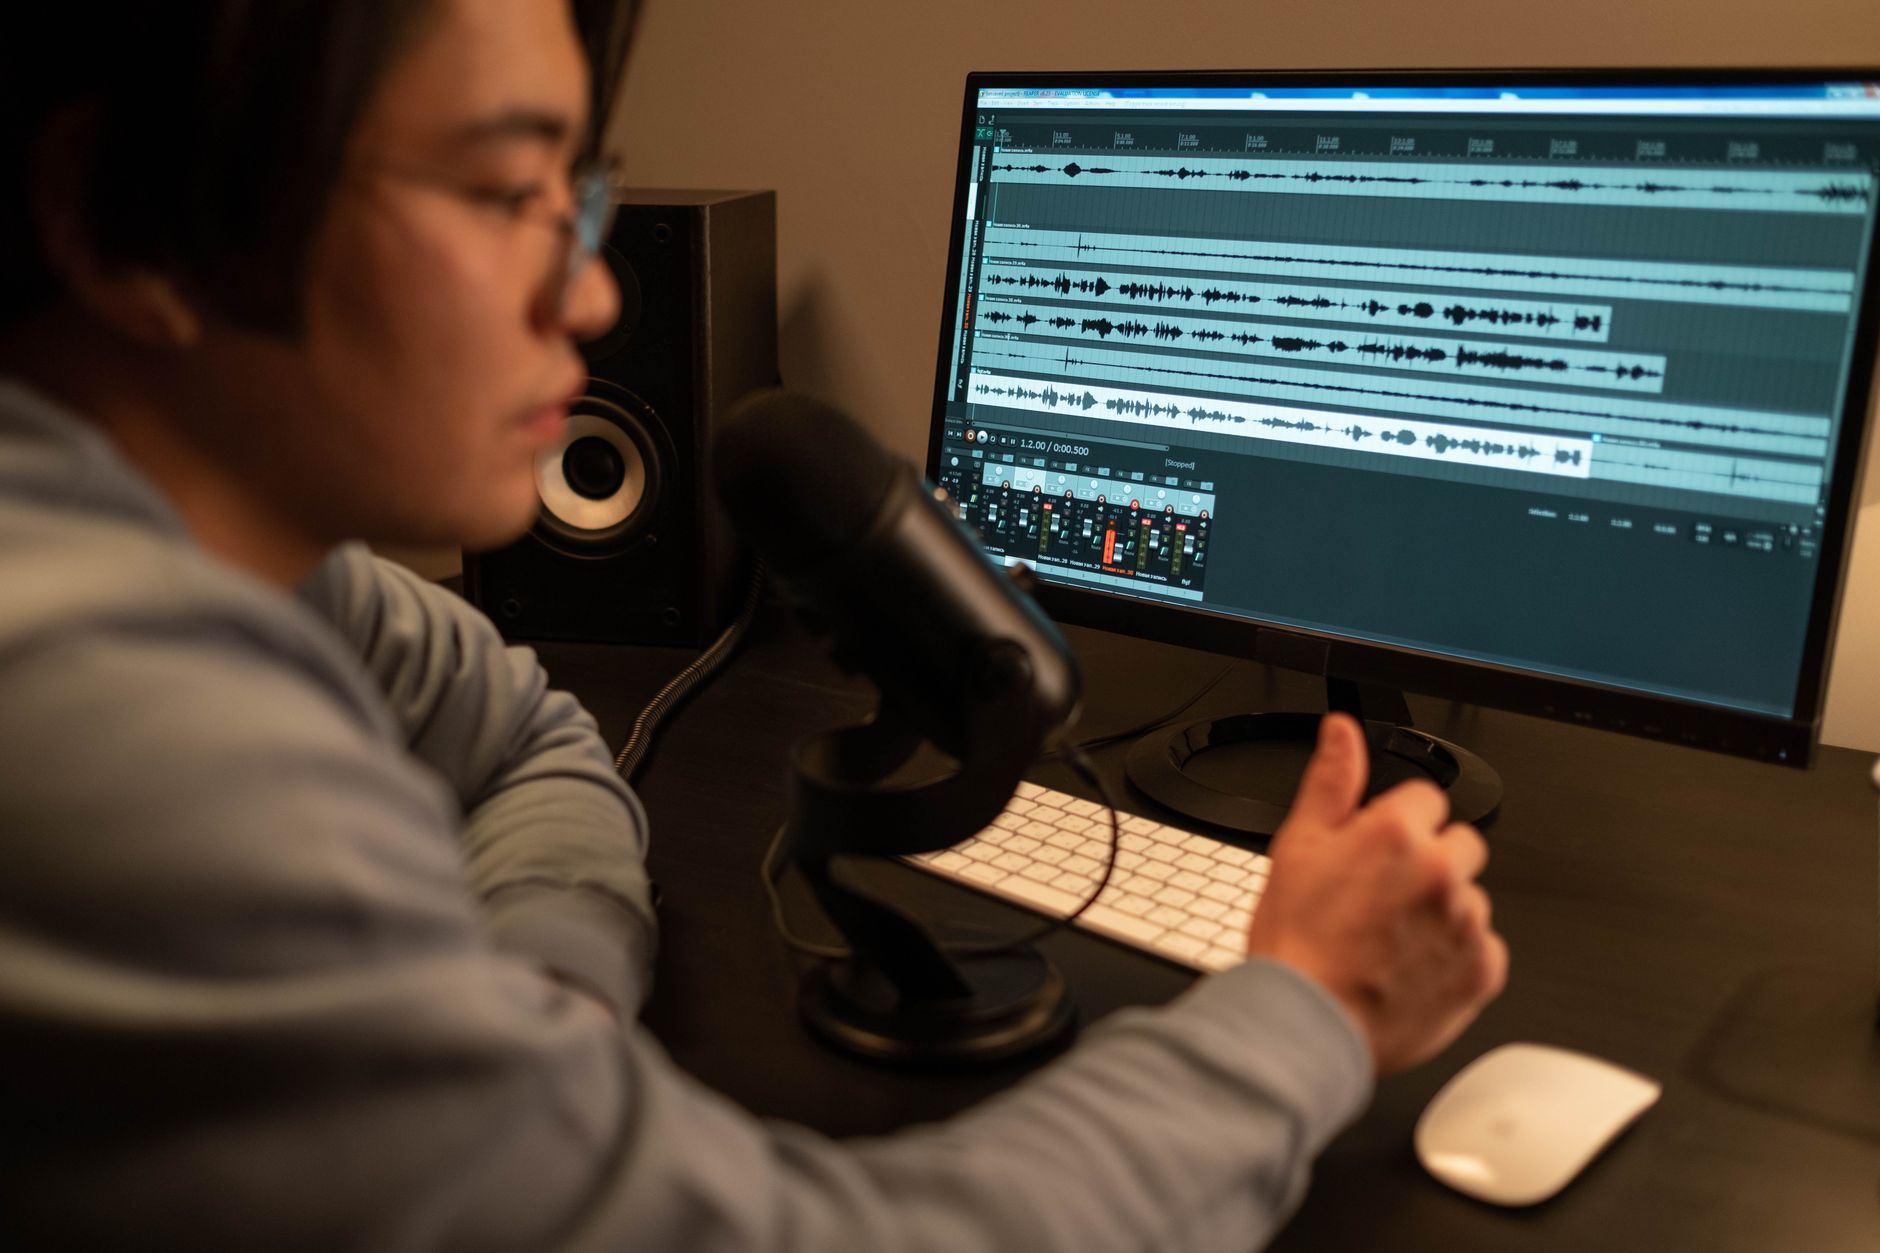 Photo: cottonbro studio via Pexels
Budget the gear realistically before buying anything:
| Item | Entry Option | Approximate Cost |
|---|---|---|
| Audio interface | Focusrite Scarlett Solo (Gen 4) | $120 |
| DAW | GarageBand (Mac, free) / Reaper | $0–$60 |
| Microphone | Audio-Technica AT2020 | $100 |
| Headphones | Sony MDR-7506 | $100 |
| XLR cable | Any decent 10-ft cable | $10–$20 |
If you already own headphones and a laptop, you can be recording for around $230. If you’re on a tighter budget, the home studio for $300 guide shows exactly where to cut without killing your results.
How to Set Up Your Signal Chain
Direct answer: Signal chain runs: instrument or mic → audio interface → DAW. Every device in that path either captures, converts, or processes your sound. Get this order right and troubleshooting becomes straightforward — a problem is almost always in one link.
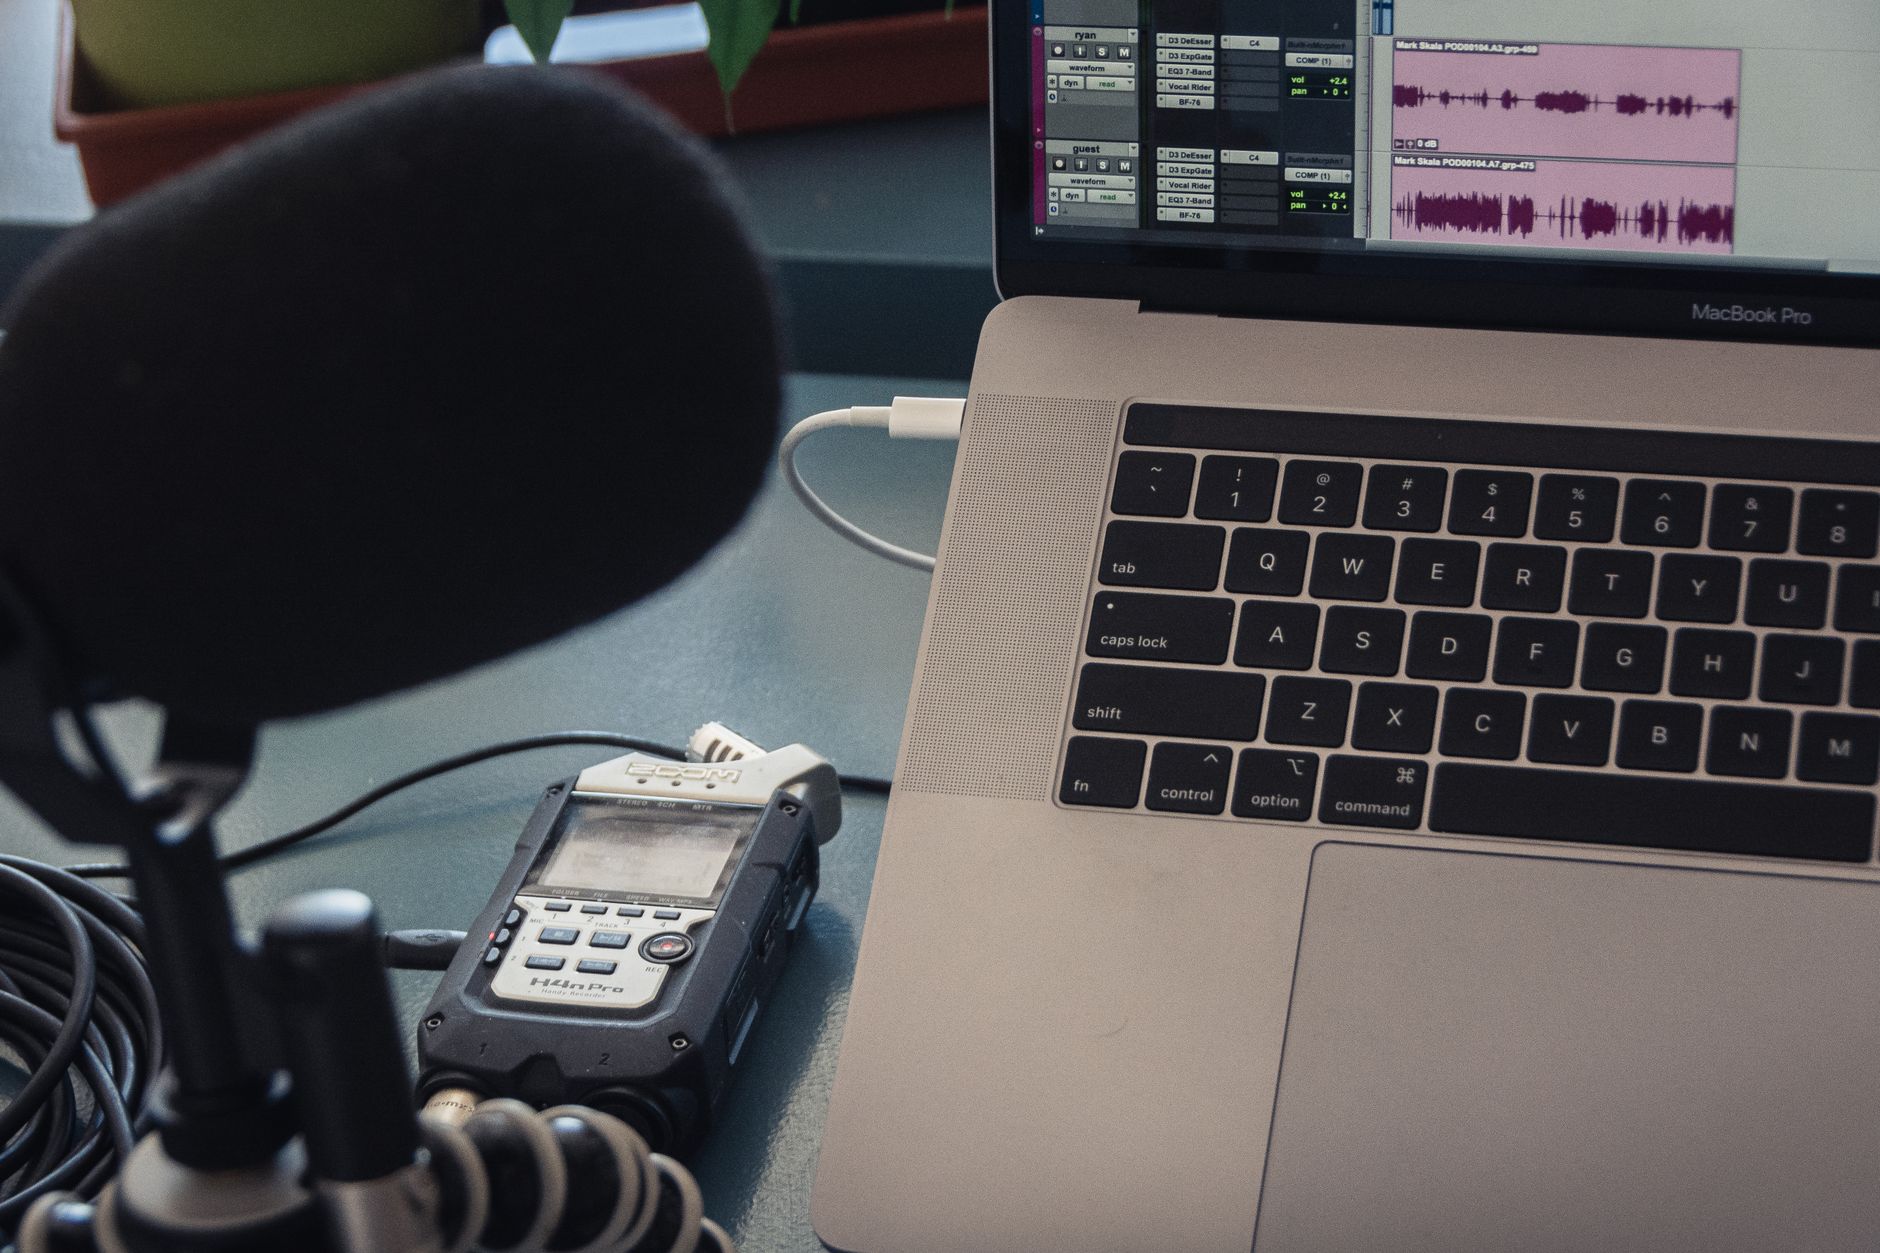
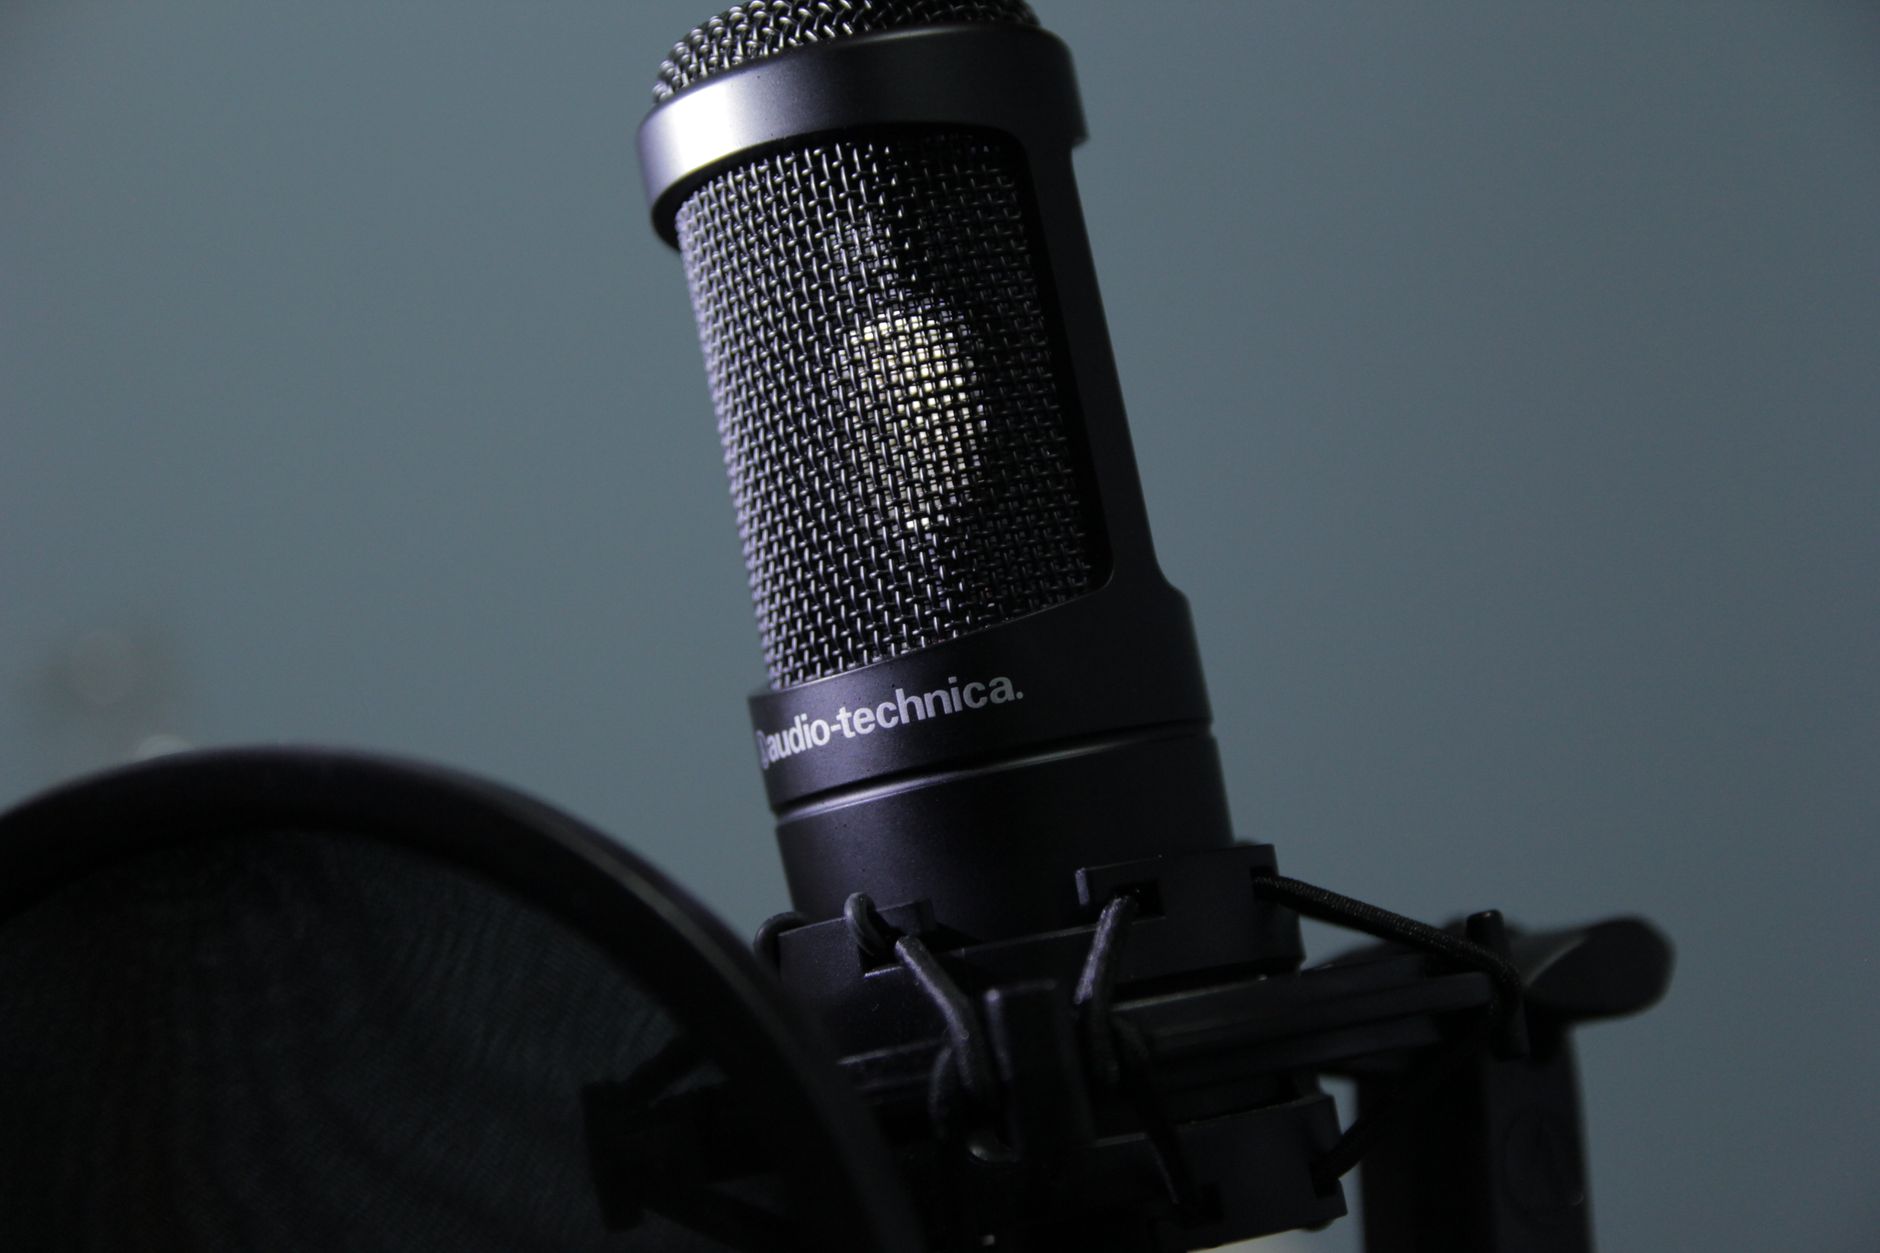 Photo: Ivan Cuadra via Pexels
Connecting a Microphone
- Run an XLR cable from your mic to input 1 on your interface.
- If you’re using a condenser mic (AT2020, Blue Spark, etc.), press the +48V phantom power button on your interface. Dynamic mics don’t need it and ribbon mics should never receive it.
- Set the gain knob to 12 o’clock as a starting point.
- Speak or sing at performance volume and watch the interface’s signal LED — green is fine, red means clipping.
Connecting a Guitar or Bass (DI)
Plug a standard TS instrument cable directly into the Hi-Z (instrument) input. On most interfaces this is the same socket as XLR, switched by a front-panel button labeled “Inst” or a dedicated 1/4“ jack on the front. Set gain the same way.
Connecting a Keyboard or Synth
Run left and right outputs from the keyboard into two separate interface inputs using two TS cables, or use a single TRS-to-dual-TS splitter. Record as a stereo pair or two mono tracks depending on your DAW preference.
Gain Staging: The One Thing Beginners Always Skip
Direct answer: Record at -18 dBFS average, with peaks no higher than -6 dBFS. This leaves headroom for mixing and prevents digital clipping, which unlike analog saturation is unrecoverable distortion.
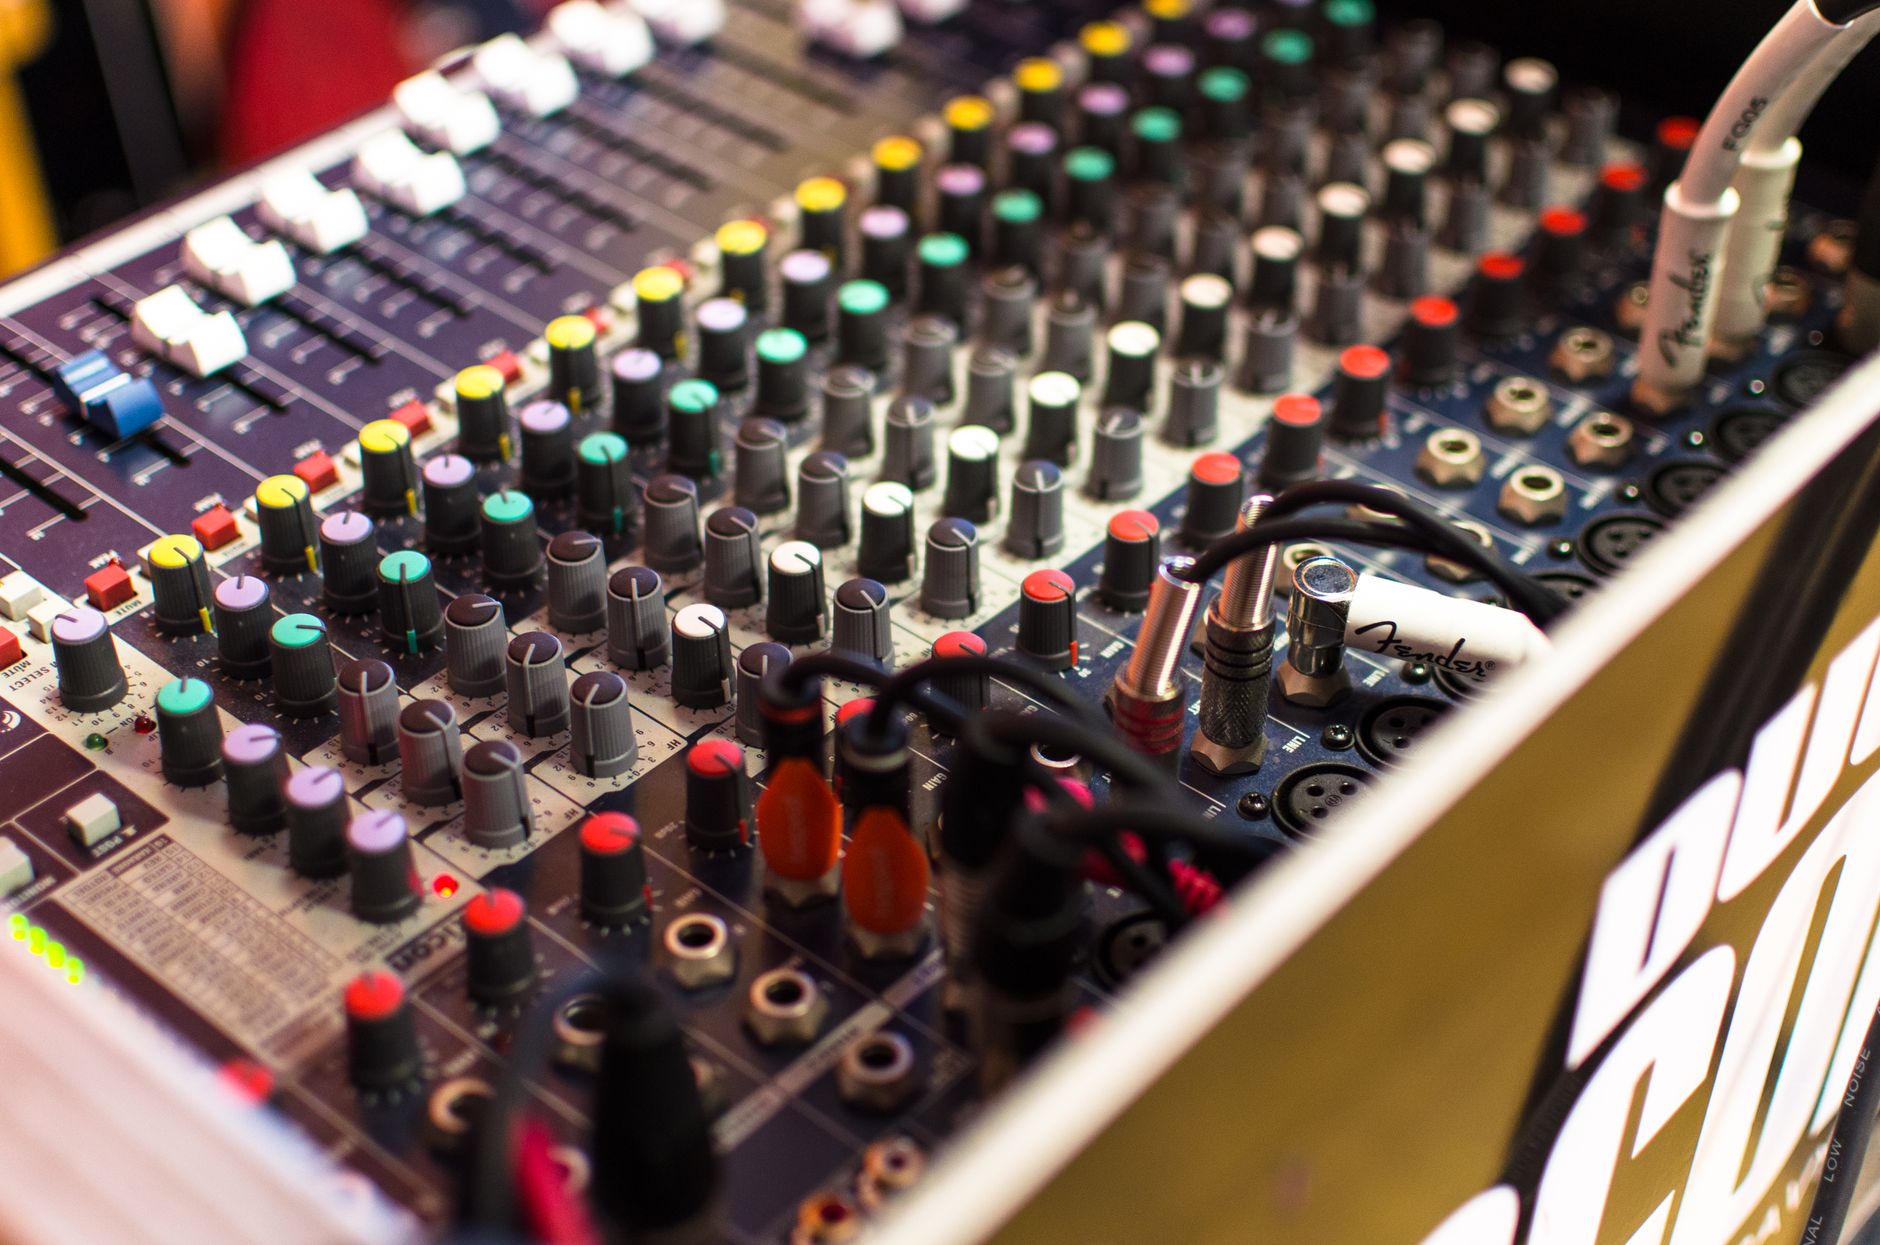
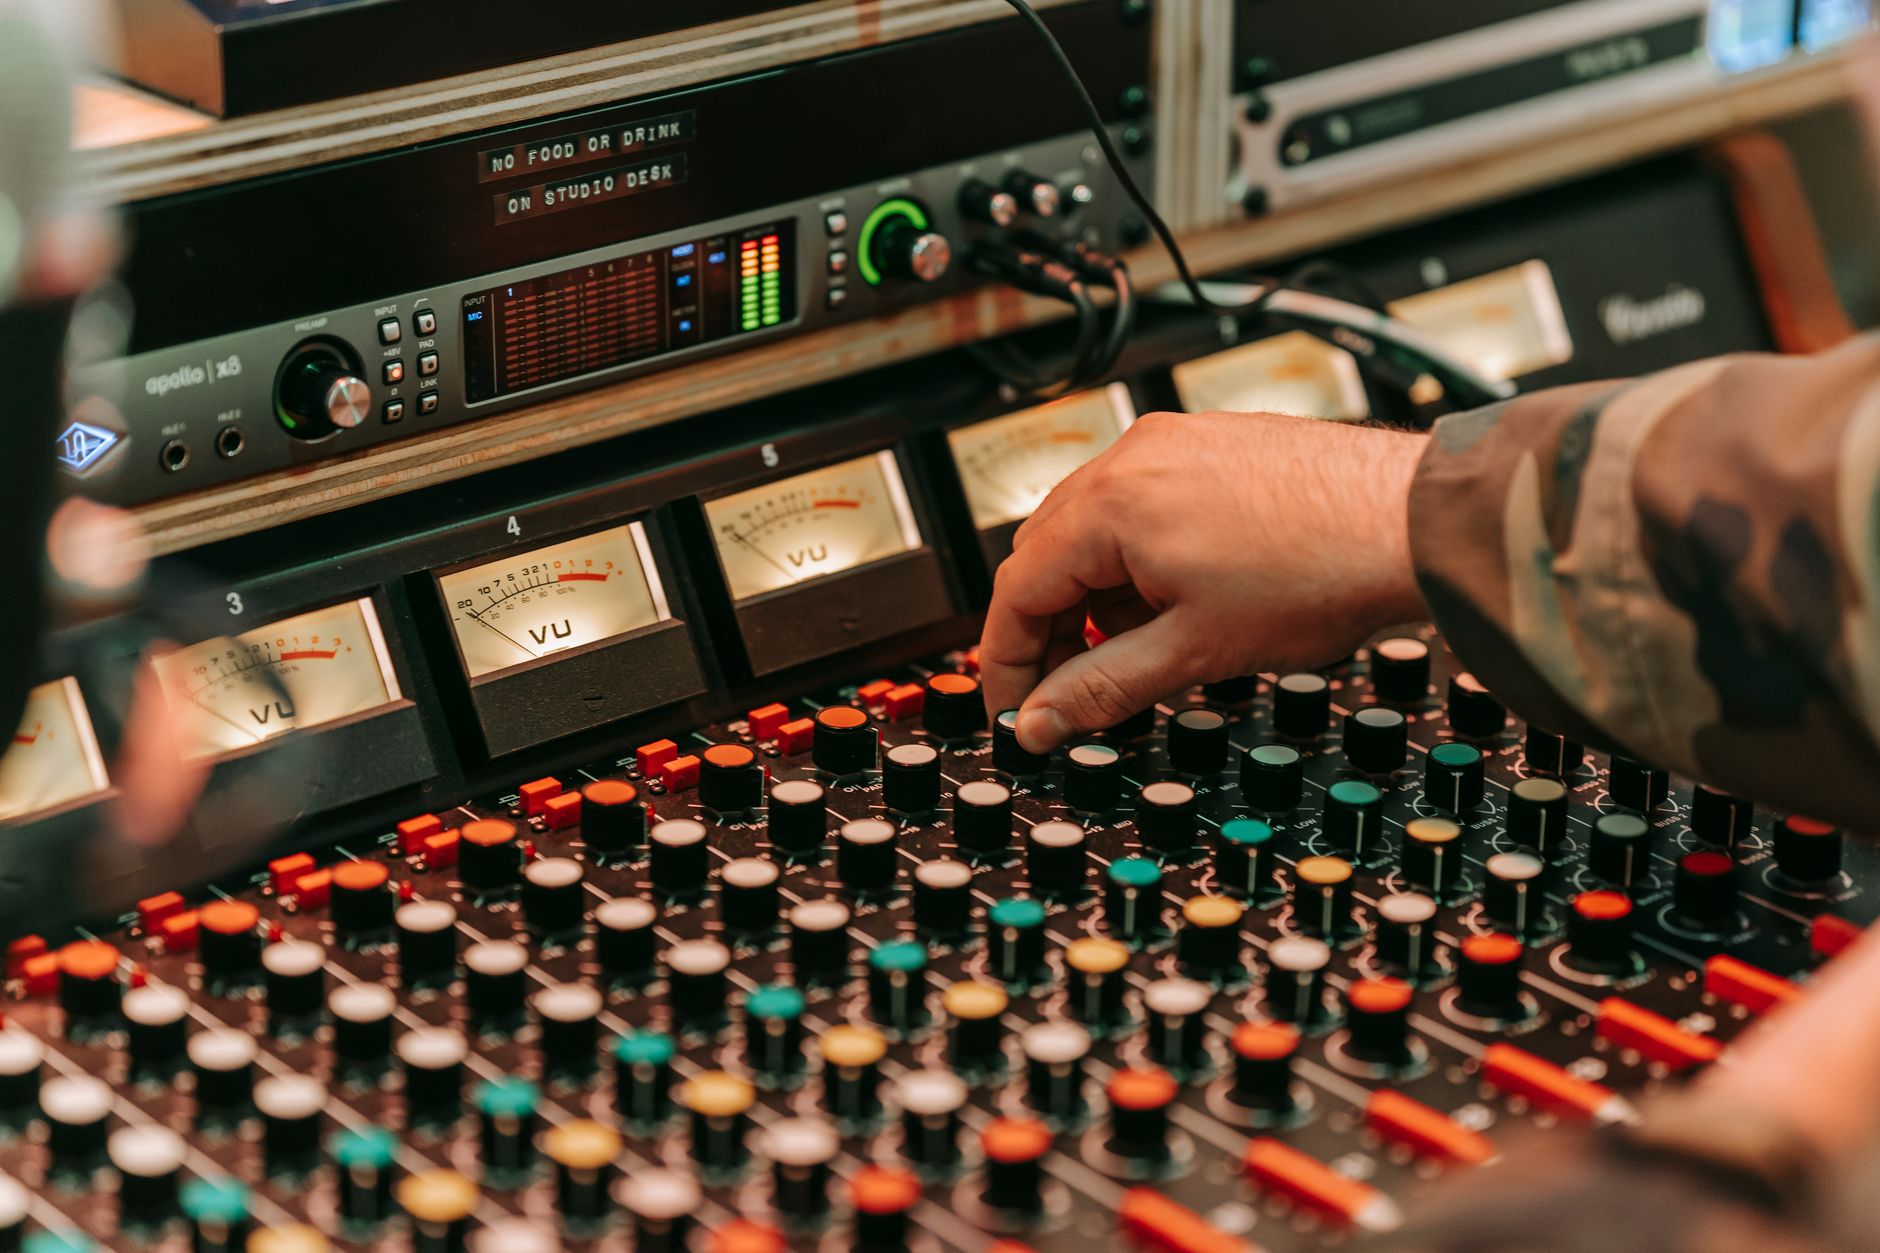 Photo: Anna Pou via Pexels
Turn your interface gain up until the loudest parts of your performance land around -6 dBFS on the DAW input meter. Don’t chase 0 dBFS — that’s a mastering engineer’s job, not a tracking engineer’s.
Common gain mistakes:
- Too hot (peaking above -3 dBFS): Digital clipping. The waveform flatlines at the top. Unfix-able.
- Too quiet (averaging below -24 dBFS): You’ll amplify noise when you boost in the mix.
- Inconsistent gain across takes: Makes editing and comping harder than it needs to be.
How to Record Your First Song Step by Step
Direct answer: Create a new project, set your sample rate to 44.1 kHz / 24-bit, arm a track, set gain, and record. Don’t try to get everything perfect on take one — record multiple takes and comp the best parts later.
Full Workflow
-
Create a new project in your DAW. Set sample rate to 44.1 kHz, bit depth to 24-bit. This is the industry standard for music that will be distributed or mixed later.
-
Set your interface as the audio input and output device. In most DAWs: Preferences → Audio → Input Device → [your interface name]. Do this before you create any tracks.
-
Set your buffer size. For recording: 64–128 samples (lowest latency). For mixing playback: 512–1024 samples (less CPU strain). You need low buffer when monitoring through the DAW; if you monitor through your interface’s direct mix, buffer size doesn’t affect what you hear while tracking.
-
Create a new audio track. Set input to Interface Input 1 (or 1/2 for stereo). Arm the track for recording (the red button on the channel strip).
-
Set a click track/metronome. Even if you plan to record without one eventually, use it for your first sessions. It makes editing, overdubs, and timing corrections vastly easier.
-
Set your tempo. Tap it in or type it. If you don’t know the BPM of your song, use the DAW’s tap-tempo feature while playing along.
-
Do a test recording. Hit record, play 10 seconds, stop. Zoom in on the waveform — you should see clear peaks, no flatlined tops, no complete silence between notes.
-
Record takes. Most DAWs have a cycle/loop record mode. Set your markers, enable loop record, and record multiple passes in one go. Label takes as you go.
-
Comp your track. Listen back, find the best lines across takes, and assemble a composite performance. Every major DAW has a comping lane feature for this.
-
Add a rough mix. Pan instruments, set basic levels. You don’t need to mix fully now — just make playback usable enough to evaluate the performance.
-
Export/bounce. File → Export/Bounce → WAV, 44.1 kHz, 24-bit. This is your working file. For sharing, export a separate 44.1 kHz / 16-bit or MP3 version.
Troubleshooting Common Recording Problems
| Symptom | Likely Cause | Fix |
|---|---|---|
| No signal in DAW | Wrong input selected, or track not armed | Check DAW audio device settings; confirm track input matches interface channel; re-arm the track |
| High latency / echo while monitoring | Buffer size too high, or monitoring via DAW and interface simultaneously | Lower buffer to 64–128 samples; use interface direct monitoring instead |
| Loud hum or buzz | Ground loop or cheap cable | Try a different cable; plug interface and computer into same power strip; enable ground lift if interface has it |
| Clipping / distortion on recording | Gain too high | Turn interface gain down; aim for peaks at -6 dBFS max |
| Phase cancellation (thin, hollow sound on two mics) | Mics out of phase | Flip polarity on one track in the DAW (most channel strips have a Ø button) |
| Recording sounds fine but playback is choppy | Buffer too small for playback | Increase buffer size to 512+ for mixing sessions |
| Mic picks up everything in the room | Condenser mic with no acoustic treatment | Record in a closet, hang blankets, or switch to a dynamic mic (SM58, SM7B) for untreated rooms |
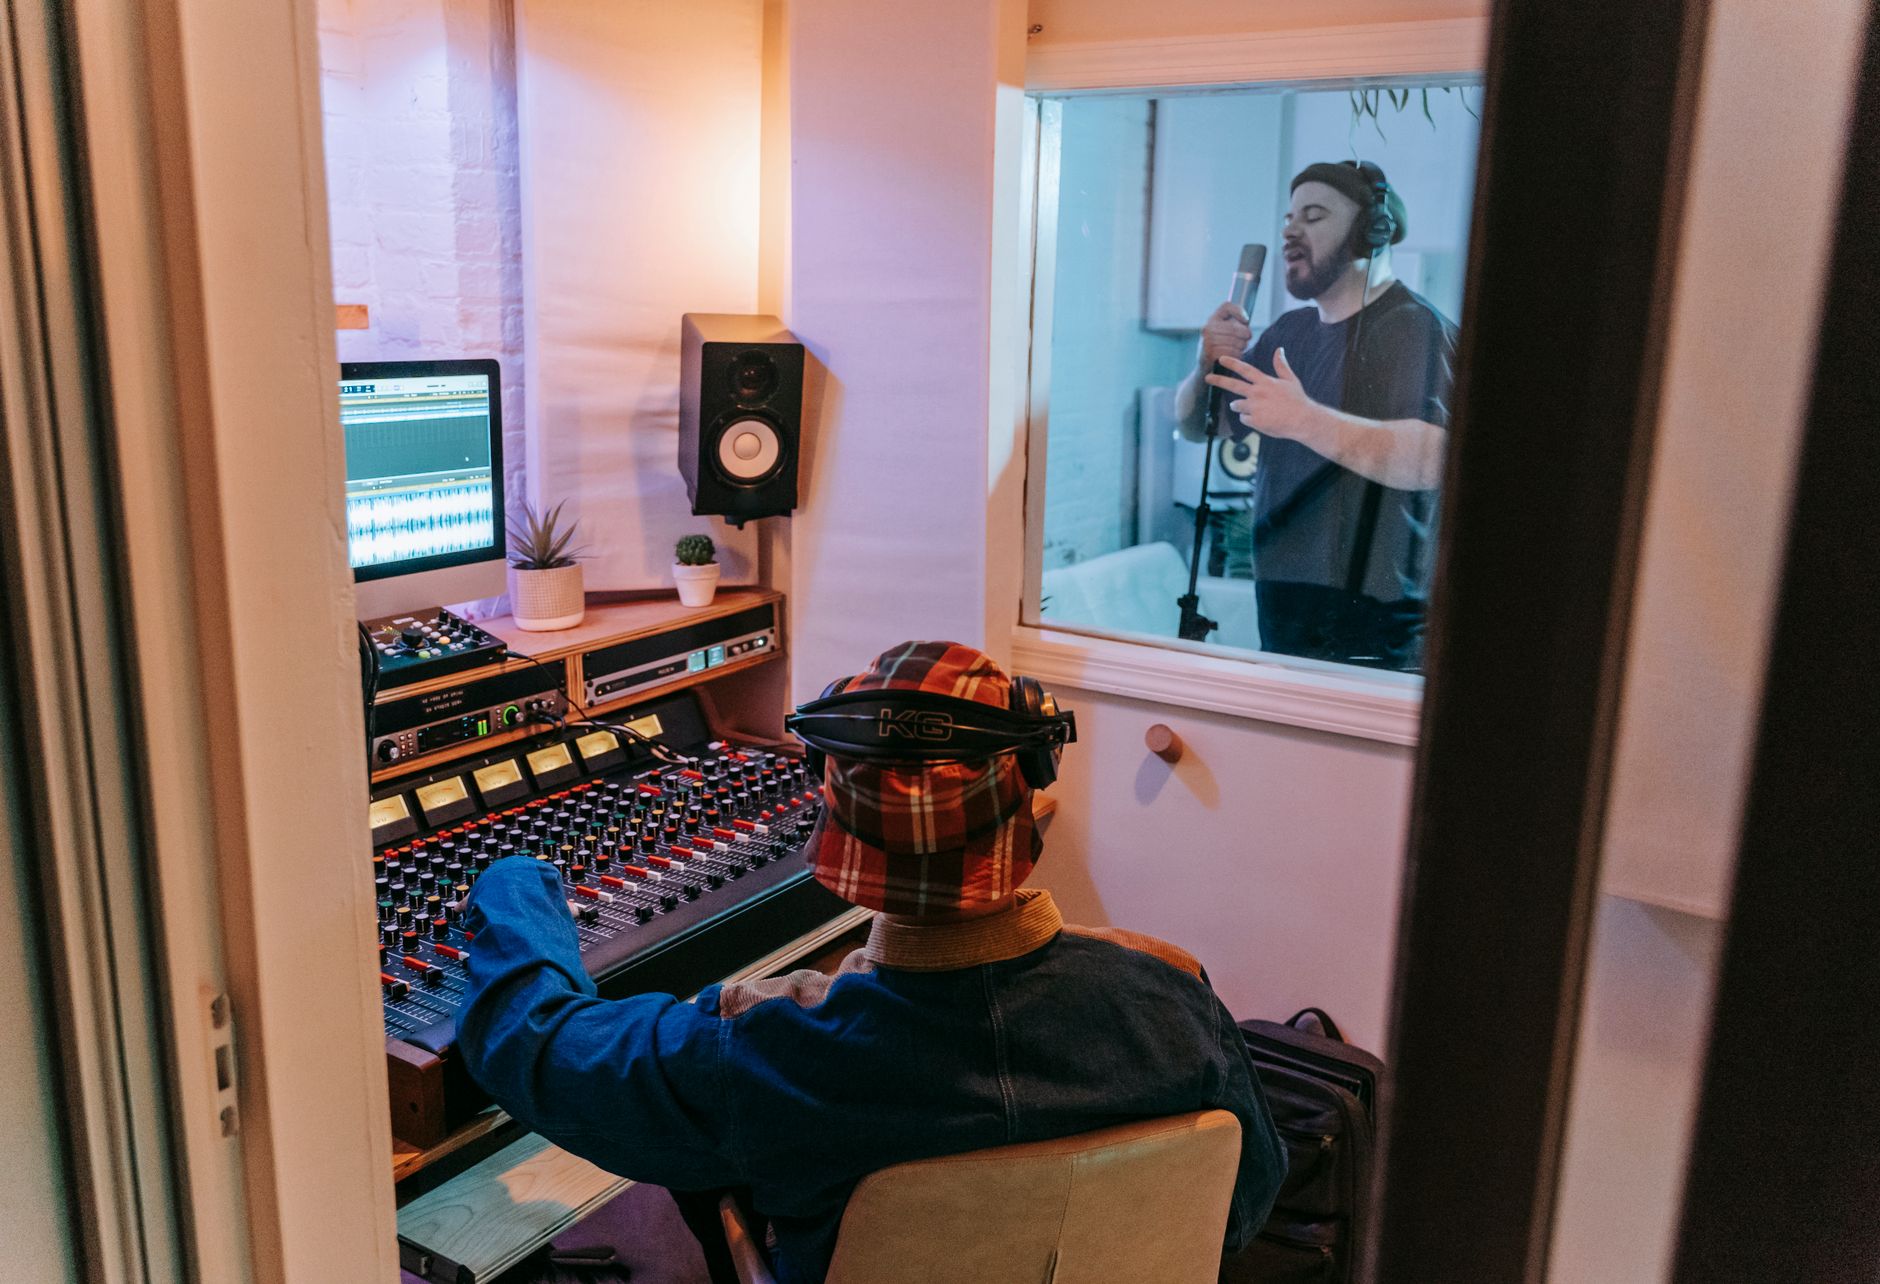 Photo: Anna Pou via Pexels
Setting Up Your DAW Session Template
Once you’ve got a working session, save it as a template. This is 10 minutes of work that saves 20 minutes every future session.
A minimal template includes:
- Interface I/O routing already configured
- One mono audio track (vocals/guitar) with gain at 0, input armed
- One stereo audio track (keyboard/line input)
- A click track at 120 BPM (you’ll change it)
- Master output at -6 dB headroom
In Reaper: File → Save as Template. In Logic: File → Save as Template. In GarageBand: create a new project and save it in a “Templates” folder manually — GarageBand doesn’t have native template support.
→ See also:
- The Complete Home Recording Studio Setup Guide (2026) — full gear and room rundown
- How to Build a Home Studio for $500 (2026) — upgrade path once you’ve outgrown starter gear
- How to Build a Home Studio for $300 (2026) — budget-first approach with no-compromise picks
FAQ
Do I need acoustic treatment to record my first song? Not necessarily, but it helps. Condenser microphones are highly sensitive and will pick up room reflections, HVAC noise, and reverb. A treated room isn’t required, but recording in a small closet full of clothes or hanging moving blankets around your recording position will noticeably clean up the sound. Dynamic microphones are far more forgiving of untreated spaces.
What sample rate and bit depth should I use to record my first song? Record at 44.1 kHz / 24-bit. The 24-bit depth gives you around 144 dB of dynamic range, which means you can record conservatively and still have clean signal. You can always downsample to 16-bit for distribution — you can’t go the other direction. 48 kHz is fine too, but 44.1 kHz is the standard for music.
Can I record my first song without an audio interface using just my laptop’s built-in mic? Yes, but the result will be noticeably worse. Built-in laptop microphones have poor frequency response, high noise floors, and no gain control. For anything you plan to share or release, a $120 USB interface and a $100 microphone will make a significant difference in quality that’s audible even to non-engineers.
How many tracks do I need for my first recording session? Start with as few as possible. A singer-songwriter can record a complete song on two tracks — vocals and guitar. Each additional track multiplies complexity: more gain decisions, more mix decisions, more potential for phase problems. Master two tracks first, then expand.
What’s the difference between monitoring through the interface and monitoring through the DAW? Interface direct monitoring routes your input signal directly back to your headphones with near-zero latency — you hear yourself with no delay. DAW monitoring routes the signal through the computer’s audio buffer, which introduces latency based on your buffer size setting. For recording, use interface direct monitoring whenever possible; it’s the only way to perform naturally without hearing yourself out of sync.
Why does my recording sound quieter than commercial releases? Commercial releases go through mastering, which includes loudness normalization to around -14 LUFS for streaming. Your raw recording at -18 dBFS average is exactly where it should be. Don’t try to compete with mastered loudness at the tracking stage — you’ll clip and destroy headroom. Mix first, then either master it yourself (with a limiter as the final plugin on the master bus) or export a flat mix and send it to a mastering engineer.
Editorial methodology: Assessments are based on manufacturer specifications, published user reviews, and editorial research. Physical hands-on testing is noted explicitly where it occurred. Rankings reflect our editorial judgment and are not influenced by affiliate commission rates. Full editorial policy · Affiliate disclosure