Contents
Build a Home Studio for $1000 in 2026: The Complete Setup
TL;DR: A $1000 home studio setup gets you a professional-grade audio interface, a condenser microphone, studio monitors, headphones, and acoustic treatment — everything a serious bedroom producer or vocalist needs to record release-quality tracks. This guide shows you exactly what to buy, how to connect it, and how to get sound coming out of your speakers on day one.
What You Get at the $1000 Budget
At $1000, your home studio setup crosses a meaningful threshold: you leave consumer gear behind. This budget buys a 24-bit/96kHz interface with clean preamps, a large-diaphragm condenser that competes with mics costing twice as much, nearfield monitors accurate enough for mixing decisions, and enough acoustic treatment to stop your room from ruining every recording.
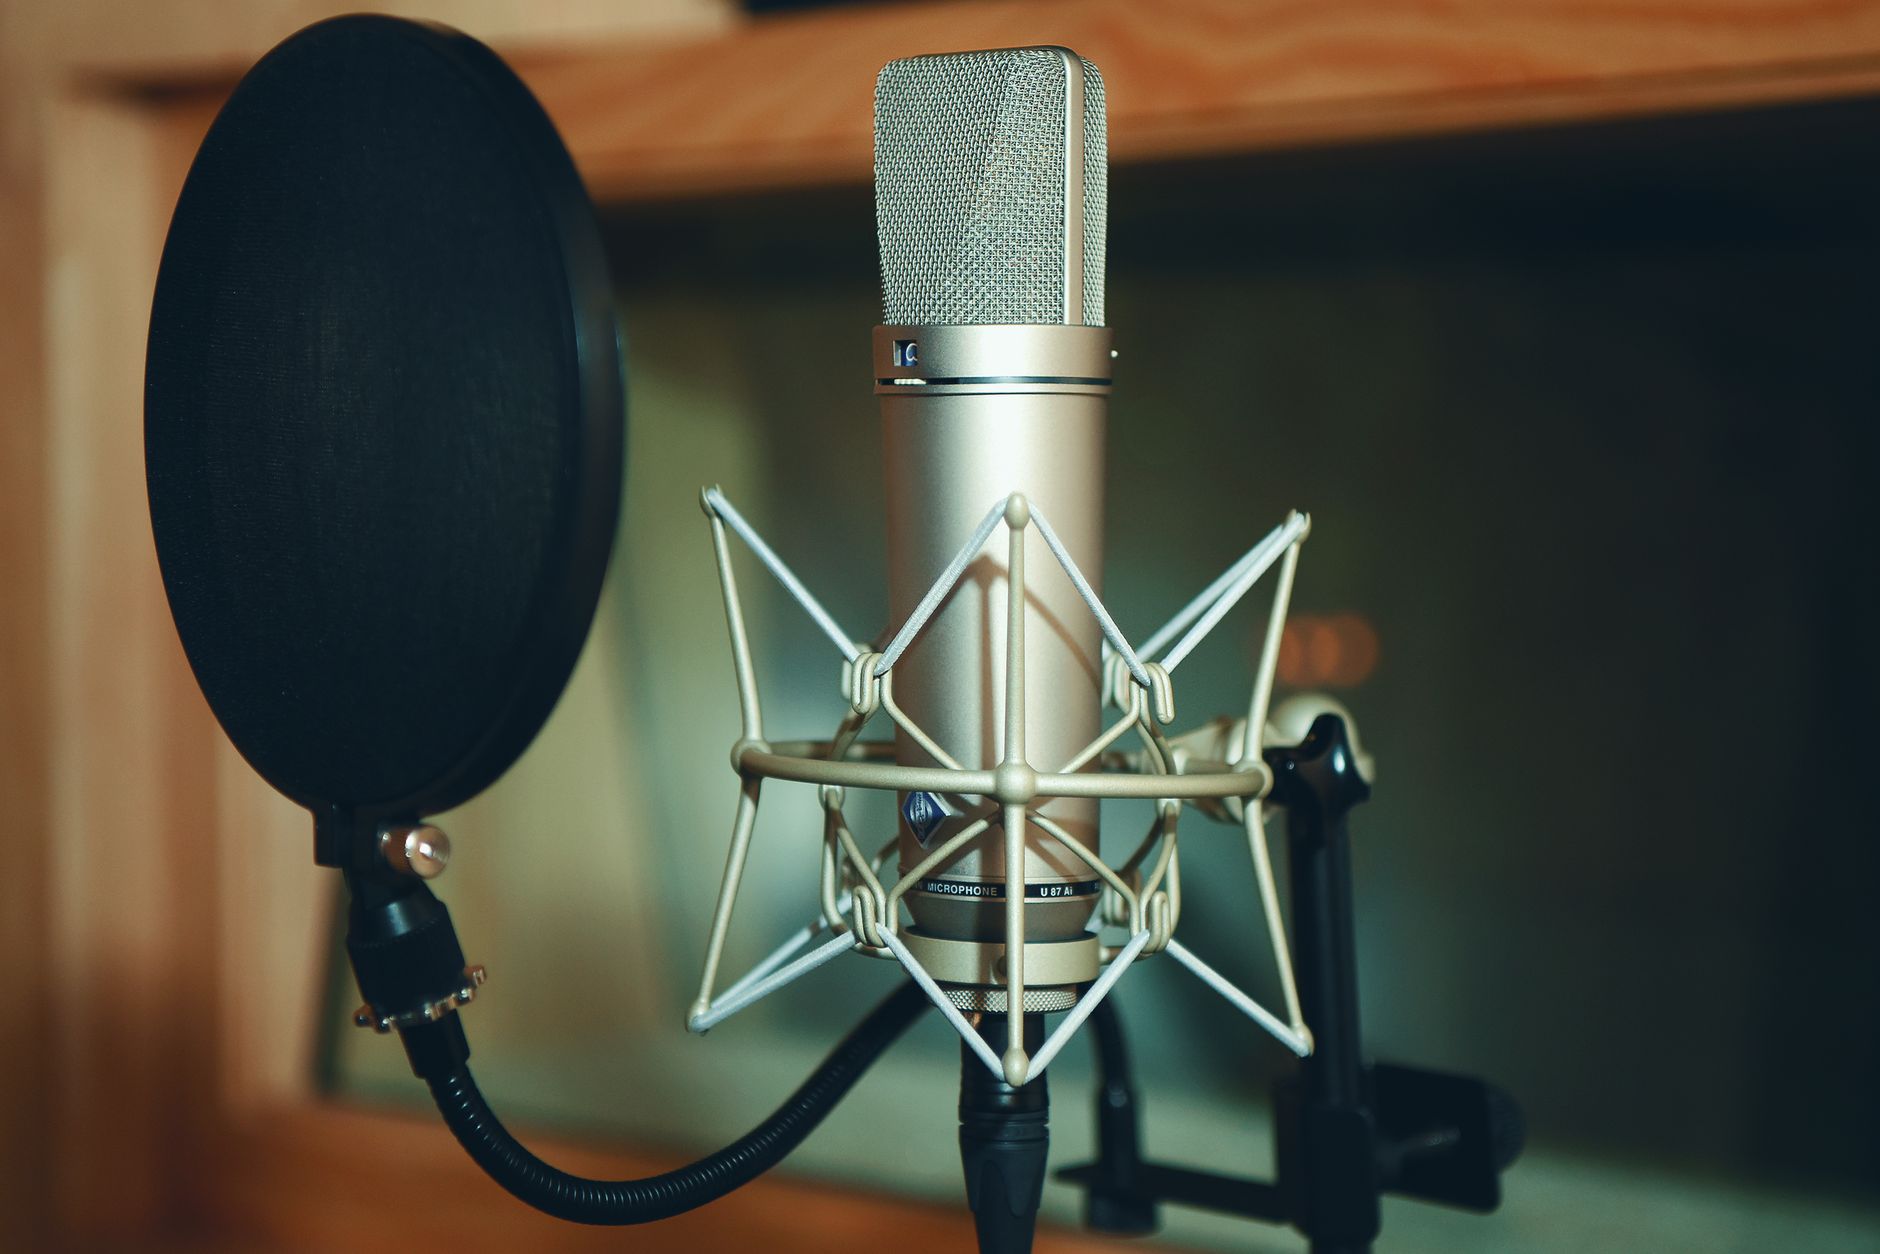
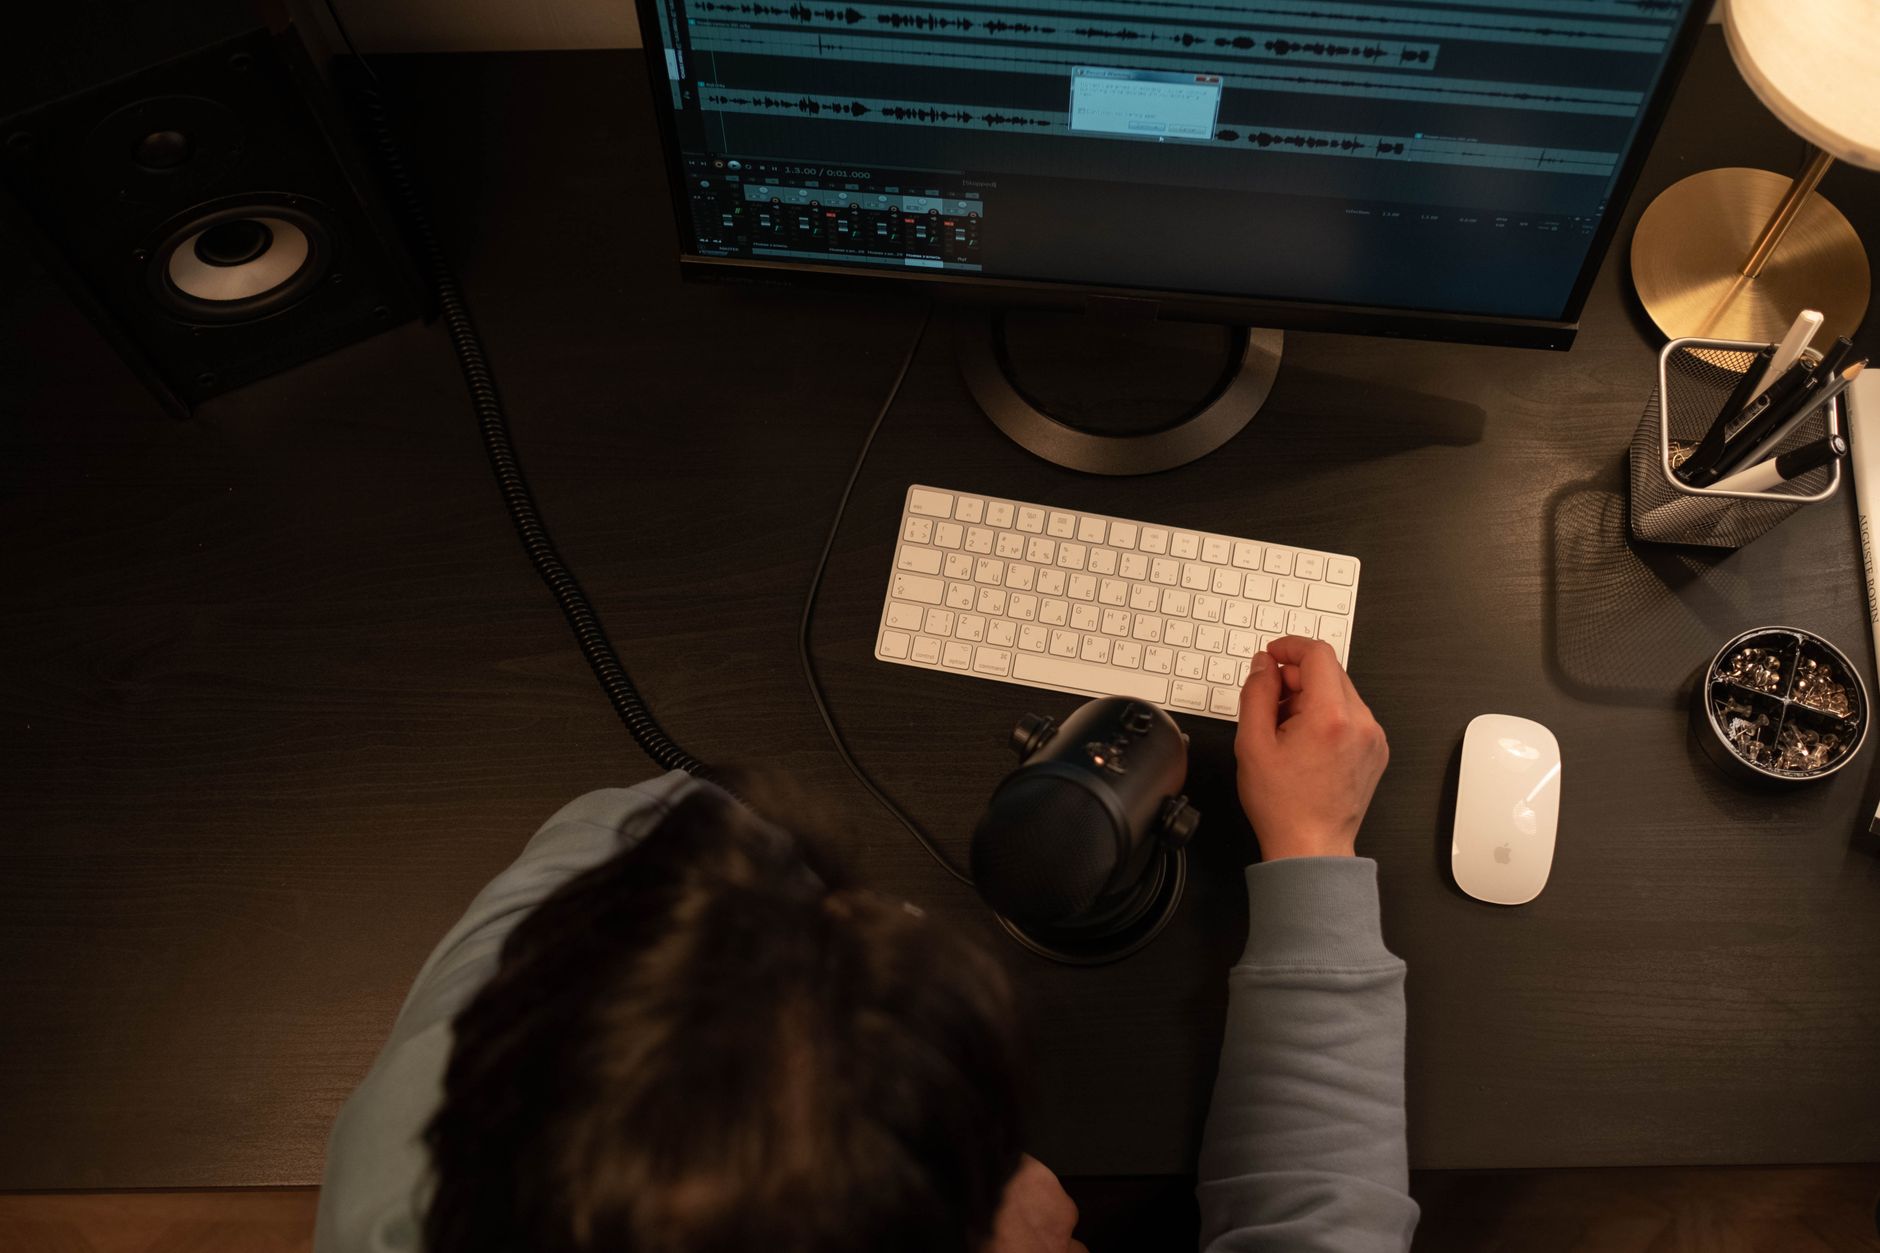 Photo: cottonbro studio via Pexels
The $500 bracket forces compromises — usually monitors or treatment. At $1000, you don’t have to choose. Here’s where the money goes:
| Category | Item | Budget |
|---|---|---|
| Audio Interface | Focusrite Scarlett 4i4 (4th Gen) | $230 |
| Microphone | Audio-Technica AT2035 | $150 |
| Studio Monitors | Yamaha HS5 (pair) | $400 |
| Headphones | Audio-Technica ATH-M50x | $130 |
| Acoustic Treatment | Mixed panel pack | $60 |
| Cables & Stands | XLR, mic stand, boom arm | $30 |
| Total | ~$1000 |
Choosing Your Audio Interface
The Focusrite Scarlett 4i4 is the anchor of this build. Two high-headroom preamps, zero-latency direct monitoring, and USB-C bus power make it the default choice at this price. The fourth-generation Air mode adds transformer-like harmonic character to vocals without an external preamp.
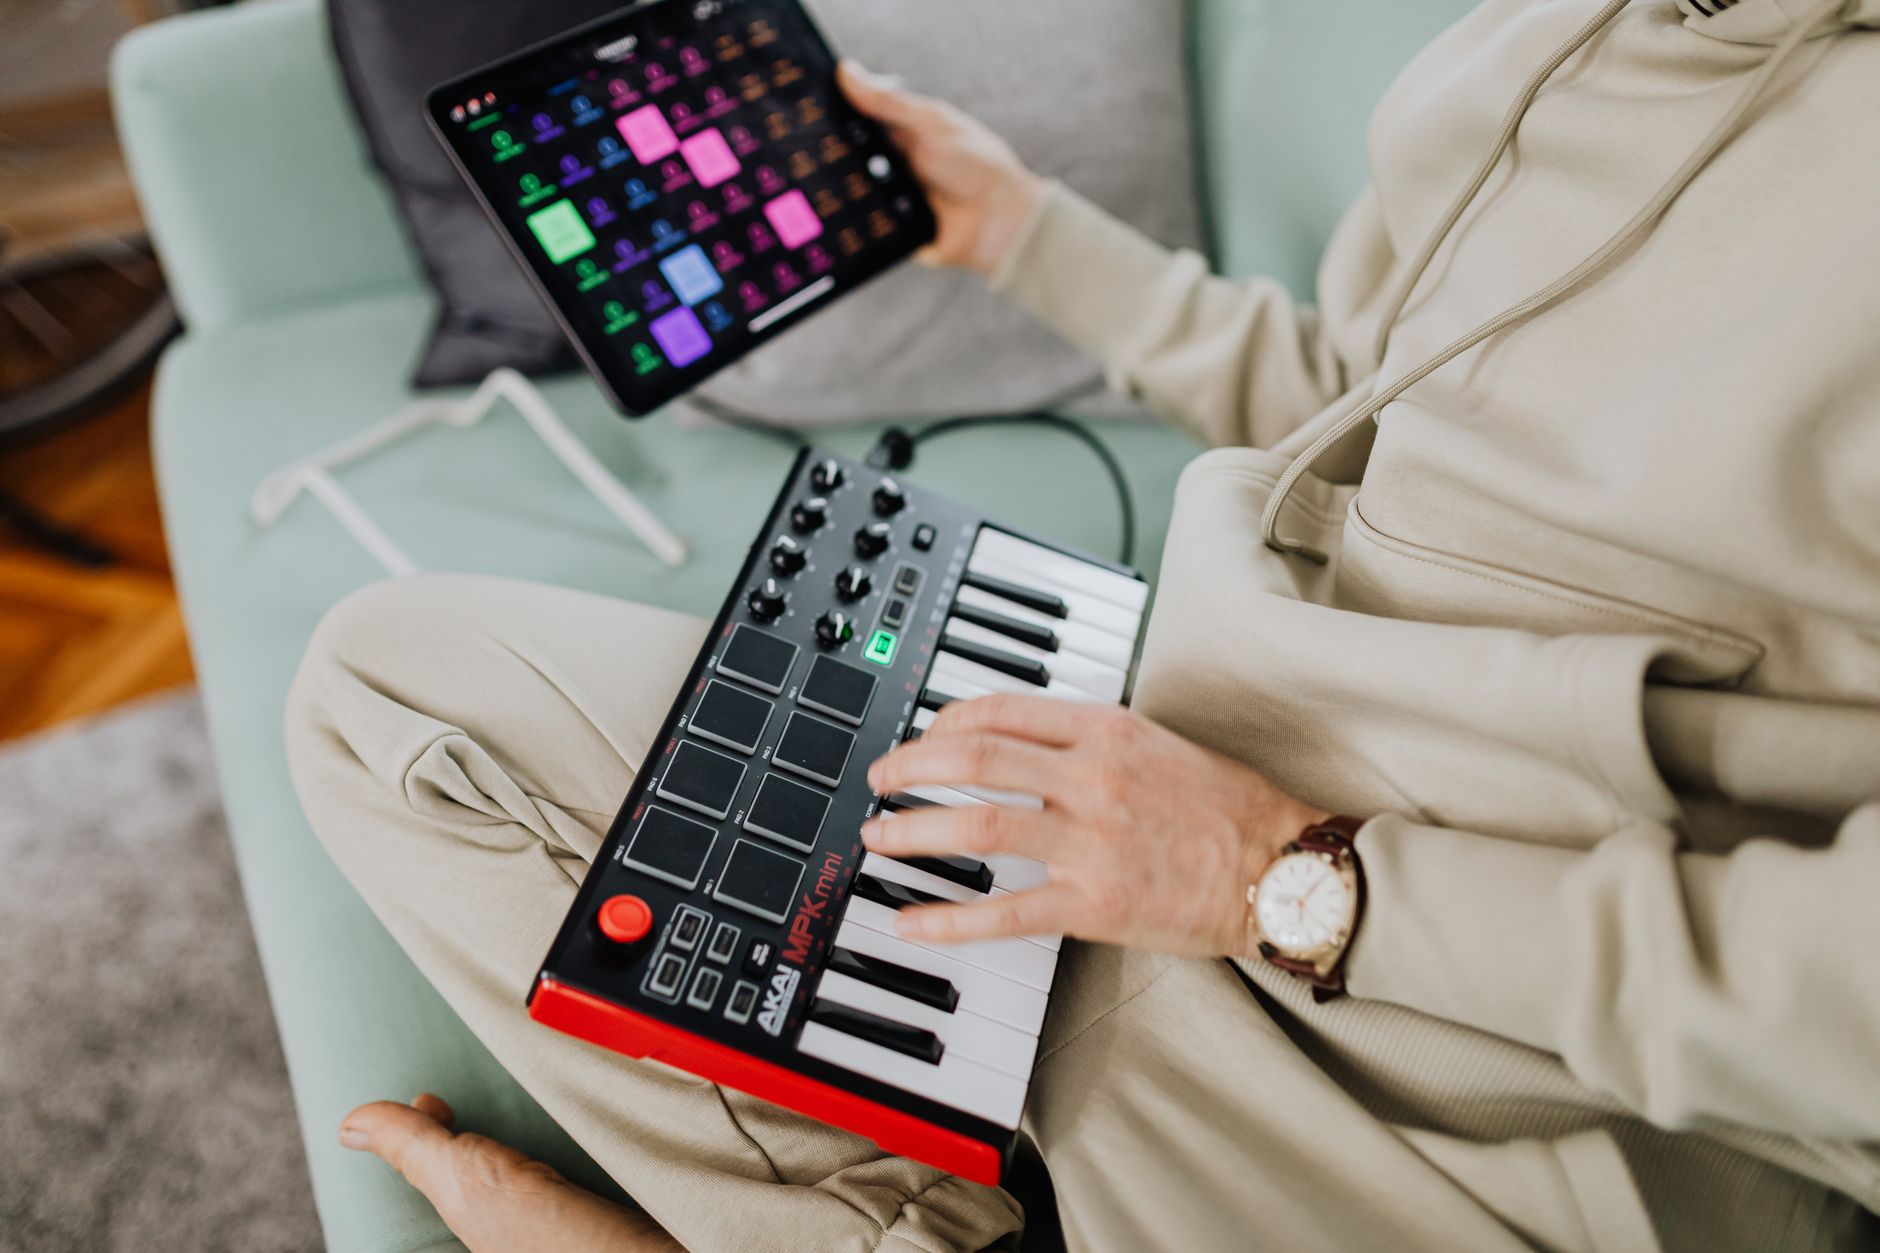
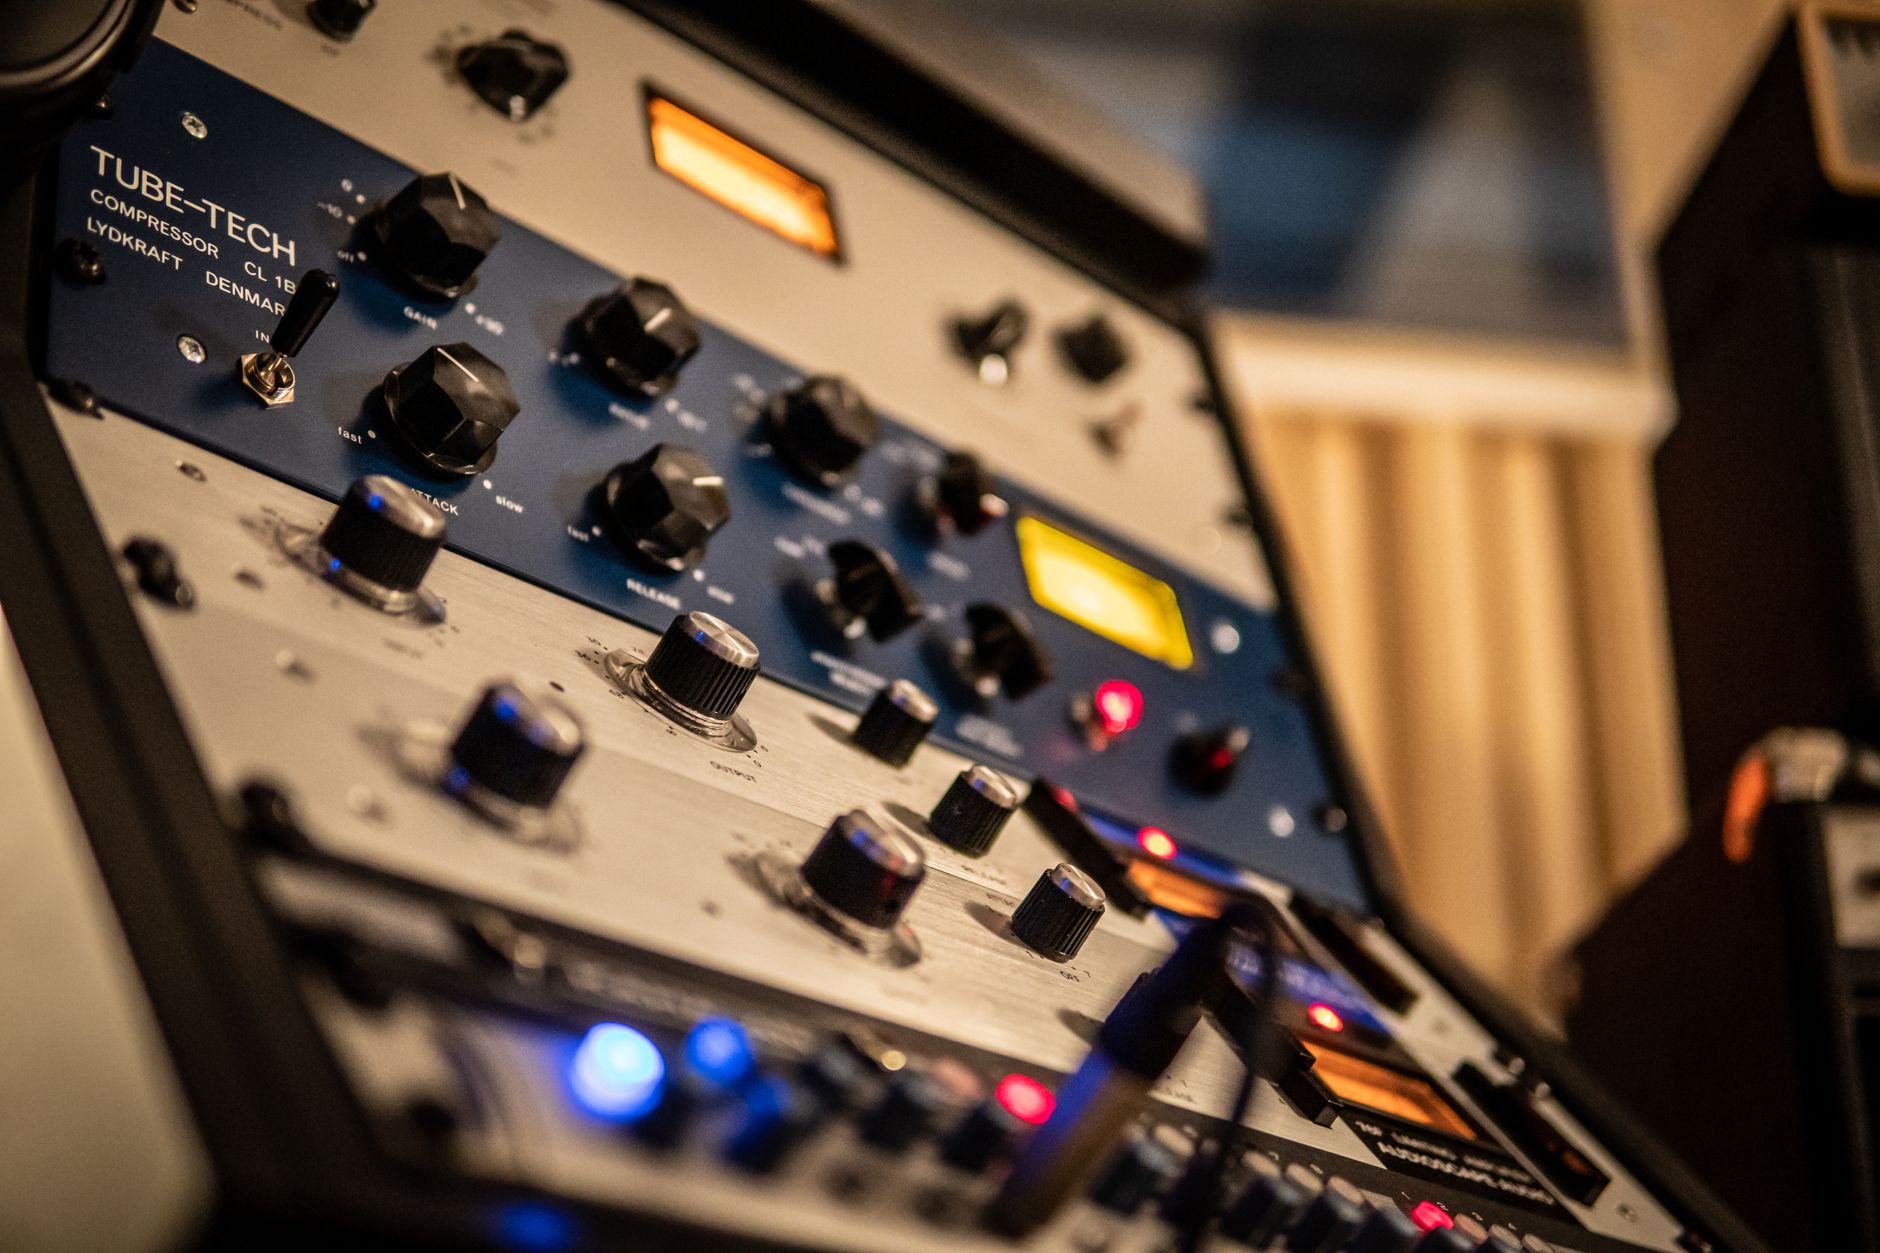 Photo: Andreu Marquès via Pexels
Why the 4i4 over the cheaper 2i2? Two extra outputs let you connect both monitors and headphones simultaneously with independent volume control — a real workflow improvement when you’re switching between mixing environments. The preamp noise floor (EIN -129 dBu) beats most interfaces under $300.
Alternatives worth considering:
| Interface | Price | Best For |
|---|---|---|
| Focusrite Scarlett 4i4 | $230 | Most users — best all-rounder |
| Universal Audio Volt 276 | $250 | Vintage character, built-in compressor |
| SSL 2+ | $200 | Transparent, flat preamps for critical mixing |
| PreSonus Studio 24c | $160 | Tighter budget, save for treatment |
Microphone: The AT2035 Hits Above Its Price
The Audio-Technica AT2035 is the correct microphone for this budget. Its cardioid polar pattern with a -10 dB pad handles vocals, acoustic guitar, and room ambience. Published frequency response shows a gentle presence boost at 10 kHz that flatters vocals without harshness — confirmed by engineer consensus across hundreds of professional shootouts.
Large-diaphragm condensers at this price range compete seriously with microphones in the $300–$500 bracket. The AT2035 outperforms the more popular AT2020 in dynamic range (145 dB SPL max) and low-frequency roll-off control.
For a vocalist-only setup, also consider the Rode NT1 5th Gen ($170) — its self-noise of 4 dBA is one of the lowest of any microphone at any price, which matters if your room has any ambient noise floor.
Studio Monitors: Why Yamaha HS5s Are Worth the Stretch
The Yamaha HS5 pair at $400 is the biggest single investment in this build — and the right call. The HS series is flat, honest, and brutally revealing, which is exactly what a mixing environment needs. Mixes that translate on HS5s translate everywhere.
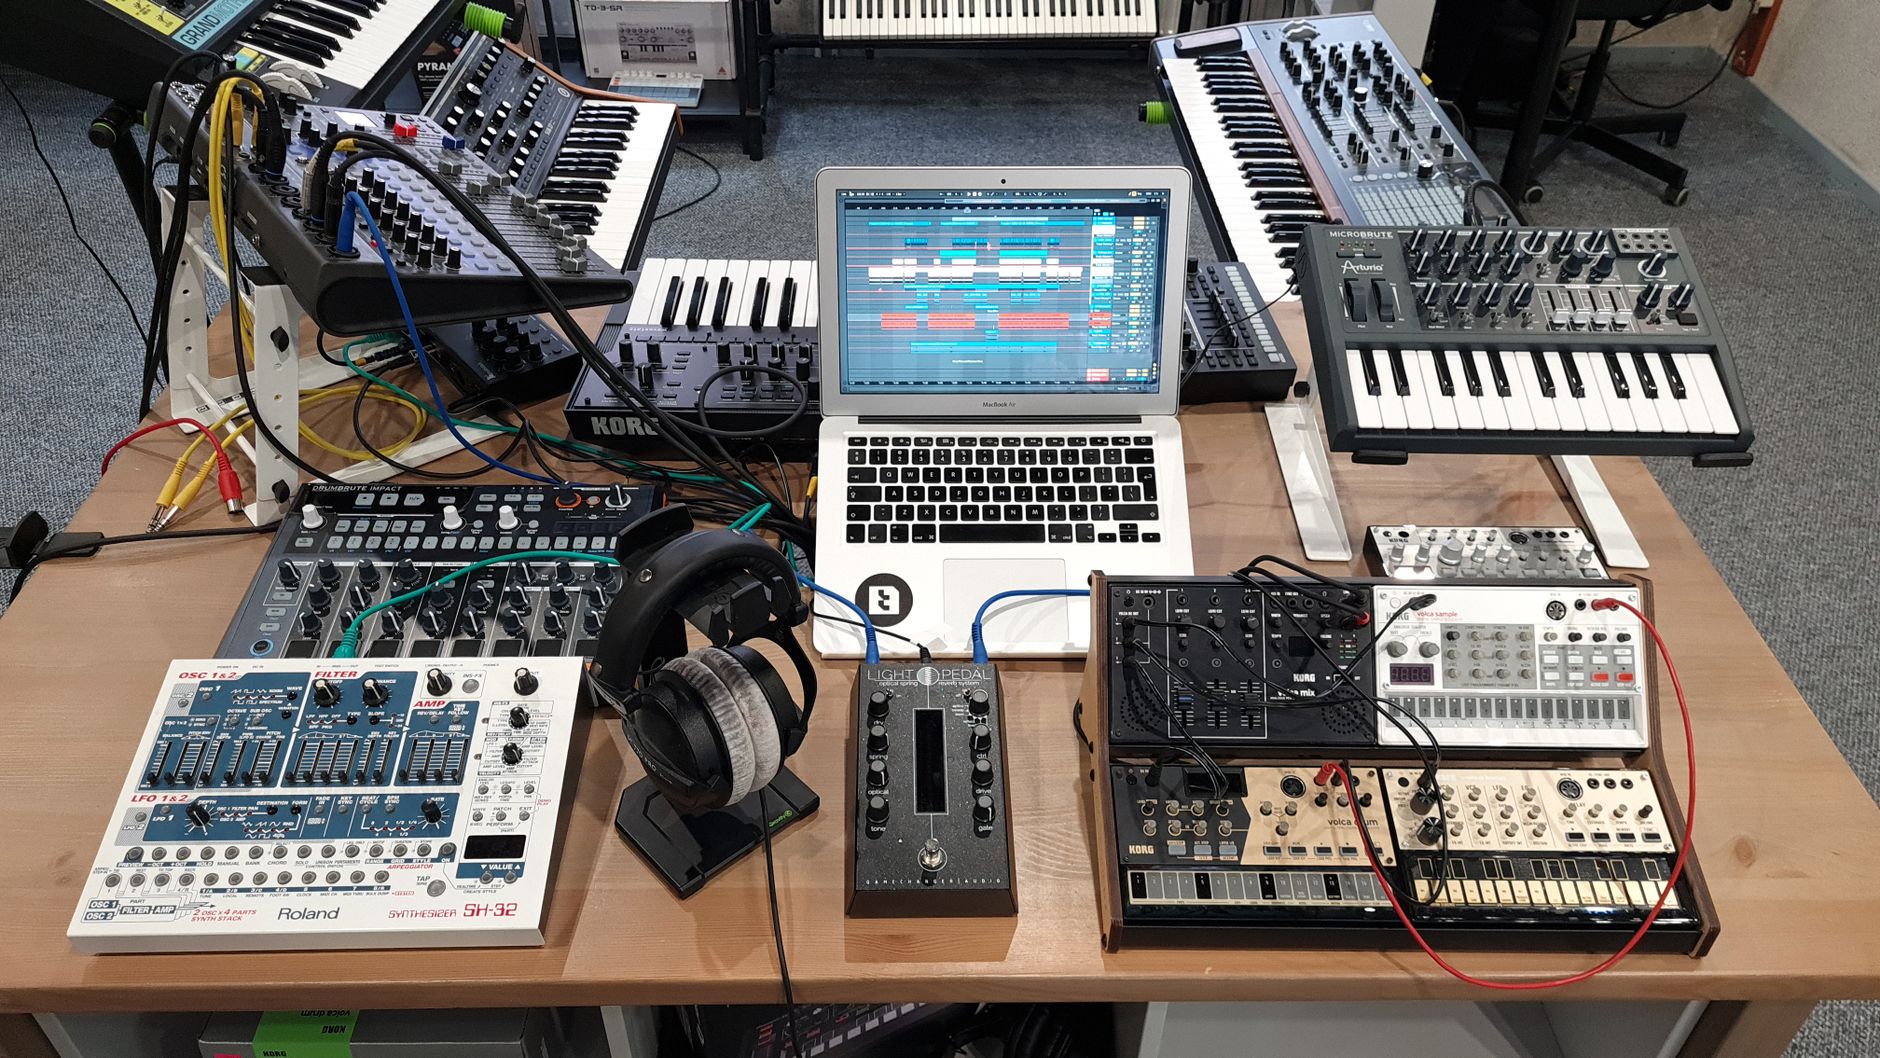
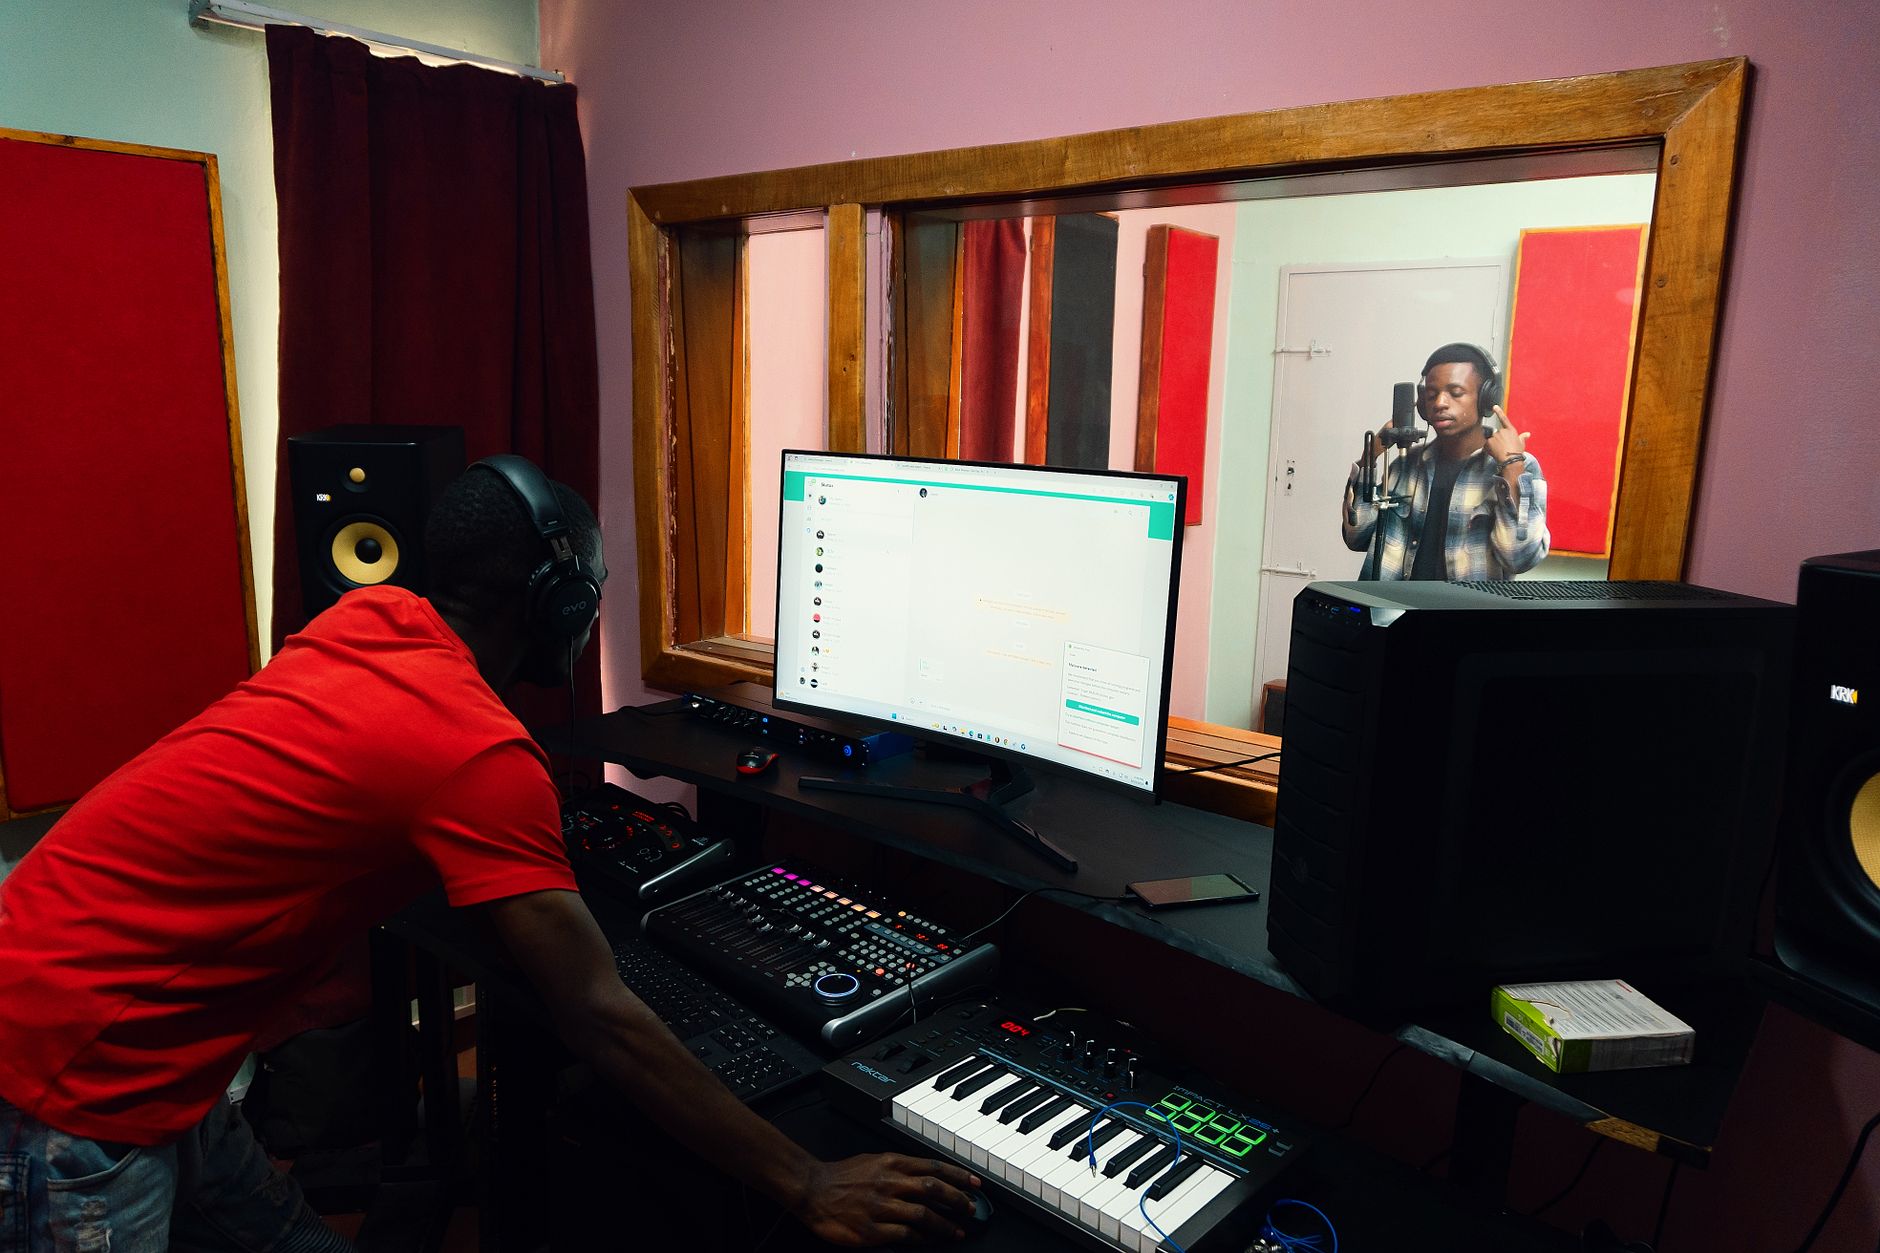 Photo: Kaiser Leo Xiv via Pexels
Many builders at this budget swap monitors for cheaper options and regret it. Mixing on hyped consumer speakers teaches you to compensate for coloration that won’t exist on other playback systems. The HS5s use a 5-inch woofer — appropriate for nearfield use in a typical bedroom studio (8–12 ft listening distance).
Monitor placement matters as much as the speakers themselves:
- Position them at ear height, forming an equilateral triangle with your listening position
- Tilt them slightly toward your ears (3–5°) using monitor isolation pads (included in acoustic treatment budget)
- Keep them at least 8 inches from walls to reduce bass buildup
- Avoid corners entirely
Monitor alternatives at this budget:
| Monitors | Price (pair) | Character |
|---|---|---|
| Yamaha HS5 | $400 | Flat, clinical, best translation |
| Adam Audio T5V | $380 | Ribbon tweeter, slightly hyped highs |
| KRK Rokit 5 G4 | $350 | V-shaped, tiring for long sessions |
| Presonus Eris E5 XT | $280 | Good value, save $120 for treatment |
Headphones: Closed-Back for Tracking, Open-Back for Mixing
The ATH-M50x handles both recording (closed-back isolation keeps click track out of the mic) and secondary mix reference. Don’t mix exclusively on headphones — binaural cues create a phantom center that doesn’t exist on speakers — but use them to catch issues in the low-mids that monitors can miss in an untreated room.
At $130, the M50x is the default recommendation. If you primarily mix (and track with a separate vocalist who can bring their own headphones), the Sennheiser HD 560S ($120) is a better open-back option for mixing sessions.
Acoustic Treatment: The Most Underrated Line Item
Most first-time builders skip this. Don’t.
A $60 treatment budget won’t fix a bad room, but it eliminates the worst offenders: first reflections off side walls and the wall behind your monitors. Two 2-inch acoustic panels on each side wall plus monitor isolation pads under the HS5s will immediately reduce comb filtering and low-mid buildup in your recordings.
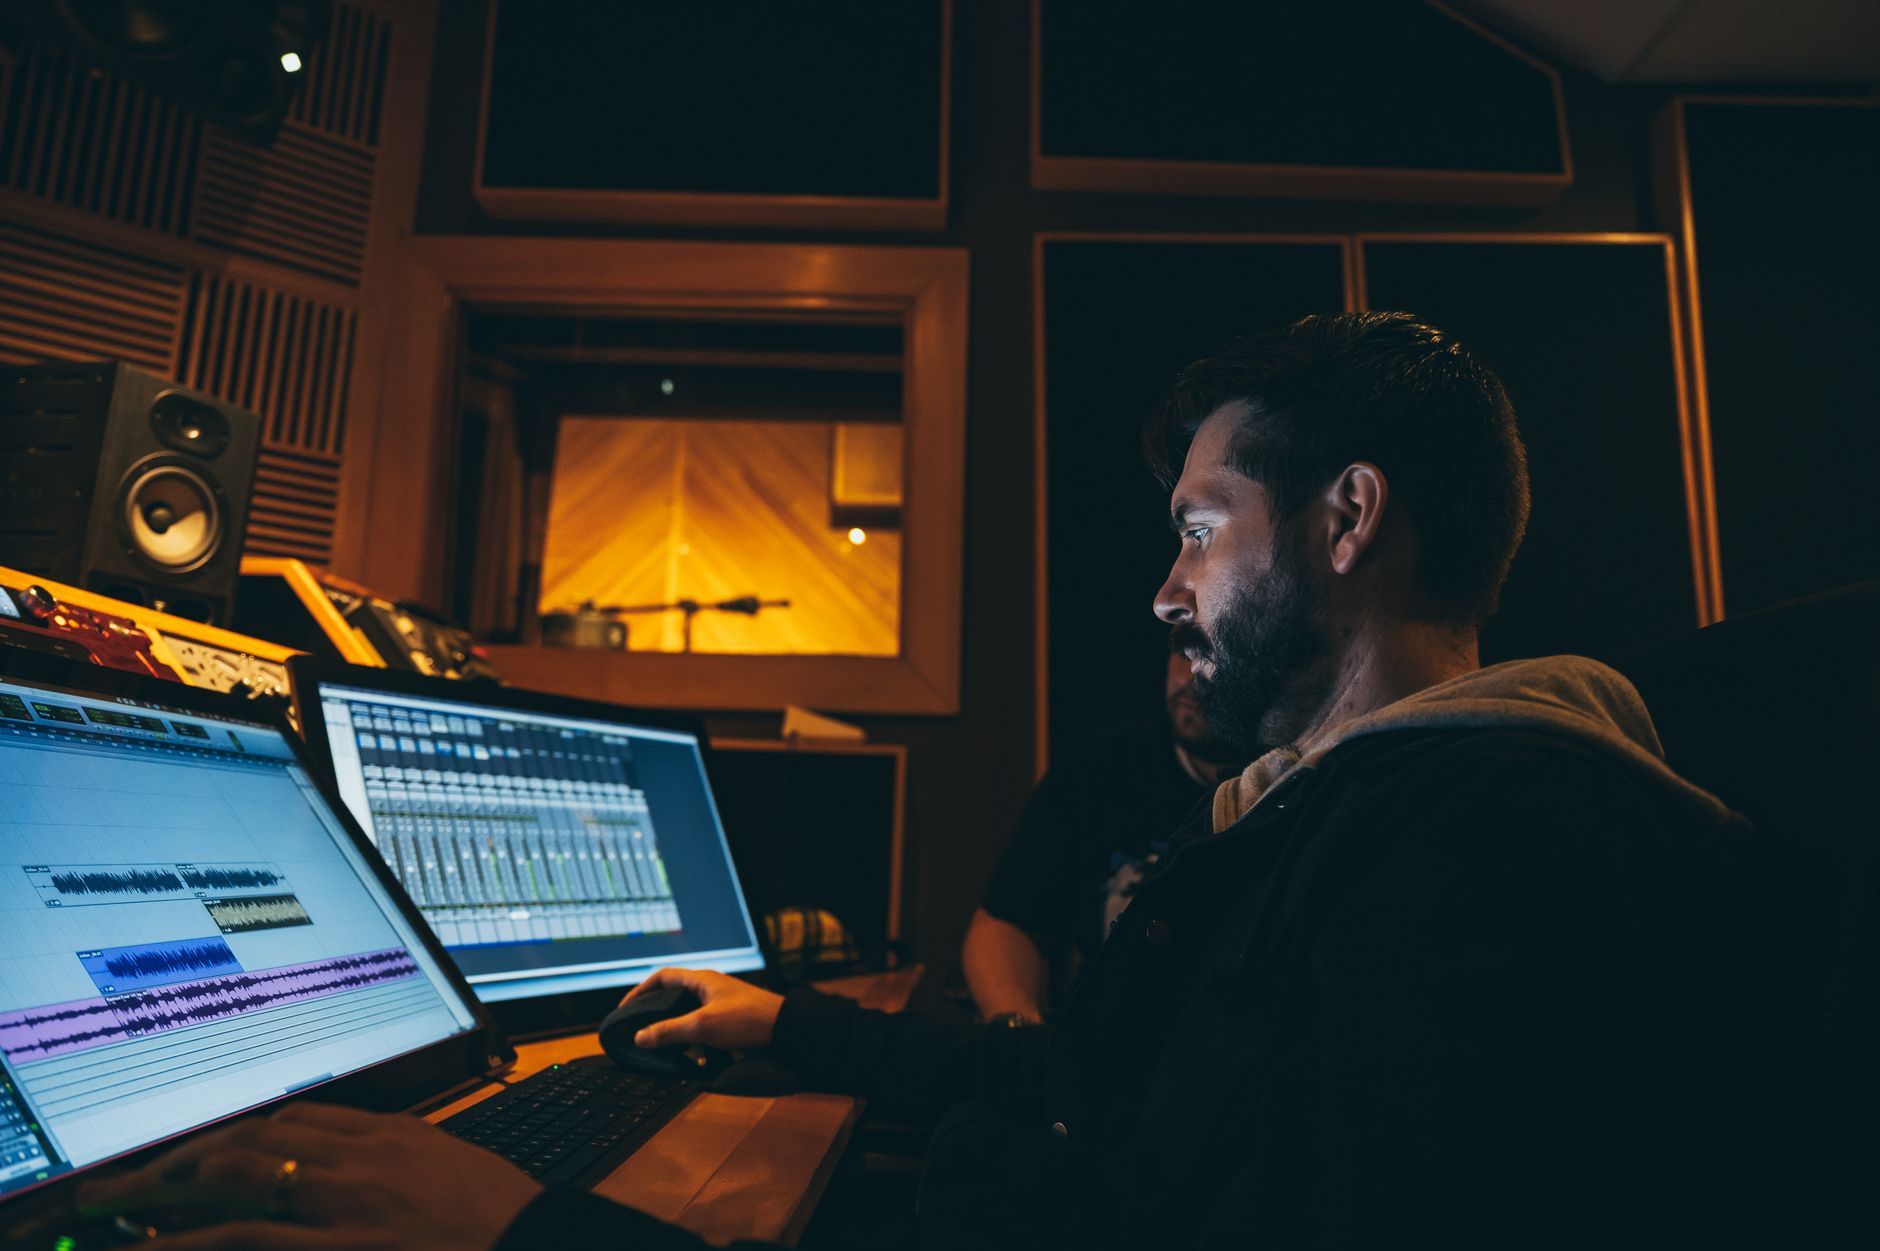 Photo: Brett Sayles via Pexels
DIY vs. pre-made panels:
Pre-made 12×12 foam packs (around $30 for 12 tiles) cover first reflections. For a tighter budget, rigid fiberglass or rockwool DIY builds outperform foam at any thickness — but that’s a $150+ weekend project. At $60, foam is the correct call.
Priority treatment positions:
- Side walls at your ear level (first reflections)
- Under monitors (isolation pads or dense foam)
- Wall behind you (diffusion or absorption at ear height)
- Ceiling above the mix position (optional at this budget)
DAW: Free Until You Know What You Need
Focusrite includes a license for Ableton Live Lite and a Pro Tools Artist trial. GarageBand (Mac) is free and underrated. Reaper costs $60 after a generous trial and has no meaningful workflow limitations versus $600 DAWs.
Don’t spend money on a DAW yet. Start with what comes free with your interface. Switch when the DAW itself — not your skill or gear — is the limiting factor. That day may never come.
How to Connect and Configure Your Setup
Signal Chain
Microphone (AT2035)
  → XLR cable
  → Focusrite Scarlett 4i4 (Input 1, phantom power ON)
  → USB-C to Mac/PC
  → DAW (48 kHz, 24-bit, buffer 128 samples for tracking)
  → Scarlett Output 1-2
  → TRS cables
  → Yamaha HS5 monitors
Gain staging:
- Set the Scarlett input gain until the signal peaks around -12 to -18 dBFS during the loudest expected performance
- The green ring around the gain knob is your guide — clip light should never trigger
- Keep DAW channel fader at 0 dB during tracking; ride gain at the interface
- Monitor volume is controlled by the Scarlett’s front-panel output knob, not the DAW master fader
Step-by-Step: First Recording Session
- Connect monitors to Scarlett outputs 1 and 2 via balanced TRS cables
- Connect headphones to the front panel headphone output
- Plug the AT2035 into Input 1 with an XLR cable; enable 48V phantom power
- Open your DAW, set audio device to Focusrite USB
- Set sample rate to 48 kHz, buffer size to 128 samples
- Create a mono audio track, arm for recording, set input to “Scarlett 4i4 — Input 1”
- Speak or sing — watch the level meter. Adjust gain until peaks hit -12 to -18 dBFS
- Enable direct monitoring on the Scarlett (front panel MIX knob controls blend of direct and DAW signal)
- Hit record
Troubleshooting
| Symptom | Likely Cause | Fix |
|---|---|---|
| No signal in DAW | Phantom power off or wrong input selected | Enable 48V; confirm DAW input matches physical input number |
| Loud hum | Ground loop between interface and monitors | Use balanced TRS cables; try a different power strip |
| Latency on headphones while tracking | Buffer size too high | Lower to 64–128 samples; use direct monitoring for zero-latency |
| Thin, harsh vocal sound | Mic too close, plosives hitting capsule | Add pop filter, back off 6–8 inches |
| Low-mid buildup in recordings | Room reflections | Add absorption panels at first reflection points |
| Phase issues on acoustic guitar | Two mics not time-aligned | Record one mic at a time until you understand phase |
→ See Also
- The Complete Home Recording Studio Setup Guide (2026)
- How to Build a Home Studio for $500 (2026)
- How to Build a Home Studio for $300 (2026)
FAQ
Do I need studio monitors if I already have good headphones? Yes, for mixing. Headphones create an artificially wide stereo image and exaggerate bass. Mixes made exclusively on headphones typically fall apart on speaker systems. Use both: track on headphones, mix on monitors, check mixes on headphones at the end.
Can the Scarlett 4i4 handle two mics at once? Yes — it has two combination XLR/TRS inputs, each with independent phantom power and gain control. This makes it suitable for recording vocals and acoustic guitar simultaneously, or two vocalists, without any additional gear.
Is the AT2035 good enough for professional releases? According to producer forums and published shoot-out data, the AT2035 competes with microphones costing $300–$500. Preamp quality (your interface) and room acoustics affect the final sound more than the difference between a $150 and $300 microphone.
What’s the right room size for HS5 monitors? The HS5’s 5-inch woofer is designed for nearfield monitoring in rooms up to roughly 150 square feet. In larger rooms, bass frequencies won’t develop fully and you’ll compensate by over-boosting low end. For rooms larger than 150 sq ft, consider the HS7 or HS8, though those exceed this budget.
Should I buy a preamp in addition to the Scarlett? Not at this stage. The Scarlett 4i4’s preamps are clean and transparent — adding an external preamp is a refinement, not a fix. Spend that money on acoustic treatment first. External preamps become relevant when you’ve maximized your room and want a specific tonal character, not before.
Will this setup work for music production (beats, MIDI) as well as recording? Yes. The Scarlett 4i4 includes MIDI I/O, so you can connect a MIDI keyboard controller directly. The two additional line outputs (3 and 4) let you route a separate mix to hardware synths or headphone amps. The included Ableton Live Lite handles both audio recording and MIDI production.
Editorial methodology: Assessments are based on manufacturer specifications, published user reviews, and editorial research. Physical hands-on testing is noted explicitly where it occurred. Rankings reflect our editorial judgment and are not influenced by affiliate commission rates. Full editorial policy · Affiliate disclosure